Last updated: April 8, 2026
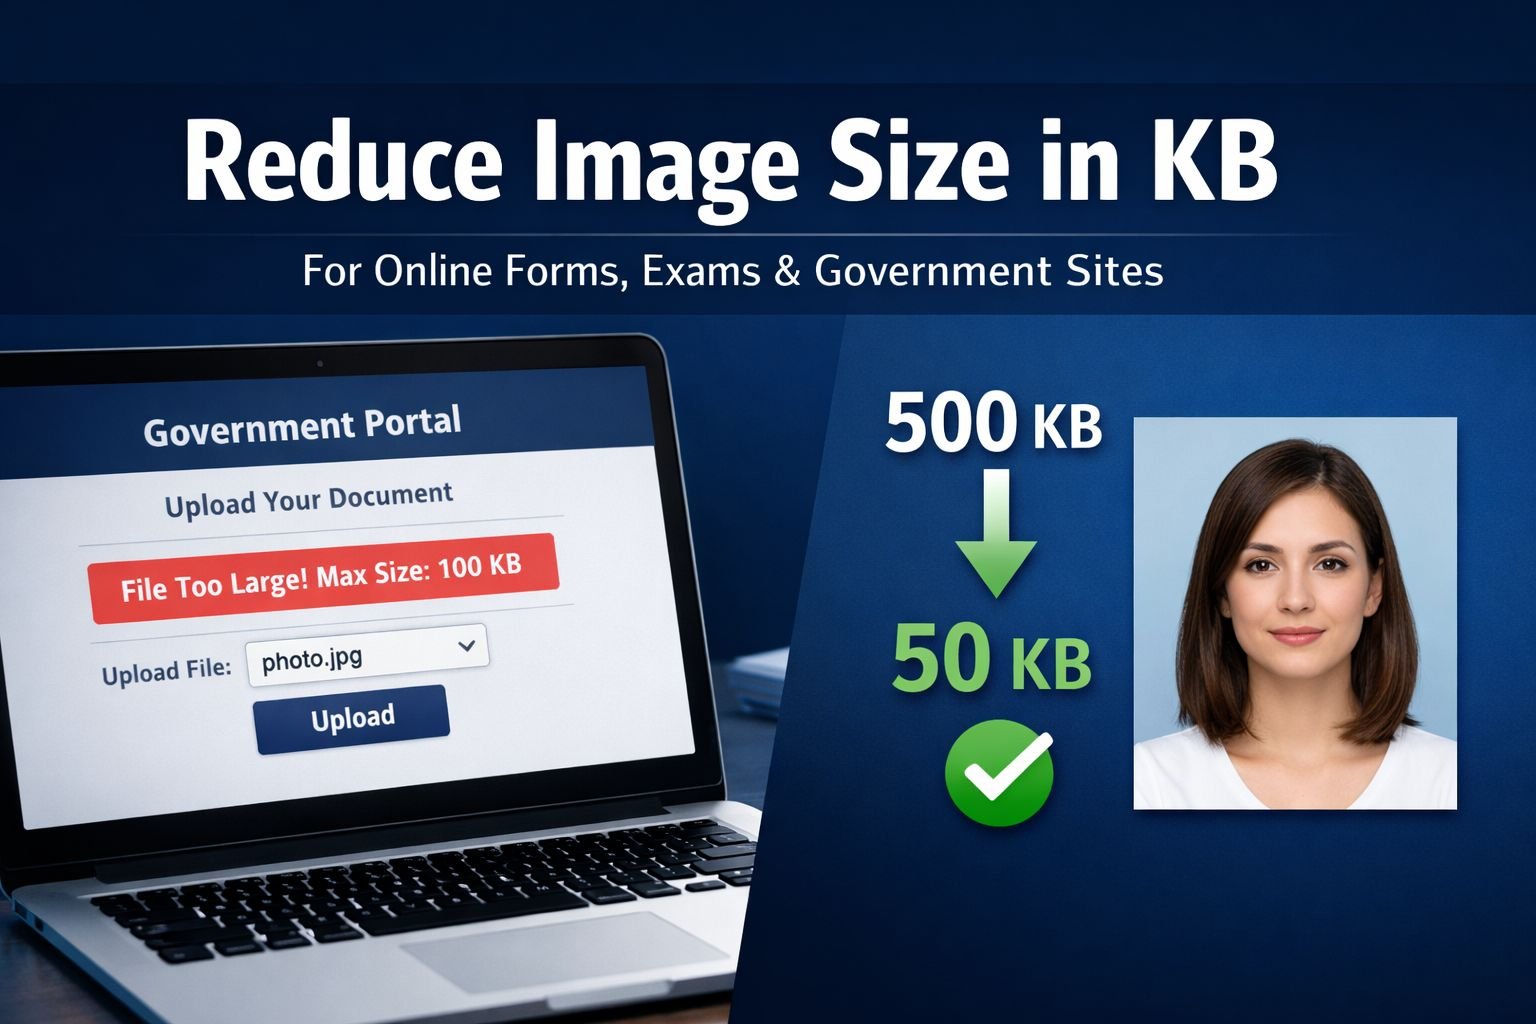
Every year, millions of students and job seekers hit the same wall: an online portal demands a photo under 50KB or exactly 140×160 pixels, and the phone camera just produced a 4MB file. The form rejects it, the error message is vague, and hours vanish trying random tools that either destroy the image or cannot hit the target. This guide shows exactly how to reduce image size in KB to meet strict upload requirements, without blurring your face or failing the submission.
Key Takeaways
- Portals reject oversized files instantly. Most exam, government, and job application forms enforce hard KB limits (commonly 20KB, 50KB, or 100KB) with no built-in compression tool.
- File size depends on two things: pixel dimensions and compression quality. Reducing either one shrinks the KB count.
- Resize first, then compress. Cropping and resizing to the portal’s required dimensions (e.g., 140×160px) often reduces the file size by 90%+ before you even touch compression.
- JPEG is almost always the required format. PNG files are significantly larger at the same dimensions; convert to JPEG before compressing.
- A KB-target slider is the fastest path. Tools that let you set an exact KB target (like 50KB) eliminate guesswork compared to percentage-based quality sliders.
- Browser-based tools keep your photo private. Processing happens on your device without uploading to a server, which matters when handling ID photos and signatures.
- Common upload errors have specific fixes. “File too large,” “invalid dimensions,” and “unsupported format” each require a different correction step.
Quick Answer
To reduce image size in KB for a portal upload: first, resize the image to the exact pixel dimensions required (e.g., 200×230px), then compress it as JPEG with a KB-target tool set to the portal’s limit (e.g., 50KB). On Core Tools Hub’s image compressor, this takes about 30 seconds with no signup, no watermark, and all processing in your browser.
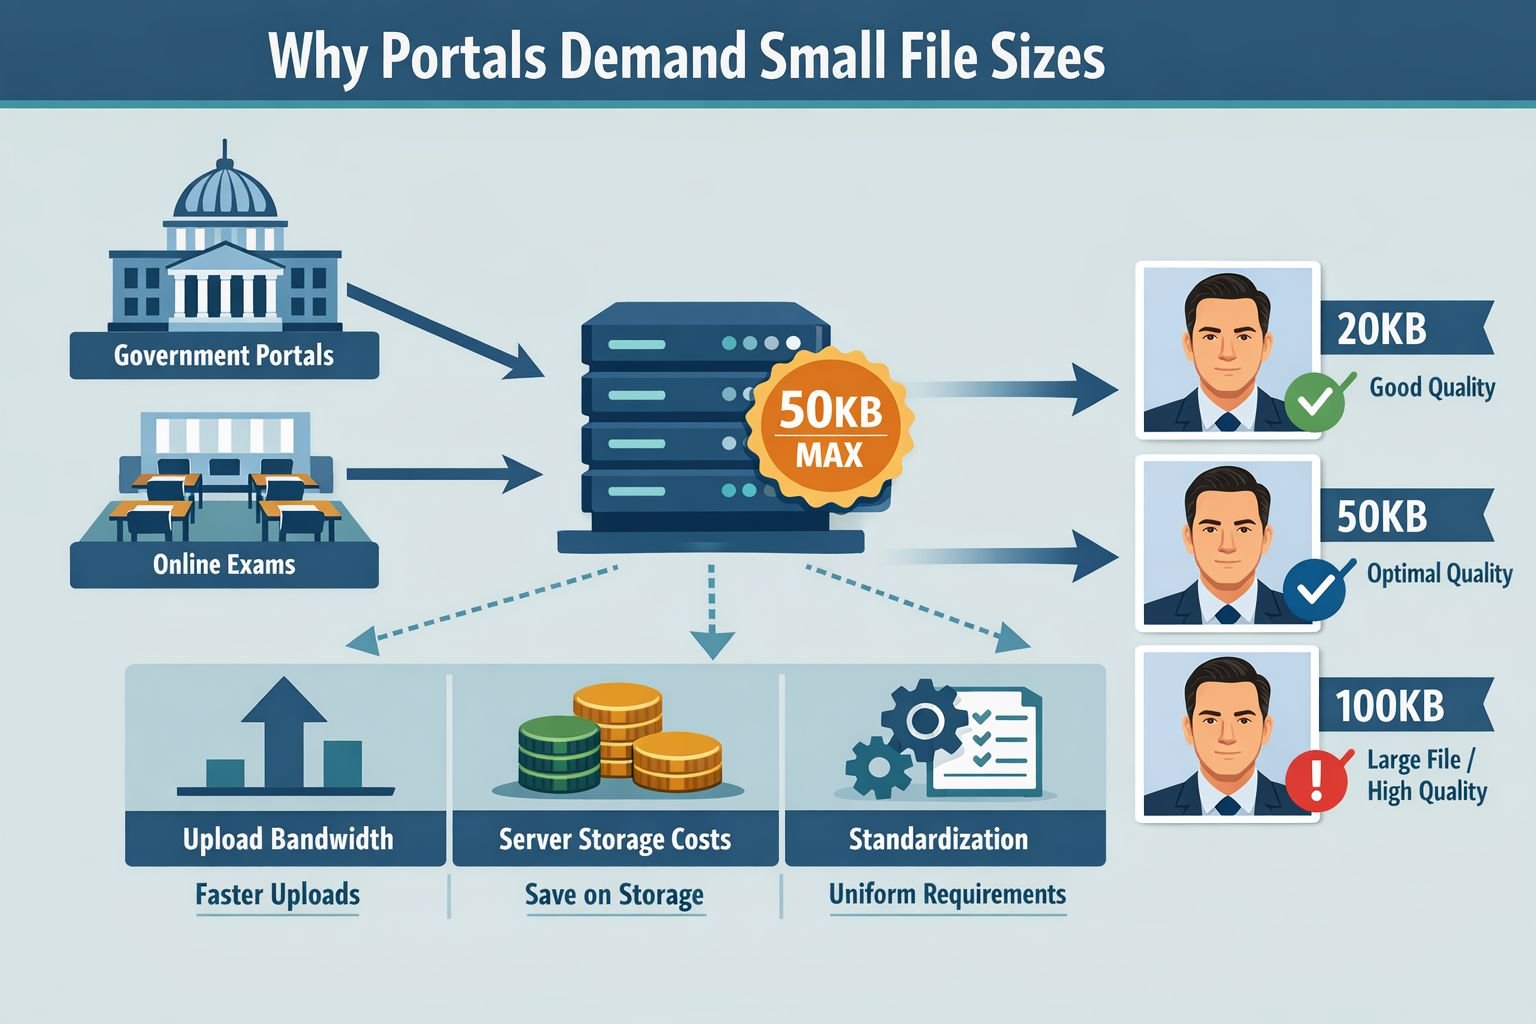
Why Do Portals Demand Very Small Image File Sizes?
Short answer: server load, bandwidth, and standardization. When a government exam portal receives 500,000 applications in a week, even small per-file savings add up to terabytes of storage and bandwidth.
There are three practical reasons behind strict KB limits:
- Server storage constraints. A portal storing 1 million applicant photos, each 50KB, uses about 50GB. At the original 3MB phone-camera size, that balloons to 3TB.
- Page load speed. Admit cards, hall tickets, and application printouts embed your photo. Smaller files mean faster generation and download for everyone.
- Uniform appearance. Fixed dimensions (such as 140×160px or 200×230px) ensure that every applicant’s photo prints at the same size on ID cards and documents.
These aren’t arbitrary rules. They’re infrastructure decisions. The problem is that portals almost never provide a tool to help you meet them. You’re expected to figure it out on your own.
Common portal requirements at a glance:
Portal Type Typical Photo Size Typical Dimensions Format Government exams (SSC, UPSC, etc.) 20–50 KB 140×160 px to 200×230 px JPEG University admissions 50–100 KB 200×200 px to 300×400 px JPEG/PNG Job application portals 50–200 KB 150×200 px to 400×500 px JPEG Signature uploads 10–20 KB 140×60 px to 300×80 px JPEG/PNG
Understanding the Relationship Between Pixels, Quality, and KB
File size in KB is controlled by two factors: the number of pixels (dimensions) and the JPEG compression level. Changing either one changes the output size. Changing both gives you the most control.
Here’s how it works:
Pixel Dimensions
A 4000×3000 pixel photo from a phone camera contains 12 million pixels. A portal asking for 200×230px needs only 46,000 pixels. That’s a 99.6% reduction in pixel count. Resizing alone can drop a 3MB file to under 100KB before any compression is applied.
JPEG Compression Quality
JPEG compression works by discarding visual information that the human eye is less likely to notice. Quality is typically expressed as a percentage:
- 90–100% quality: Nearly identical to the original. Large file.
- 70–85% quality: Minimal visible difference. Significant size reduction.
- 40–60% quality: Noticeable softening, especially on text and edges. Small file.
- Below 30%: Visible artifacts, blocky patches, blurred features. Very small file.
The Formula (Simplified)
Smaller dimensions + lower quality = smaller KB. But there’s a floor: push quality too low and the image becomes unusable. For a passport-style photo at 200×230px, JPEG quality around 60–75% typically lands in the 20–50KB range while keeping the face clearly recognizable.
For a deeper explanation of how compression types affect quality, see our guide on lossless vs. lossy formats.
Common mistake: Trying to compress a full-resolution 4000×3000px image down to 50KB without resizing first. The compression algorithm has to destroy so much data that the result looks like a watercolor painting. Always resize to the target dimensions first.
Step-by-Step: Reduce Image Size in KB With Core Tools Hub
Here’s the exact process to get a portal-ready photo. It works on desktop and mobile, requires no installs, and no signup is needed.
Step 1: Resize to the Required Dimensions
- Open the Image Resizer tool.
- Drop your photo into the upload area (or tap to select on mobile).
- Enter the exact width and height the portal requires (e.g., 200 width × 230 height).
- Make sure “Maintain aspect ratio” is unchecked if the portal specifies exact dimensions that differ from your photo’s ratio.
- Click Resize and download the result.
This step alone often reduces a multi-megabyte file to well under 200KB.
Step 2: Compress to the Exact KB Target
- Open the Image Compressor tool.
- Upload the resized image from Step 1.
- Set the KB target slider to match the portal’s limit (e.g., 50KB).
- Preview the result. Check that facial features and text (for signatures) remain clear.
- Download the compressed file.
That’s it. Two steps, under a minute. All processing happens in your browser, so your ID photo never leaves your device.
Best settings for common targets:
Target KB Recommended Dimensions Quality Range Use Case 20 KB 140×160 px 50–65% Government exam photo 50 KB 200×230 px 60–75% Government portal, admissions 100 KB 300×400 px 70–85% Job applications, university forms 10–20 KB (signature) 140×60 px 50–70% Signature upload
For a broader walkthrough of resizing for different use cases, check out how to resize images online for free.
Common Targets: 20KB, 50KB, and 100KB (and How to Hit Them)
Different portals, different limits. Here’s what to expect at each common KB target, with a visual quality reference.
The Size Ladder: What Quality Looks Like at Each KB Level
Imagine a standard passport photo (face centered, light background, shoulders visible):
| Version | File Size | Visual Quality | Notes |
|---|---|---|---|
| Original (phone camera) | 1.2–4 MB | Perfect | Way too large for any portal |
| Resized only (200×230px) | 80–150 KB | Excellent | Often still above the limit |
| Compressed to 100 KB | 100 KB | Very good | Slight softening; face fully clear |
| Compressed to 50 KB | 50 KB | Good | Minor quality loss; completely acceptable |
| Compressed to 20 KB | 20 KB | Acceptable | Noticeable softening; face still recognizable |
At 50KB with proper dimensions, the image looks clean on screen and prints fine on an admit card. Most people can’t tell the difference from the 100KB version without zooming in.
At 20KB, there’s visible softening around hair edges and fine details, but facial features remain clear enough for identification. This is the target for many competitive exam portals.
Choose your approach based on the target:
- 100KB or above: Resize to required dimensions, apply light compression. Straightforward.
- 50KB: Resize first, then compress. One pass usually works.
- 20KB: Resize to the smallest acceptable dimensions, then compress. You may need to try quality levels between 50–65% to land exactly under the limit.
Signature Images
Signature uploads are trickier because they’re small, high-contrast images. The best approach:
- Scan or photograph the signature on white paper with good lighting.
- Crop tightly around the signature.
- Resize to the required dimensions (often 140×60px or 300×80px).
- Save as JPEG. At these tiny dimensions, even moderate compression keeps the file well under 20KB.
Comparing Popular KB-Specific Image Compressors
Several tools claim to reduce image size in KB to exact targets. Here’s how they compare in practice:
| Tool | KB Target Input | Free Tier | Ads/Watermarks | Privacy (Browser-Based) | Batch Support |
|---|---|---|---|---|---|
| Core Tools Hub | Yes (slider) | Unlimited | None | Yes, fully in-browser | Single file |
| Pi7 Image Reducer | Yes (preset sizes) | Unlimited | Ads on page | No (server upload) | Yes |
| ResizePixel | Yes (custom KB) | Limited daily uses | Minimal ads | No (server upload) | No |
| Simple Image Resizer | Yes (KB/MB target) | Unlimited | Ads on page | No (server upload) | No |
| Shrink.media | Yes (100+ options) | Limited free tier | Branding on free tier | No (server upload) | Yes |
| TinyPNG | No (auto only) | 500 images/month | None | No (server upload) | Yes |
Key differences that matter:
- TinyPNG is popular but doesn’t let you set a specific KB target. It compresses automatically, which is great for web optimization but frustrating when a portal demands exactly 50KB or less.
- Pi7 is built specifically for the Indian government and exam portals, with presets for common requirements. It works well but requires you to upload your photo to their server.
- Core Tools Hub processes everything in your browser. Your ID photo and signature never leave your device, which is the privacy-first approach that matters when handling personal identification images. No signup required, no watermarks, and no file count limits.
For more on why browser-based processing matters for sensitive files, see our explanation of browser-based conversion vs. cloud upload tools.
Troubleshooting: Portal Upload Errors and How to Fix Them
Portal error messages are often vague. Here’s a map from common errors to specific fixes.
“File size exceeds the limit” or “File too large”
Cause: The image is above the portal’s KB cap.
Fix:
- Check the exact KB limit stated in the portal’s instructions.
- Open the image compressor and set the target 2–3KB below the limit (e.g., 47KB for a 50KB limit) to account for minor size variations.
- Re-download and re-upload.
“Image dimensions do not match” or “Invalid image size”
Cause: The portal expects exact pixel dimensions (e.g., 200×230px) and your image doesn’t match.
Fix:
- Check the required width × height in the portal instructions.
- Use the image resizer to set those exact dimensions.
- Uncheck “maintain aspect ratio” if the required dimensions have a different ratio than your photo. This may slightly stretch the image; crop your photo to a similar ratio first to minimize distortion.
“Unsupported file format” or “Please upload JPEG/JPG only”
Cause: You’re uploading a PNG, HEIC, or WebP file. Most portals accept only JPEG.
Fix:
- If your file is PNG, use a PNG to JPG converter.
- If your phone saves photos as HEIC (common on iPhones), use a HEIC to JPG converter.
- Then resize and compress as needed.
“Image is blurry” or “Photo rejected for quality”
Cause: Over-compression. The image was squeezed to meet the KB limit, but lost too much detail.
Fix:
- Start with a higher-quality source photo (better lighting, higher resolution camera).
- Resize to the exact required dimensions before compressing. This preserves more detail per pixel.
- Compress with quality set no lower than 50%. If the file is still too large at 50% quality, the source image may need to be re-taken with a cleaner background and better lighting.
“Upload failed” (generic)
Cause: Could be file size, dimensions, format, or even the file name containing special characters.
Fix:
- Rename the file to something simple (e.g.,
photo.jpg). Avoid spaces, accents, and special characters. - Verify the file meets all three requirements: correct format (JPEG), correct dimensions, and correct KB size.
- Try a different browser. Some portal upload scripts have compatibility issues with older browsers.
For more compression techniques that preserve clarity, read our guide on how to compress images without quality loss.
Conclusion
Reducing image size in KB doesn’t require technical skills or expensive software. The process comes down to two steps: resize to the portal’s required dimensions, then compress to the target KB. Do them in that order, and you’ll hit the mark on the first try almost every time.
For exam photos, government forms, and job applications with strict upload limits, use a tool that lets you set an exact KB target and processes your file privately in the browser. Core Tools Hub’s image compressor and image resizer handle both steps with no signup, no watermarks, and no server uploads. Your ID photo stays on your device from start to finish.
Stop guessing with random online tools. Set the target, compress, and submit.
Frequently Asked Questions
How do I reduce the image size to exactly 50KB? First, resize the image to the portal’s required pixel dimensions, then use a compression tool with the KB-target slider set to 50KB. In the Core Tools Hub, the compressor automatically adjusts quality to hit your target.
Will compressing to 20KB make my face unrecognizable? At 20KB with proper dimensions (around 140×160px), facial features remain clearly identifiable. The image will show some softening around edges, but it’s fully acceptable for exam admit cards and ID purposes.
Should I resize or compress first? Always resize first. Reducing pixel dimensions removes the most data. Compressing a smaller image requires less quality reduction to hit the same KB target, so the result looks better.
What format should I use for portal uploads? JPEG (also written as JPG) in almost all cases. Government and exam portals overwhelmingly require JPEG. PNG files are much larger at the same dimensions and are rarely accepted.
Can I reduce the image size in KB on my phone? Yes. Browser-based tools like Core Tools Hub work on mobile browsers (Chrome, Safari) with no app install needed. Open the tool, upload your photo, set the target, and download the result.
Why is my PNG file so much larger than JPEG? PNG uses lossless compression, which preserves every pixel exactly. JPEG uses lossy compression, discarding data the eye won’t miss. For photos, JPEG is typically 5–10x smaller than PNG at comparable visual quality.
What if the portal requires both a photo AND a signature? Handle them separately. Photos typically need 20–100KB at larger dimensions. Signatures need 10–20KB at very small dimensions (often 140×60px). Compress each to its own target.
Do these tools add watermarks to my image? Core Tools Hub does not add watermarks. Some other free tools, particularly Shrink.media’s free tier , may add branding. Always check the output before uploading to a portal.
Is it safe to upload my ID photo to an online compression tool? With browser-based tools, your file never leaves your device. The compression happens locally using your browser’s processing power. Server-based tools (where you upload to their website) do transfer your photo to a remote server, which poses greater privacy risks.
What does “JPEG quality 70%” mean? It’s the compression level. 100% keeps maximum detail (large file). 70% discards some data the eye barely notices (much smaller file). For portal photos, 60–75% is the sweet spot between size and clarity.
My photo keeps getting rejected, but it meets the KB limit. What else could be wrong? Check three things: (1) exact pixel dimensions match the requirement, (2) the file is JPEG format (not PNG or HEIC), and (3) the filename uses only simple characters with no spaces. Also, try a different browser.
Can I compress multiple photos at once for batch applications? Core Tools Hub currently handles single files. For bulk processing, tools like Pi7 and Shrink.media offer batch support, though they require server uploads.