Last updated: June 12, 2026
Quick Answer: A PDF maker converts source files — Word documents, images, or web pages — into PDF format. The method you choose (export, print-to-PDF, or online converter) directly affects whether your PDF is searchable, how large the file is, and how well the layout holds together. Using a proper export or conversion tool almost always produces better results than printing to PDF through a browser or printer driver.
Key Takeaways
- Export beats print-to-PDF for searchable, well-formatted documents — always prefer “Save as PDF” or “Export to PDF” when the option exists.
- Image-based PDFs (from screenshots or scanner apps) are not searchable and tend to be much larger than text-based PDFs.
- Source type matters: Word docs, JPGs, and web pages each require a slightly different approach to get clean output.
- File size is controllable — compressing images before conversion and choosing the right export settings can cut PDF size by 60–80% without visible quality loss.
- Browser-based PDF tools run all processing locally in your browser, so your files never leave your device — a key privacy advantage.
- Searchability and accessibility are not automatic; they depend on how the PDF was created, not just what software you used.
- Free tools like PDF24 Creator (Windows), LibreOffice, and browser-based converters handle most everyday PDF creation tasks without a paid subscription.
- Newly created PDFs can carry metadata — names, edit history, location data — that you may want to strip before sharing.
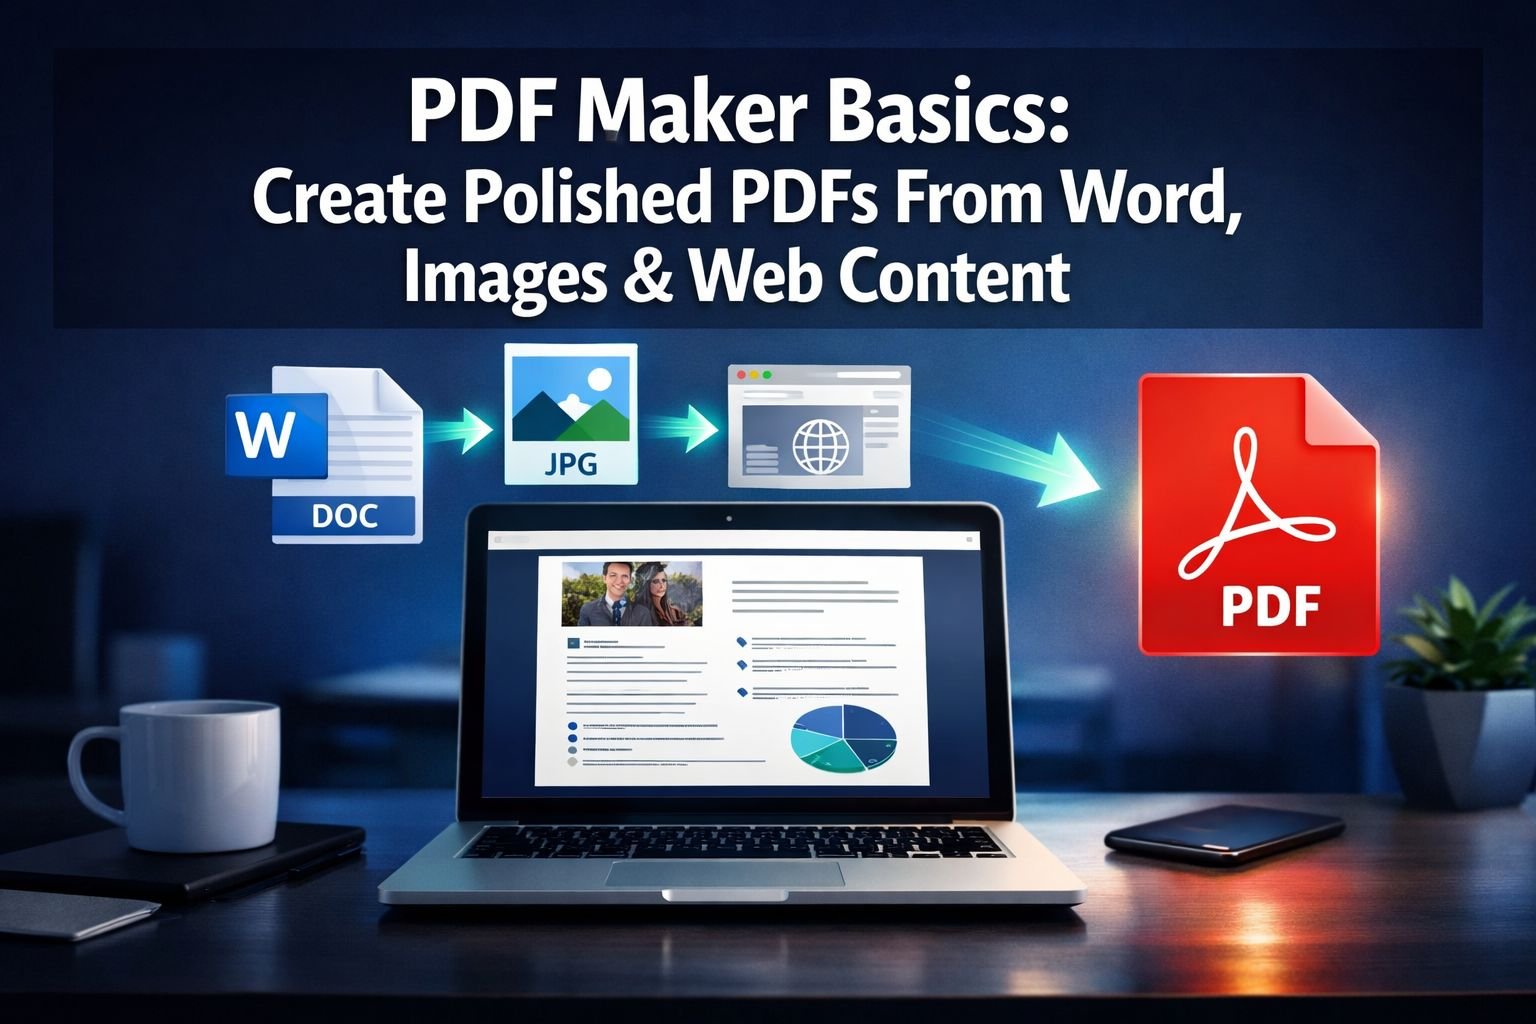
What Is a PDF Maker and How Is It Different From a PDF Converter?
A PDF maker creates a new PDF from scratch or from a source file like a Word document, image, or web page. A PDF converter typically transforms an existing PDF into another format (like PDF to JPG or PDF to Word). In practice, many tools do both — but understanding the distinction helps you pick the right one for the job.
For example, if you have a .docx resume and need a polished PDF to send to a recruiter, you need a PDF maker. If you already have a PDF and need to pull out individual pages or export them as images, you need a converter — tools like PDF to Images export handle that side of things.
Choose a PDF maker when:
- You’re starting from a Word doc, Google Doc, or spreadsheet
- You want to combine multiple JPG or PNG images into one document
- You need to save a web page or online form as a permanent PDF record
Different Ways to Make a PDF: Export, Print, or Convert?
There are three main methods, and they produce noticeably different results.
1. Export or “Save as PDF” (Best Option)
Most office applications — Microsoft Word, Google Docs, LibreOffice — have a built-in Export to PDF or Save as PDF function. This is the most reliable method. It preserves:
- Selectable, searchable text
- Embedded hyperlinks and bookmarks
- Accurate fonts and layout
- Smaller file sizes (because text is stored as text, not as pixels)
How to do it in Word: File → Save As → choose PDF from the format dropdown → Save.
2. Print to PDF (Quick but Limited)
Every modern browser and operating system includes a virtual PDF printer. It’s fast and works on almost anything — but it has real drawbacks:
- Hyperlinks are often stripped or broken
- Headers, footers, and margins can shift unexpectedly
- The output is sometimes rendered as a flat image layer, making text non-searchable
- File sizes tend to be larger than a proper export
Use print-to-PDF for quick web page captures when searchability doesn’t matter. Avoid it for resumes, contracts, or anything that needs to be edited later.
3. Online Converter or Dedicated PDF Maker Tool
Browser-based PDF tools fill the gap when you don’t have desktop software, or when you’re working with image files (JPG, PNG, HEIC) that can’t be “exported” as PDFs natively. These tools run in your browser, require no installs, and no signup required on most platforms.
| Method | Searchable Text | Preserves Links | File Size | Best For |
|---|---|---|---|---|
| Export/Save as PDF | ✅ Yes | ✅ Yes | Small–Medium | Word docs, spreadsheets |
| Print to PDF | ⚠️ Sometimes | ❌ Often lost | Medium–Large | Quick web captures |
| Online PDF maker | ✅ Yes (text sources) | ✅ Usually | Small–Medium | Images, mixed sources |
| Screenshot/scan | ❌ No | ❌ No | Large | Archive only |
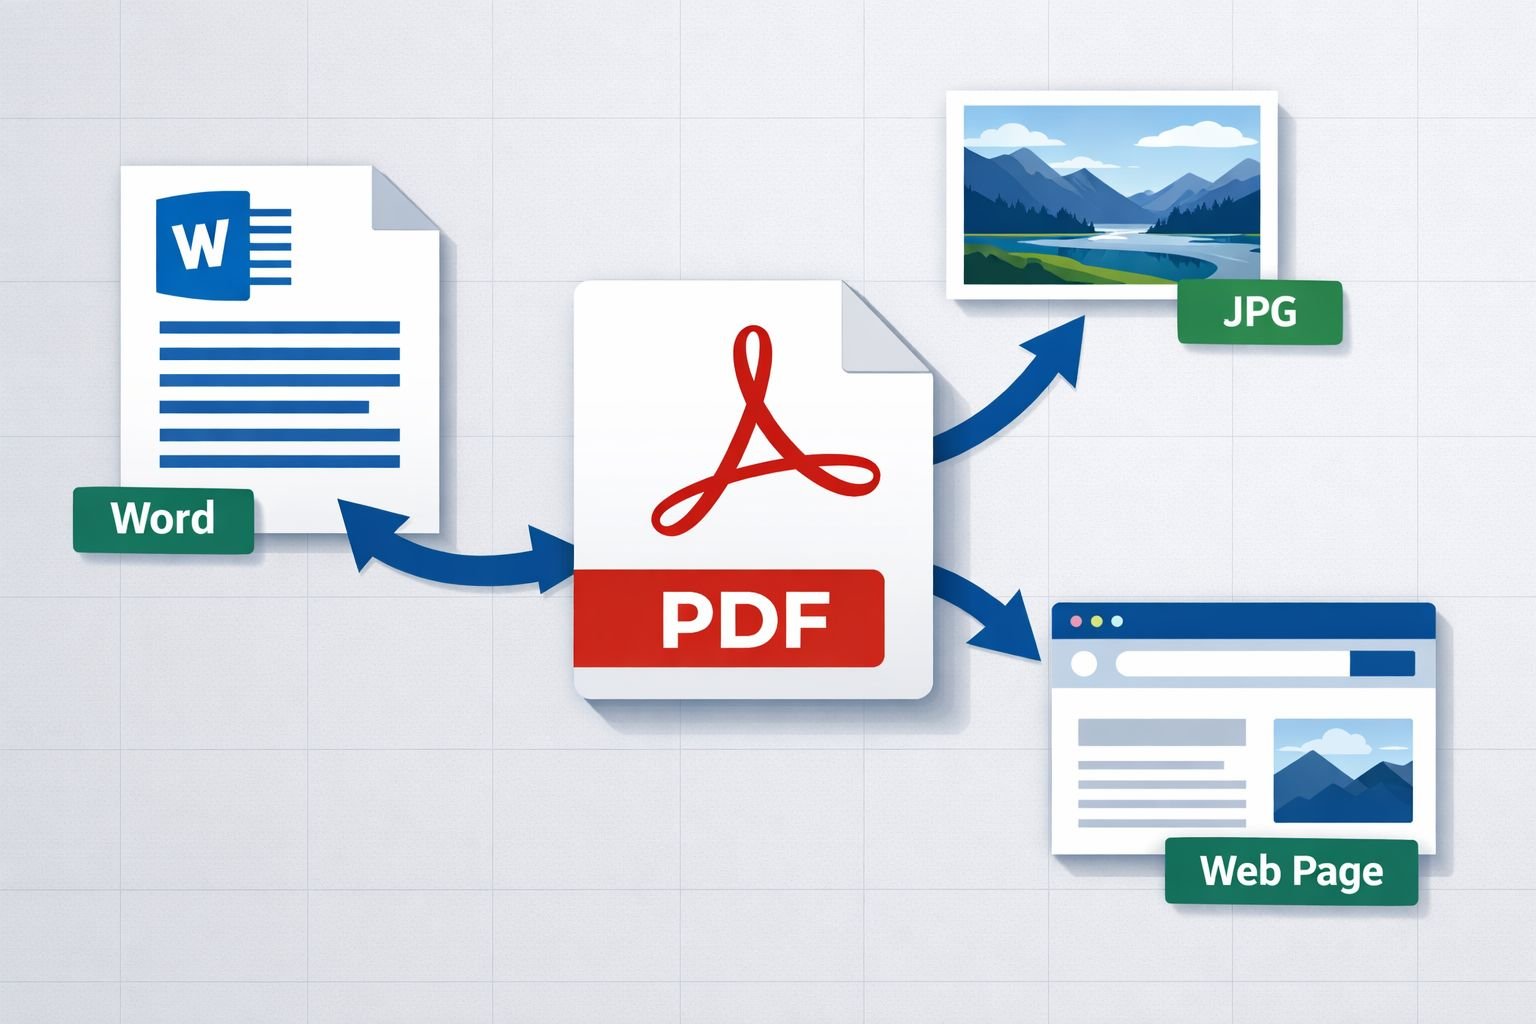
How to Create PDFs From Documents, Images, and Web Pages
Each source type has its own best approach. Here’s a simple breakdown.
From a Word Document
- Open your
.docxfile in Word, Google Docs, or LibreOffice. - Go to File → Export → Create PDF/XPS (Word) or File → Download as → PDF (Google Docs).
- In Word’s export dialog, click Options to embed bookmarks or set print quality.
- Save the file. Check that text is selectable in the output — if it is, the export worked correctly.
Common mistake: Using “Print → Microsoft Print to PDF” instead of the Export function. The result looks identical but often strips hyperlinks and produces a slightly larger file.
If the resulting PDF has layout issues — shifted tables, wrong fonts — see the guide on fixing PDF to Word formatting problems for troubleshooting tips that apply in reverse.
From Images (JPG, PNG, HEIC)
Images can’t be exported as PDFs directly from a photo viewer in a useful way. Use a dedicated tool instead.
- Compress your images first if file size matters — oversized JPGs will bloat the final PDF. The Image Compressor tool handles this without any visible loss of quality.
- Go to a browser-based Images to PDF converter — all processing happens in your browser, so files stay private.
- Upload your JPG, PNG, or HEIC files, arrange the order, and convert.
- Download the PDF. Text in images will not be searchable unless you run OCR (optical character recognition) afterward.
Best settings for image-to-PDF:
- Use JPG source files at 150–200 DPI for standard documents; 300 DPI for print-ready output
- PNG is better for screenshots with text — sharper edges, less compression artifact
- Keep individual images under 2 MB before conversion to avoid slow output
For HEIC files from an iPhone, convert them to JPG first using a free HEIC to JPG converter before building your PDF.
From a Web Page
- In Chrome, Edge, or Firefox: press Ctrl+P (or Cmd+P on Mac) → set destination to “Save as PDF.”
- Adjust margins and scale in the print preview to avoid text getting cut off.
- For a cleaner result, use your browser’s Reader Mode first (if available) to strip ads and navigation before printing.
- Download and check that links are intact — browser print-to-PDF usually preserves them, unlike some desktop printer drivers.
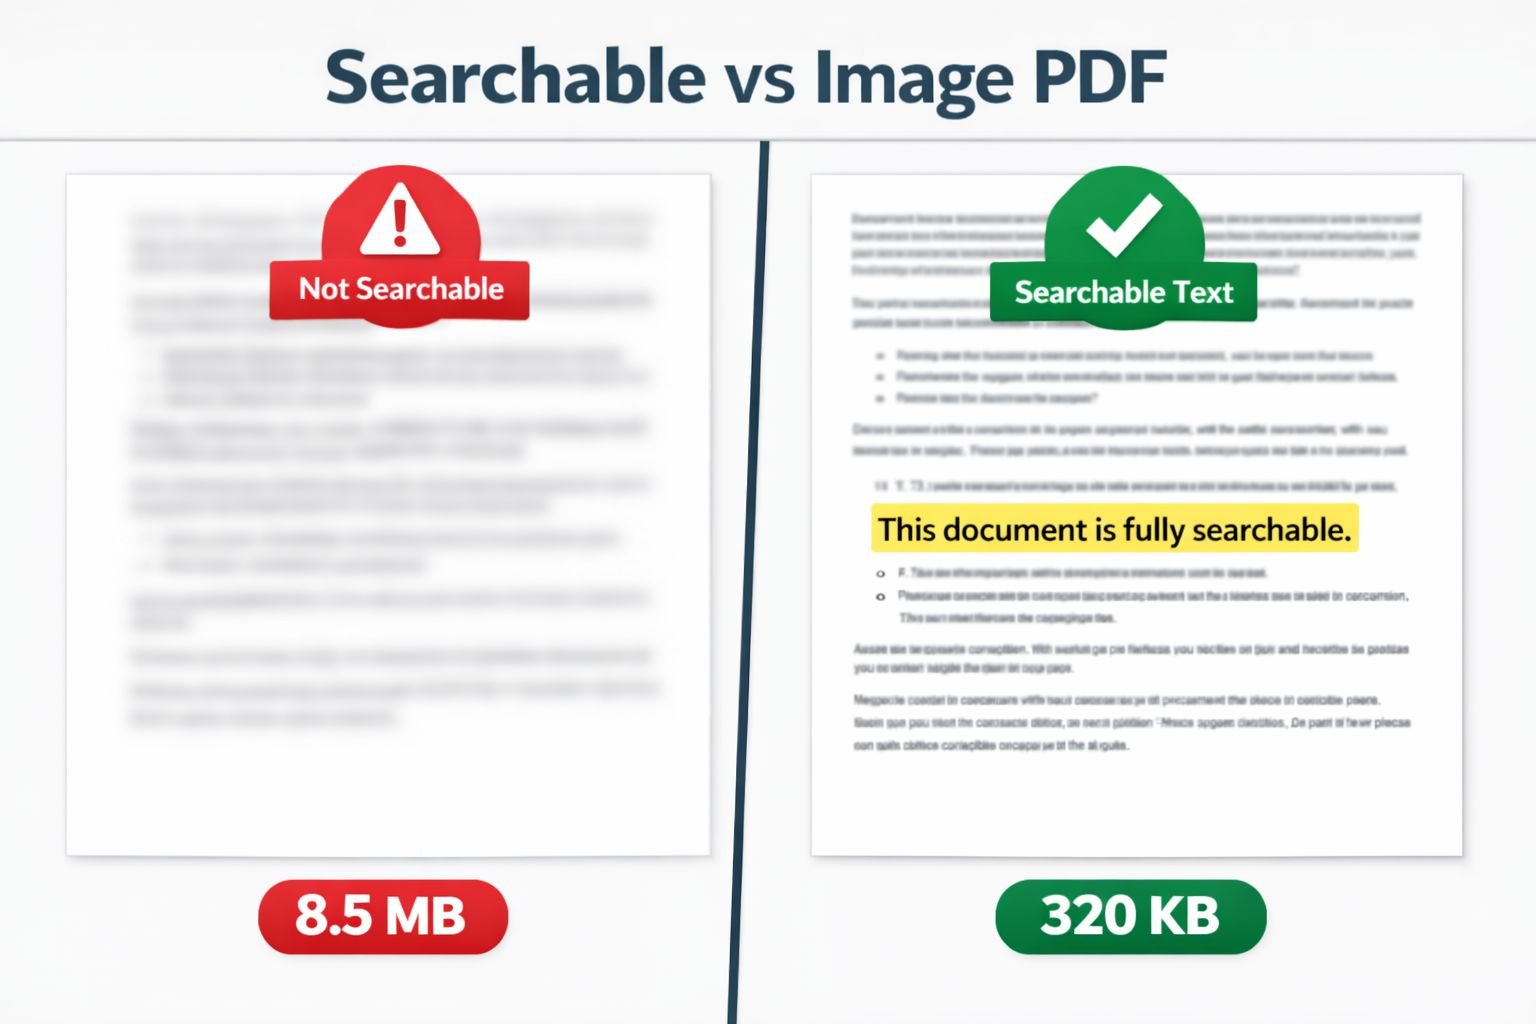
Why Some PDFs Are Not Searchable (And How to Fix It)
This surprises many users: a PDF can look perfectly normal but contain zero searchable text. This happens when the PDF was created from a screenshot, a scanned image, or a printer driver that rasterized the content — turning everything into pixels instead of preserving the underlying text data.
Signs your PDF is image-based (not searchable):
- You can’t click and drag to highlight text
- Ctrl+F finds nothing
- The file is unusually large for its apparent content
- Copy-pasting produces garbled characters or nothing at all
The fix: Run the PDF through an OCR (Optical Character Recognition) process. Many online tools offer this. For future PDFs, switch to the Export method described above — it prevents the problem from occurring in the first place.
💡 Accessibility note: Image-based PDFs also fail screen readers used by people with visual impairments. If you’re creating PDFs for public documents, forms, or anything shared professionally, searchable text isn’t just convenient — it’s an accessibility requirement in many contexts.
How to Control PDF File Size During Creation
File size is one of the most common frustrations with PDF creation. A 20-page Word document shouldn’t produce a 40 MB PDF, but it can — usually because of embedded high-resolution images or fonts.
Before you create the PDF:
- Compress images in your source document. Images embedded in Word files are often far larger than needed. Aim for 96–150 DPI for screen viewing; 300 DPI only if the PDF will be printed professionally.
- Remove unused fonts and embedded media.
- For image-only PDFs, use our guide on compressing images without quality loss before conversion.
After you create the PDF:
- Run the finished PDF through a PDF compressor to reduce its size further. Most PDFs can be compressed 40–70% without visible degradation.
- For email attachments, aim for under 5 MB. Most email providers cap attachments at 10–25 MB, but smaller is always better for the recipient.
- Check out the detailed guide on compressing PDFs for email for step-by-step settings.
Quick size reference:
| PDF Type | Typical Unoptimized Size | After Compression |
|---|---|---|
| 1-page resume (text only) | 80–200 KB | 50–100 KB |
| 10-page report with images | 5–15 MB | 1–4 MB |
| 20 JPG photos combined | 15–40 MB | 3–8 MB |
| Scanned document (10 pages) | 20–60 MB | 5–15 MB |
How to Keep PDFs Searchable, Accessible, and Well Structured
Creating a PDF that works well for everyone — including search engines, screen readers, and people using Ctrl+F — requires a few intentional steps.
For searchability:
- Always use Export/Save as PDF, not print-to-PDF, when working from a text document.
- Add a descriptive document title in the file properties before exporting (in Word: File → Info → Title).
- Use proper heading styles (Heading 1, Heading 2) in your source document — these become PDF bookmarks automatically on export.
For accessibility:
- Add alt text to images in your Word document before exporting. These carry over to the PDF.
- Use a logical reading order — don’t use text boxes positioned visually but out of sequence in the document structure.
- Avoid placing critical information only in images or decorative elements.
For structure:
- Use the “Bookmarks” panel in your PDF to check that chapters and sections are navigable.
- If you’re merging multiple PDFs, tools like the Merge PDF tool let you combine files while keeping each document’s internal structure intact.
Protect and Share Newly Created PDFs Safely
A freshly created PDF can contain more information than you realize. Word documents embed author names, edit history, and sometimes company metadata. Images carry EXIF data including GPS coordinates and device information.
Before sharing a PDF:
- Strip metadata from source images using an Image EXIF Remover before building the PDF.
- In Word, go to File → Info → Check for Issues → Inspect Document to remove hidden data before exporting.
- If the PDF contains sensitive content, consider password protection — most PDF editors and export dialogs include this option.
A note on security in 2026: Adobe patched a critical zero-day vulnerability in Acrobat and Reader in April 2026 (CVE-2026-34621) that allowed malicious PDFs to execute code on a user’s machine. This is a good reminder to keep PDF reader software updated, and to be cautious about opening PDFs from unknown sources — regardless of which tool created them.
Privacy-first sharing tips:
- Use browser-based tools that process files locally — your document never touches a remote server.
- For sensitive documents (legal, medical, financial), avoid uploading to any cloud-based PDF service unless you’ve reviewed their privacy policy.
- If you need to split out specific pages before sharing, the Split PDF tool lets you extract only what the recipient needs — keeping the rest private.
Recommended PDF Maker Tools and Workflows for 2026
No single tool is best for every situation. Here’s a practical breakdown by use case.
For Word and Office Documents
- Microsoft Word / Google Docs: Built-in Export to PDF is the fastest, cleanest option. No extra tools needed.
- LibreOffice: Free, open-source, cross-platform. Excellent PDF export with accessibility options. Slightly dated interface but reliable output.
For Images and Mixed Content
- CoreToolsHub Images to PDF: Runs entirely in your browser, no signup required, privacy-first. Best for combining JPGs, PNGs, or HEIC files into a single PDF quickly.
- PDF24 Creator: Top-rated free Windows tool with a virtual PDF printer and a full suite of PDF tools. Works offline, which is a privacy advantage for heavy users.
For Web Pages
- Browser Print to PDF (Chrome/Edge/Firefox): Good enough for most web captures. Use Reader Mode first for cleaner output.
- Browser extensions: Tools like GoFullPage (Chrome) capture full-length pages more accurately than the default print dialog.
For Structured Documents and Reports
- OnlyOffice 9.3: Open-source, cross-platform, strong PDF export. Handles complex layouts better than LibreOffice for some document types.
- Canva: Best for short visual documents — flyers, one-pagers, presentations. Not ideal for multi-page structured documents.
For AI-Generated PDFs
- Inkfluence AI: Strong choice for creating structured multi-chapter documents (ebooks, guides) where the content itself needs to be generated, not just formatted. Exports clean PDFs without watermarks on the free tier.
Common mistakes to avoid:
- ❌ Using a screenshot as a PDF source — produces large, non-searchable files
- ❌ Skipping image compression before conversion — inflates file size unnecessarily
- ❌ Relying on print-to-PDF for documents with hyperlinks
- ❌ Forgetting to check the output — always open the PDF and verify text is selectable
- ❌ Sharing PDFs without stripping metadata from sensitive documents
Conclusion
Creating a polished PDF is straightforward once you match the right method to your source material. Use Export to PDF for Word documents and office files — it’s faster, produces smaller files, and keeps text searchable. Use a browser-based image-to-PDF tool for photos and scans, and compress images first to keep file sizes manageable. For web pages, browser print-to-PDF works well for quick captures, but check that links survive the process.
The biggest mistake most users make isn’t choosing the wrong tool — it’s not checking the output. Open every PDF you create, try selecting text, and verify the file size before sending it anywhere.
Next steps:
- Start with the CoreToolsHub PDF Tools hub for a full set of browser-based PDF tools — no installs, no signup required.
- If you’re combining images into a PDF, compress them first with the Image Compressor, then convert with the Images to PDF tool.
- After creating your PDF, run it through the PDF Compressor if the file is larger than expected.
All processing runs in your browser — your files stay private, and results are ready in seconds.
Frequently Asked Questions
Q: What’s the difference between a PDF maker and a PDF editor? A PDF maker creates a new PDF from a source file (Word doc, image, web page). A PDF editor modifies an existing PDF — adding text, annotations, or signatures. Many tools do both, but they serve different starting points.
Q: Can I make a PDF from my phone without an app? Yes. Most mobile browsers support print-to-PDF. In Chrome on Android or Safari on iPhone, tap the share or print icon and choose “Save as PDF.” For image-to-PDF conversion, browser-based tools work on mobile without any download.
Q: Why is my PDF so large after converting from Word? Usually because of high-resolution embedded images in the Word file. Compress images in the document first, or run the finished PDF through a PDF compressor. Text-only documents should produce PDFs under 500 KB for most standard documents.
Q: How do I make a PDF searchable after it’s already been created as an image? You need OCR (Optical Character Recognition) software to scan the image layer and add a text layer. Several free online tools offer this. Going forward, use Export to PDF from your source application to avoid the problem.
Q: Is it safe to use an online PDF maker for confidential documents? It depends on the tool. Browser-based tools that process files locally (all processing in browser, no server uploads) are significantly safer than cloud-based tools. Check the tool’s privacy policy before uploading anything sensitive.
Q: Do browser-based PDF tools work on Mac and Windows? Yes. Because they run in the browser, they work on any operating system — Mac, Windows, Linux, Chromebook, and mobile devices.
Q: Can I combine a Word document and images into one PDF? Yes, but it usually takes two steps: export the Word doc as a PDF, then use a merge tool to combine it with image-based PDF pages. The Merge PDF tool handles this quickly.
Q: What DPI should I use for a print-ready PDF? 300 DPI is the standard for professional printing. For screen-only PDFs (email, web, digital forms), 96–150 DPI is sufficient and produces much smaller files.
Q: Will my hyperlinks survive PDF conversion? They will if you use Export to PDF from Word or Google Docs. They often won’t if you use print-to-PDF through a printer driver. Always check links in the output file before sharing.
Q: What’s the fastest way to turn multiple photos into one PDF? Upload them to a browser-based Images to PDF tool, arrange the order, and convert. The whole process takes under a minute for most batches.