Last updated: June 8, 2026
Quick Answer: An AI headshot generator transforms ordinary selfies into polished, studio-style professional photos in minutes, typically costing $0–$35 compared to $150–$400 for a traditional photographer. The results are good enough for LinkedIn, resumes, and personal websites — but choosing the right tool, carefully preparing your input photos, and handling the final image properly make the difference between “impressive” and “obviously fake.”
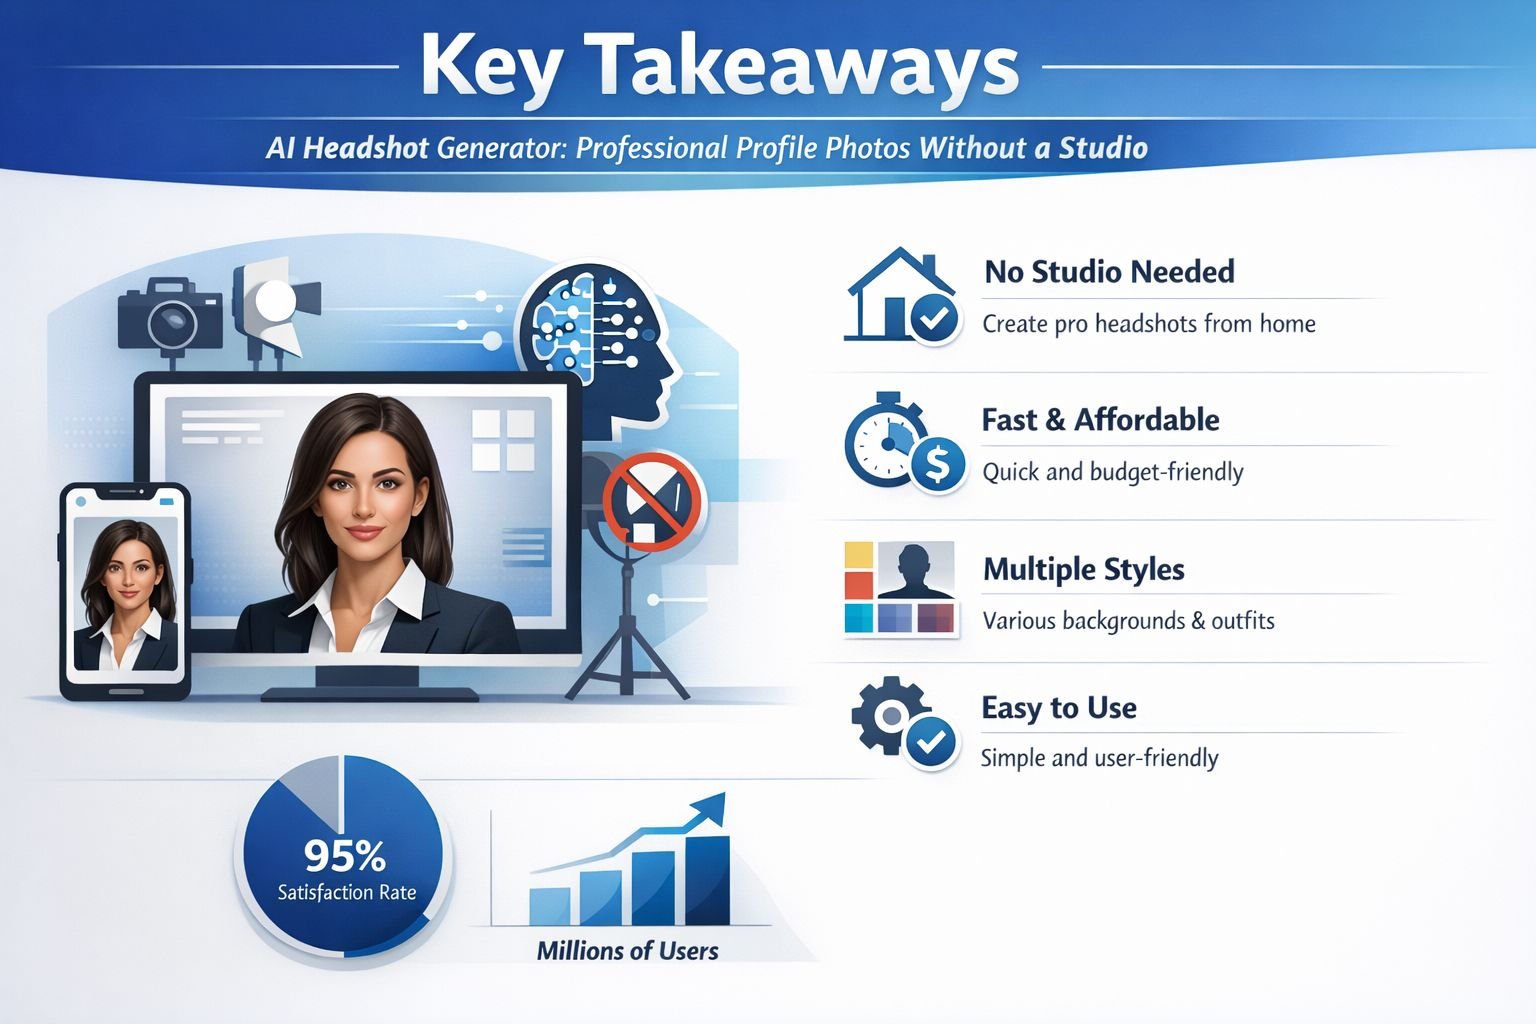
Key Takeaways
- AI headshot generators use trained neural networks to relight, repose, and enhance selfies into professional-looking portraits — no studio visit needed.
- Pricing ranges from free (limited) to ~$35 for premium tools; most deliver results in under 30 minutes.
- Input quality matters enormously. A well-lit, front-facing selfie produces dramatically better output than a dim, angled group crop.
- Over-editing is the biggest risk. Skin smoothing, altered bone structure, and unrealistic lighting can make headshots look uncanny or misleading.
- Privacy varies widely between tools. Some retain your face data for model training; others delete uploads within hours. Read the terms.
- Post-processing (resizing, compressing, and format conversion) is still necessary to meet platform-specific requirements for LinkedIn, job boards, and websites.
- Ethical use means choosing an output that still looks like you — not a heavily idealized version that colleagues wouldn’t recognize.
- Hybrid workflows work best: generate the headshot with AI, then crop, resize, and compress with privacy-first browser tools.
How AI Headshot Generators Work (and What They Need From You)
An AI headshot generator uses a machine learning model — usually a diffusion model or a GAN (generative adversarial network) — trained on millions of professional portrait photographs. When you upload selfies, the model maps your facial features, then generates new images that place your likeness into studio-quality lighting, backgrounds, and poses.
What most tools require from you:
- 4–12 selfies taken in varied lighting and angles
- Clear, unobstructed face (no sunglasses, heavy shadows, or group shots)
- Neutral to slight smile expression for best identity mapping
- Resolution of at least 1024×1024 pixels (most modern phone cameras exceed this)
What happens behind the scenes:
- The tool extracts facial landmarks and identity features from your uploads.
- It generates dozens of candidate headshots with different backgrounds, outfits, and lighting.
- You pick your favorites, sometimes with options to adjust background color or attire.
Common mistake: Uploading only one selfie or using heavily filtered Instagram photos. The AI needs multiple unfiltered references to accurately capture your face shape, skin tone, and features. Filtered inputs produce outputs that look like someone else’s.
Quick tip: If your phone saves photos in HEIC format (common on iPhones), convert them first. Many AI tools accept only JPG or PNG. Our guide on HEIC to JPG conversion covers this in seconds.
Best AI Headshot Generator Tools Compared: Pricing, Quality, and Speed
Here’s a practical breakdown of the most-reviewed AI headshot generators in 2026, based on published reviews and user feedback:
| Tool | Starting Price | Turnaround | Output Volume | Realism Rating | Best For |
|---|---|---|---|---|---|
| Aragon.ai | ~$35 | ~15 min | 40+ headshots | 4.8/5 | Highest realism, LinkedIn-ready |
| ExecHeadshots | ~$45 | 30–60 min | 50+ headshots | 4.7/5 | Executive/business workflows |
| HeadshotPro | ~$29 | 1–2 hours | 40+ headshots | 4.5/5 | Team/batch generation |
| MyEdit | Free (3/day) | ~5 min | 3 free daily | 4.0/5 | Quick free option |
| HeadshotKiwi | ~$15 | 20–30 min | 20+ headshots | 4.3/5 | Budget photorealism |
| Photographe.ai | ~$9 | 15–30 min | 250 photos | 3.8/5 | Volume over precision |
| Canva AI | $120/yr (Pro) | Instant | Varies | 3.5/5 | Integrated design workflow |
Decision rules:
- Choose Aragon.ai or ExecHeadshots if you need the most realistic result for a senior role or client-facing profile.
- Choose MyEdit if you want a quick, free test before committing money.
- Choose HeadshotPro if you’re generating headshots for a team of 5+ people.
- Choose Photographe.ai if you want maximum volume on a tight budget and can tolerate ~80% resemblance.
Edge case: Canva’s AI headshot feature is part of a broader design subscription. It’s convenient if you already use Canva Pro for other work, but it doesn’t match the realism of dedicated headshot tools.
Common mistake: Picking a tool based solely on price. The $9 option that produces 250 images sounds great — until half of them look like someone else. For a LinkedIn profile that recruiters and clients will see, spending $29–$35 on a higher-fidelity tool typically pays for itself.
How to Prepare AI Headshots for LinkedIn, Resumes, and Portfolios
Getting a great AI headshot is only half the job. Every platform has specific image requirements, and uploading an oversized or wrongly formatted file can result in blurry compression or awkward cropping.
Platform Specs at a Glance
| Platform | Recommended Size | Max File Size | Format |
|---|---|---|---|
| LinkedIn profile | 400×400 px | 8 MB | JPG or PNG |
| LinkedIn banner | 1584×396 px | 8 MB | JPG or PNG |
| Resume/CV (embedded) | 300–400 px wide | Under 500 KB | JPG |
| Personal website | 800×800 px | Under 200 KB for speed | WebP or JPG |
| Job portal uploads | Varies (often 150–300 KB max) | Check each portal | JPG |
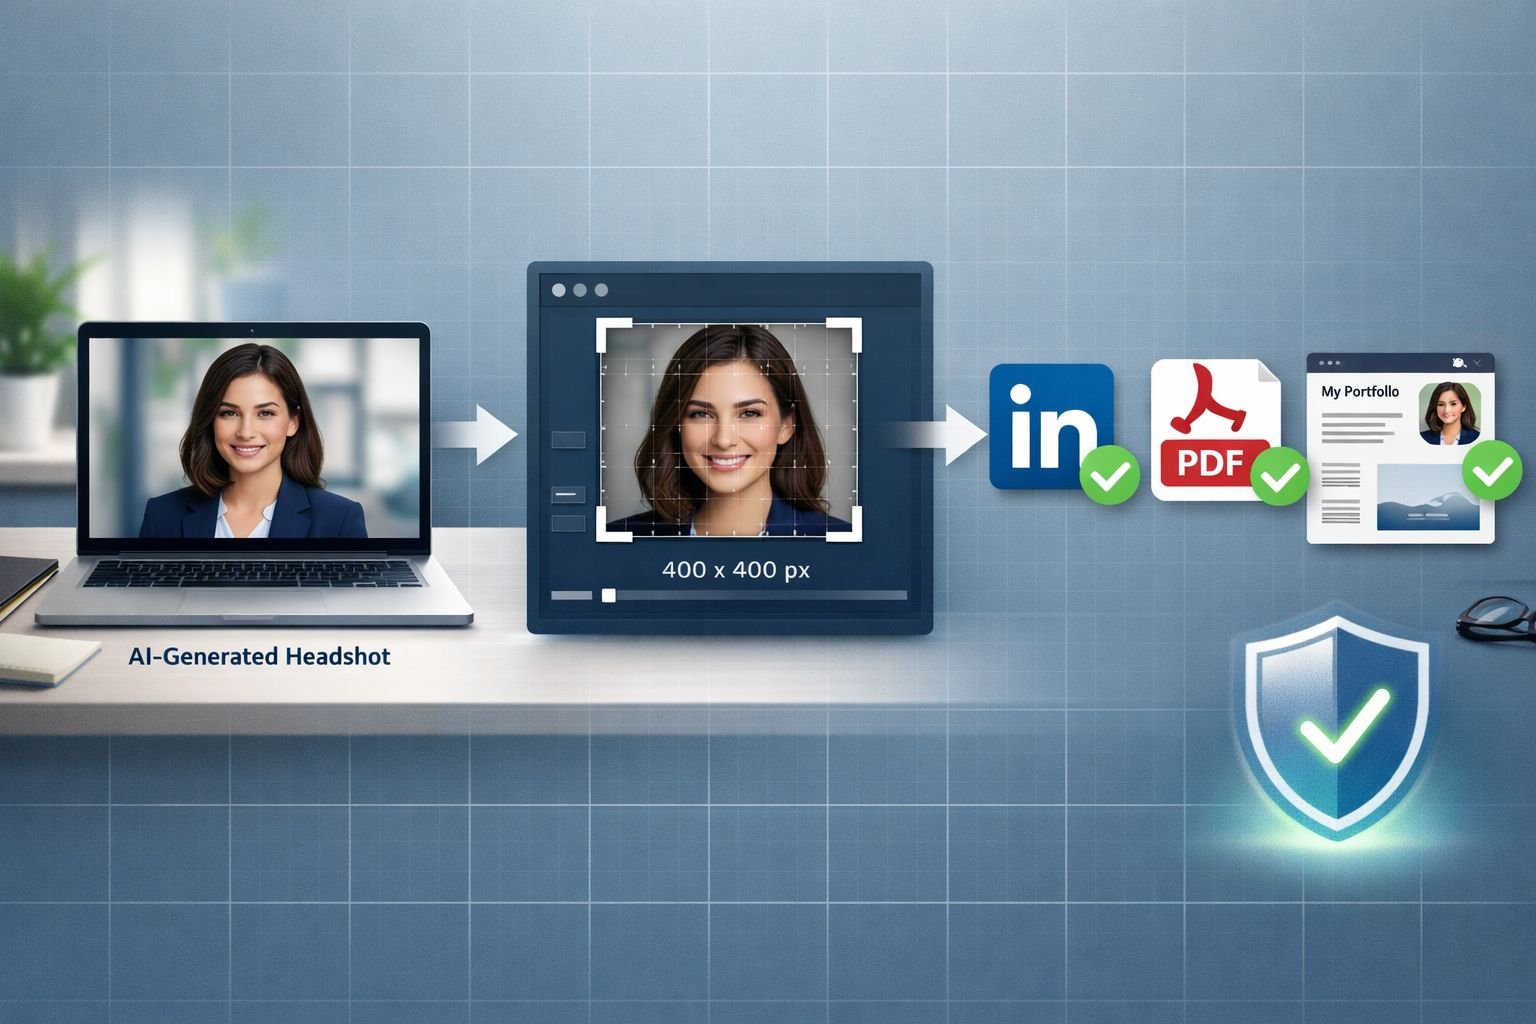
Step-by-Step: From AI Output to Upload-Ready File
- Download your chosen headshot from the AI tool (usually delivered as a high-res JPG or PNG).
- Crop to a square or platform-specific ratio. Use a browser-based tool to resize to exact dimensions without distortion.
- Compress for web. A raw AI headshot can be 2–5 MB. For LinkedIn and job portals, compress the image without visible quality loss to get under 500 KB.
- Convert format if needed. Some AI tools output PNG files that are unnecessarily large for photos. Converting to JPG or WebP cuts file size significantly.
- Strip EXIF metadata before uploading to any public platform. AI-generated images sometimes carry metadata you don’t want exposed. The Image EXIF Remover handles this in your browser with no uploads to external servers.
- Preview at actual display size. Zoom to 100% and check for artifacts around hair edges, ears, and collar — the areas where AI headshots most commonly break down.
Common mistake: Skipping compression. A 4 MB headshot on a personal portfolio site slows page load noticeably. For web use, aim for crisp images under 200 KB — fast, clean results that load instantly on desktop and mobile.
Ethics, Bias, and Authenticity: The Honest Conversation About AI Headshots
AI headshots sit in an interesting ethical space. They’re not fake in the way a stock photo of someone else would be — they’re generated from your actual face. But they can misrepresent you in subtler ways.
Where the Lines Get Blurry
- Skin smoothing and “beautification” that removes natural texture, moles, or wrinkles
- Altered facial structure — some tools subtly narrow noses, enlarge eyes, or reshape jawlines
- Lighting and background that imply a setting you were never in (a corner office, a studio)
- Clothing changes that don’t match your actual wardrobe or professional context
Dataset Bias Is Real
AI headshot models are trained on existing professional photography datasets, which historically skew toward certain skin tones, facial structures, and Western beauty standards. This can result in:
- Lighter skin tones in output than the user’s actual complexion
- Straightened or altered hair textures
- Features that drift toward a “generic professional” look rather than preserving individual characteristics
What to do about it: After generating headshots, compare them side-by-side with your original selfies. If the AI version doesn’t look like someone your colleagues would recognize in a hallway, pick a different output or adjust settings.
The Disclosure Question
No major platform currently requires disclosure that a profile photo is AI-generated. However, the proposed NO FAKES Act (expected for late 2026 implementation) would create federal rights over digital face replicas, which could eventually affect how AI headshots are labeled.
Practical recommendation: Use AI headshots as a starting point, not a fantasy. Select the output that most closely resembles your actual appearance. If you’re in a field where trust and personal recognition matter (consulting, sales, executive roles), consider a hybrid approach: AI-generated base image refined with manual touch-ups, or simply use the AI headshot as a placeholder until you can book a real session.
A career coach’s perspective worth noting: Several professionals in the freelance and remote-work community have found that AI headshots work well for initial LinkedIn presence, but recommend switching to a real photo once you’ve landed interviews or built client relationships. The headshot gets you noticed; authenticity keeps the trust.
How to Protect Your Privacy When Uploading Face Photos to AI Tools
This is the section most guides skip, and it matters more than people realize.
When you upload selfies to an AI headshot generator, you’re handing over biometric data — your face. Here’s what varies between tools:
Key Privacy Questions to Ask Before Uploading
| Question | Good Answer | Red Flag |
|---|---|---|
| Are uploads deleted after processing? | Yes, within 24–48 hours | “We retain data to improve our models” |
| Is face data used for model training? | No, or opt-out available | No mention of training data use |
| Where are images processed? | Specified region (US, EU) | Vague or unspecified |
| Is data encrypted in transit? | Yes, TLS/HTTPS | HTTP or no mention |
| Can you request full data deletion? | Yes, with clear process | No deletion policy |
Common mistake: Assuming “free” means “no cost.” Free AI headshot tools often monetize through data. Your face becomes training material for future models. If privacy matters to you, a paid tool with explicit data deletion policies is usually the safer choice.
A Privacy-First Alternative for Post-Processing
Once you’ve downloaded your AI headshot, all further editing — cropping, resizing, compressing, format conversion — can happen entirely in your browser with no server uploads. Tools that run in your browser process files locally on your device. No signup required, no files leave your machine.
This is especially relevant for browser-based file conversion versus cloud upload tools, where the privacy difference is significant. Cloud tools send your image to a remote server; browser-based tools keep files private by design.
Recommended Workflow: Combining AI Headshots With Browser-Based Tools
Here’s the complete workflow from selfie to published profile photo, optimized for quality and privacy:
Full Workflow Checklist
- Take 6–10 well-lit selfies — natural light, plain background, varied angles, no filters
- Convert HEIC to JPG if needed — use the HEIC to JPG converter (runs in your browser, no uploads)
- Upload to your chosen AI headshot generator — Aragon.ai for premium realism, MyEdit for a free test
- Select 2–3 outputs that most closely resemble your actual appearance
- Crop and resize to platform specs using the Image Resizer — all processing in browser, no installs
- Compress for web — target under 200 KB for websites, under 500 KB for LinkedIn
- Strip EXIF data before uploading to any public profile
- Save in the right format — JPG for most platforms, WebP for personal websites (smaller file, same quality)
- Upload and verify — check how it renders on both desktop and mobile
Best Settings for Common Use Cases
| Use Case | Dimensions | Format | Target Size | Compression |
|---|---|---|---|---|
| LinkedIn profile | 400×400 px | JPG | Under 300 KB | 80–85% quality |
| Personal website | 800×800 px | WebP | Under 150 KB | 75–80% quality |
| Resume PDF embed | 300×300 px | JPG | Under 100 KB | 85% quality |
| Email signature | 150×150 px | JPG or PNG | Under 50 KB | 80% quality |
| Job portal | 200×200 px | JPG | Under 150 KB | 85% quality |
For social media profiles beyond LinkedIn, our guide on resizing profile pictures for all social media platforms covers exact dimensions for every major network.
Common Mistakes With AI Headshots (and How to Fix Them)
1. The “uncanny valley” look. Over-smoothed skin, perfectly symmetrical features, and impossibly even lighting. Fix: Choose the least-edited output. A slight asymmetry or natural shadow actually looks more trustworthy.
2. Hair and ear artifacts. AI frequently struggles with flyaway hair, earrings, and the boundary between hair and background. Fix: Zoom to 100% before downloading. If artifacts are visible, try a different background color in the generator — solid backgrounds hide edge issues better.
3. Wrong file size for the platform. Uploading a 5 MB image to LinkedIn, which then re-compresses it aggressively. Fix: Compress it yourself first to control quality. You’ll get a better result than letting the platform’s algorithm decide.
4. Mismatched lighting direction. Some AI tools place light sources inconsistently across the face. Fix: Compare to reference professional headshots. Light should come from one consistent direction, usually slightly above and to one side.
5. Using an AI headshot that doesn’t look like you. The most common and most consequential mistake. Fix: Show the headshot to someone who knows you. If they hesitate, pick a different one.
Conclusion
An AI headshot generator is a practical, affordable way to get a professional profile photo — especially if you’re a job seeker between roles, a founder bootstrapping a brand, or a creator building an online presence. The technology has matured enough that tools like Aragon.ai and ExecHeadshots produce genuinely usable results for $30–$45, while free options like MyEdit let you test the waters.
But the headshot itself is only the starting material. Getting it right for LinkedIn, your resume, or your website means resizing to exact dimensions, compressing without visible quality loss, stripping metadata, and choosing the right format. That’s where privacy-first, browser-based tools fill the gap — no signup required, no files uploaded to external servers, fast clean results.
Your next steps:
- Try one AI headshot generator with a small batch of selfies.
- Pick the most natural-looking output.
- Head to the Core Tools Hub Image Tools to crop, resize, compress, and convert — all in your browser, all private.
- Upload to your profiles and start making a stronger first impression.
FAQ
How much does an AI headshot generator cost? Free options are available (MyEdit offers 3 daily credits), but high-quality paid tools range from $9 to $45 per session. Most job seekers find the $29–$35 range offers the best balance of realism and value.
Are AI headshots good enough for LinkedIn? Yes, for most users. The top-rated tools produce headshots that are indistinguishable from professional photography at LinkedIn’s display resolution (400×400 px). Choose outputs that closely match your real appearance.
Can employers tell if a headshot is AI-generated? Not reliably by eye in 2026, though AI detection tools are improving. The bigger risk is meeting someone in person who doesn’t recognize you from your profile. Pick a realistic output.
Do AI headshot tools keep my face data? It depends on the tool. Some delete uploads within hours; others retain images for model training. Always check the privacy policy before uploading. Paid tools generally have clearer data deletion commitments.
What photo format should I use for my AI headshot? JPG for LinkedIn, resumes, and job portals. WebP for personal websites (smaller file size, same visual quality). PNG only if you need a transparent background.
How many selfies do I need to upload? Most tools request 4–12 selfies. More variety (different lighting, angles, expressions) produces better results. Avoid filtered or heavily edited source photos.
Can I use an AI headshot for a passport or government ID? No. Government documents require unaltered photographs. AI-generated images do not meet these requirements.
What’s the best free AI headshot generator? MyEdit (by CyberLink) currently offers the best free tier with 3 daily credits and reasonable quality. Canva AI requires a Pro subscription ($120/year) but includes headshot generation among many other features.
Should I disclose that my headshot is AI-generated? No platform currently requires it, but transparency builds trust. In high-stakes professional contexts, consider mentioning it or upgrading to a real photo once you can.
How do I fix an AI headshot that looks over-processed? Download the least-edited version available. Then use browser-based tools to make minor adjustments (cropping, slight compression) rather than adding more AI processing on top.
What resolution should my AI headshot be? For most uses, 800×800 pixels is sufficient. LinkedIn displays at 400×400, so anything above that gives you room to crop. For print (business cards, conference badges), aim for 300 DPI at the printed size.