Last updated: May 8, 2026
Quick Answer: To convert SVG to PNG free, upload your SVG file to a browser-based tool, set the output resolution for your target platform (for example, 1024×1024px at 2x for app icons), enable transparent background if needed, then download. No software install or signup required. The single most important step is choosing the right output size before you convert — once rasterized, a PNG cannot be scaled up without quality loss.
Key Takeaways
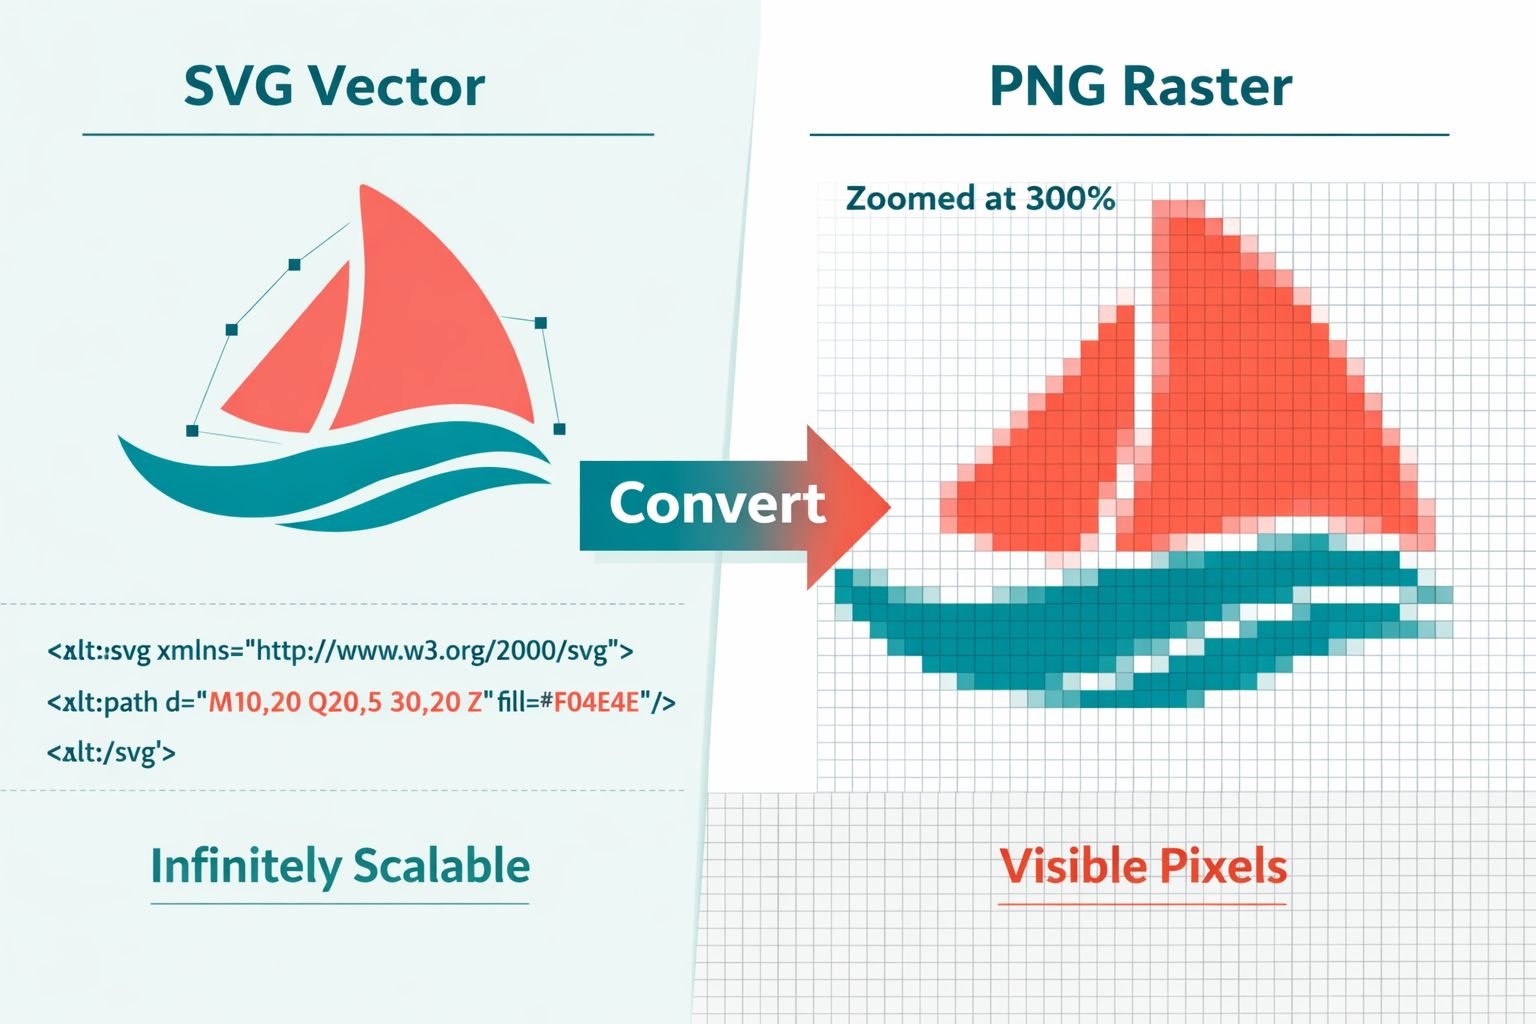
- SVG is infinitely scalable; PNG is fixed-resolution. Choosing the wrong output size before converting is irreversible, so resolution selection is the most critical step.
- Use 2x or 3x resolution for retina and high-DPI displays (for example, export a 512×512px icon as 1024×1024px for retina).
- Browser-based SVG to PNG converter free tools process files locally — your SVG never leaves your device, which matters for proprietary logos and brand assets.
- Transparent backgrounds in SVG are preserved in PNG if you select the correct export option; JPEG does not support transparency.
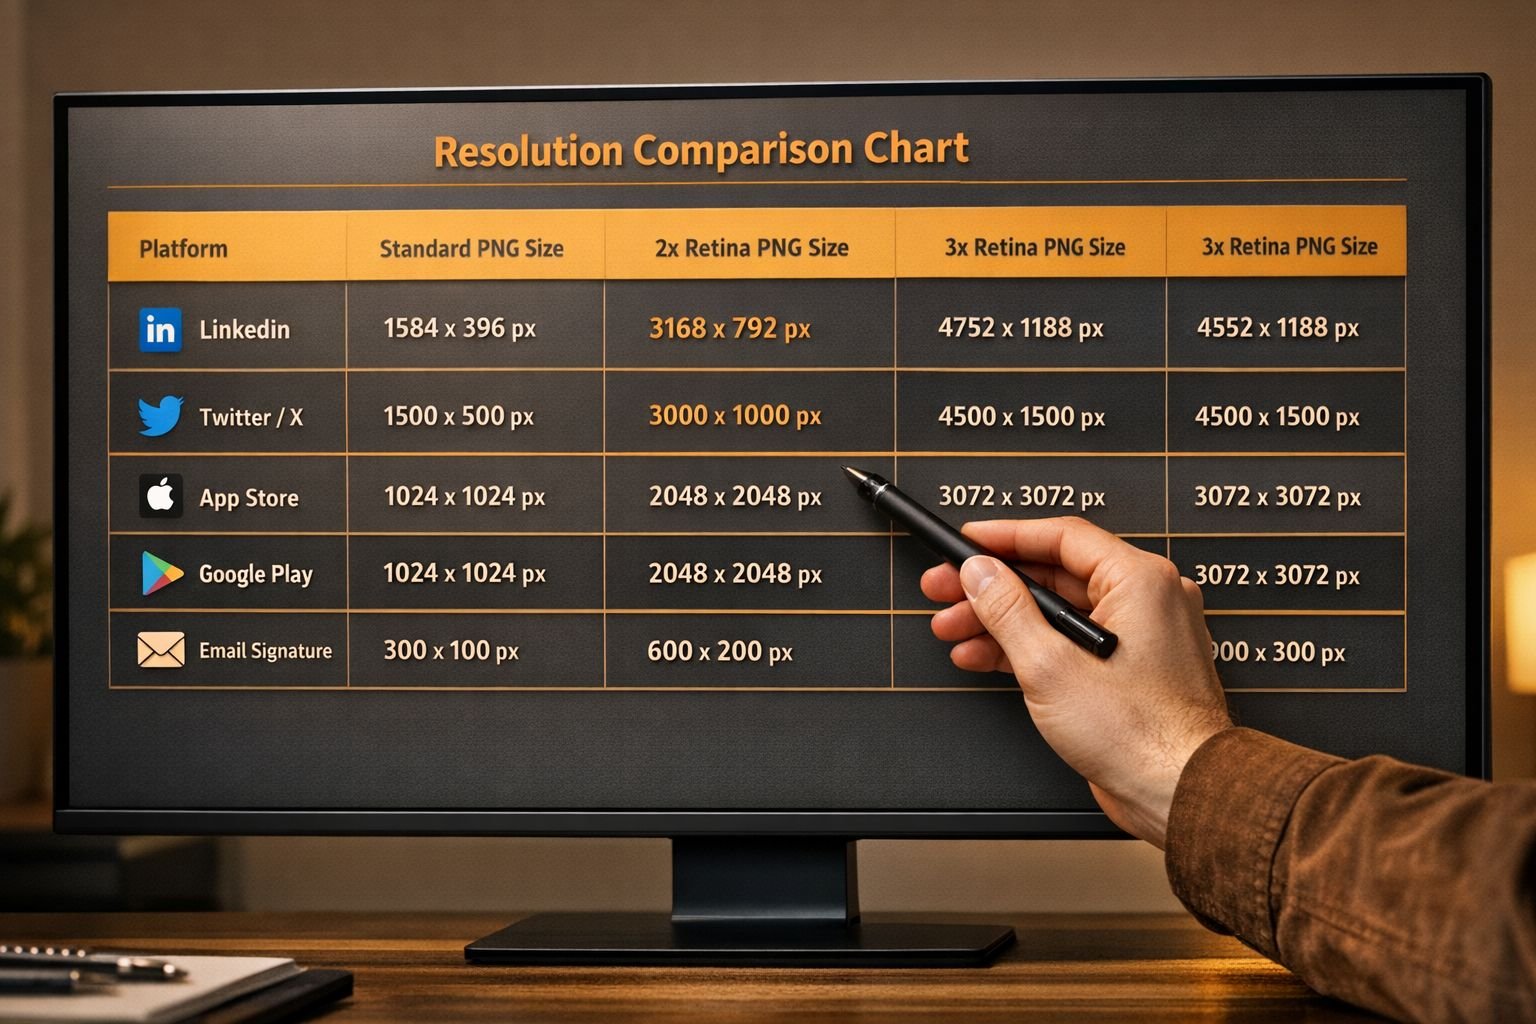
- Platform requirements vary significantly: LinkedIn headers, app store icons, email signatures, and social media profiles each need different pixel dimensions.
- Batch conversion is available in tools like Inkscape (CLI) and select online converters, useful for icon sets with multiple sizes.
- After converting, compress your PNG output to reduce file size without visible quality loss — especially important for web and email use.
- No signup, no install, and no file uploads to remote servers are the hallmarks of a privacy-first SVG-to-PNG workflow.
SVG vs. PNG — When You Need to Convert and Why
SVG (Scalable Vector Graphics) and PNG serve different purposes, and most platforms require one or the other. SVG files store graphics as mathematical paths, so they scale to any size without losing sharpness. PNG is a raster format — it stores pixels — which means every platform, app, and document editor that can’t render SVG natively needs a PNG instead.
Here’s when conversion becomes necessary:
- Email clients (Gmail, Outlook) do not render SVG in signatures or inline images.
- Microsoft Office and Google Slides accept PNG for logos and icons but have inconsistent SVG support.
- Social media platforms (LinkedIn, Instagram, Twitter/X) require raster uploads for profile pictures and headers.
- App stores (Apple App Store, Google Play) require PNG icons at specific pixel dimensions.
- Print vendors often request PNG or TIFF at 300 DPI for physical materials.
SVG stays the master file. PNG is the export for distribution. Think of SVG as the original and PNG as the print run — you always go back to the SVG when you need a different size.
Common mistake: Exporting PNG from a low-resolution SVG canvas. Even though SVG is scalable, some SVG files are built on a small artboard (for example, 16×16px). Always check the SVG’s viewBox dimensions before converting, and set the output pixel size explicitly.
Choosing the Right Output Resolution Before You Convert
Resolution selection is the single step that determines whether your PNG looks crisp or blurry — and it cannot be corrected afterward. Unlike SVG, a PNG exported at 200×200px cannot be enlarged to 800×800px without visible pixelation.
Understanding DPI vs. Pixel Dimensions
- DPI (dots per inch) matters for print. For screen use, pixel dimensions are what count.
- For web and screen: set pixel dimensions explicitly (width × height in px).
- For print: target 300 DPI at the physical print size. A business card logo printed at 2 inches wide needs at least 600px wide at 300 DPI.
Retina and High-DPI Displays
Standard screens display at 1x (one pixel per CSS pixel). Retina and high-DPI screens (most modern phones and MacBooks) display at 2x or 3x. To keep logos sharp on these devices, export at a minimum at 2x the intended display size.
For example, if a logo displays at 200×200px on a webpage, export it at 400×400px (2x) or 600×600px (3x).
Platform Resolution Guide — Correct SVG-to-PNG Sizes for Every Use Case
Each platform has specific PNG dimension requirements. Using the wrong size means your image gets cropped, stretched, or compressed by the platform’s own algorithm, which degrades the quality you can’t recover.
| Platform / Use Case | Recommended PNG Size | Notes |
|---|---|---|
| LinkedIn Profile Picture | 400×400px | Displays at 200×200px; 2x for retina |
| LinkedIn Company Banner | 1128×191px | Cropped on mobile; keep logo centered |
| Twitter/X Profile Picture | 400×400px | Circular crop applied by platform |
| Twitter/X Header Image | 1500×500px | Safe zone: center 1260×500px |
| Instagram Profile Picture | 320×320px | Minimum; 2x export recommended |
| Apple App Store Icon | 1024×1024px | No alpha/transparency allowed |
| Google Play Store Icon | 512×512px | 32-bit PNG with alpha supported |
| Email Signature Logo | 300–400px wide | Keep under 50KB for email clients |
| PowerPoint / Slides Logo | 500–800px wide | Higher res for full-bleed slides |
| Print (business card) | 600–1200px wide | 300 DPI at intended print size |
| Favicon | 32×32px, 64×64px | Also export 180×180px for Apple touch |
Decision rule: Choose X if… you’re exporting for a single use — use the exact platform spec. If you’re exporting for multiple uses at once, export at the largest required size (for example, 1024×1024px) and resize down as needed. Resizing down preserves quality; scaling up does not.
For more guidance on sizing images correctly for each platform, see this guide on resizing profile pictures for social media platforms.
How to Convert SVG to PNG Online for Free — Step-by-Step
The fastest way to use an SVG to PNG converter for free is through a browser-based tool — no installs, no signup required, and all processing happens in your browser, so your files stay private.
Follow these steps for clean, predictable results:
- Open the converter in your browser. CoreToolsHub’s online image converter tools run entirely in your browser — your SVG file never leaves your device.
- Upload your SVG file. Drag and drop or click to browse. Most browser-based tools accept SVG files up to several MB.
- Set the output width and height. Use the platform table above to enter the correct pixel dimensions. Do not leave it on “auto” if you have a specific size requirement.
- Choose background color or transparency. Select transparent if the PNG will appear on varied backgrounds (more on this below). Select white or a specific color if the destination doesn’t support alpha channels (for example, Apple App Store icons).
- Select quality or DPI if available. For print, set 300 DPI. For the web, pixel dimensions are sufficient.
- Click Convert. Processing happens in seconds.
- Preview before downloading. Check that edges are sharp, colors are accurate, and the background is correct.
- Download the PNG. Save with a descriptive filename that includes the dimensions (for example,
logo-linkedin-400x400.png).
Best Settings Mini-Table
| Setting | Web / Screen | |
|---|---|---|
| Output format | PNG-24 | PNG-24 |
| Dimensions | Match platform spec | 300 DPI at print size |
| Background | Transparent (if supported) | White or brand color |
| Color profile | sRGB | sRGB or CMYK (check vendor) |
Common mistakes to avoid:
- Exporting at 72 DPI for a print job (results in blurry output at physical size).
- Forgetting to check the transparent background option, resulting in a white box around your logo.
- Downloading without previewing — some SVG files with embedded fonts render differently in browser converters.
For batch icon sets, tools like Inkscape’s command-line interface can export multiple sizes simultaneously, which is useful for developers generating favicon sets or app icon bundles.
How to Preserve Transparent Backgrounds in Your PNG Export
PNG supports full alpha channel transparency; SVG typically uses a transparent background by default. The key is making sure the converter passes that transparency through rather than filling it with white.
Here’s what to check:
- In the converter settings, look for a “transparent background” toggle or a background color picker. Leave the color field empty or select “none/transparent.”
- Preview with a checkerboard: A good converter shows a checkerboard pattern behind your graphic in the preview — this confirms the background is transparent, not white.
- Avoid JPEG as output: JPEG does not support transparency. If you need a transparent export, PNG is the correct format. If file size is a concern after exporting, consider converting PNG to WebP for web use, as WebP also supports transparency at smaller file sizes.
- Check for SVG background rectangles: Some SVG files include a white
<rect>element as the background layer. If your PNG export has an unwanted white box, open the SVG in a text editor or Inkscape and delete that rectangle before converting.
Edge case: SVG files exported from Adobe Illustrator sometimes include a clipping mask that acts as a background. If transparency isn’t preserved after conversion, open the file in Illustrator or Inkscape and release all clipping masks before re-exporting.
Should You Use a Browser-Based Tool or Desktop Software?
For most users — designers, marketers, and developers who need occasional exports — a free browser-based SVG to PNG converter is the faster and safer choice. Desktop software makes sense when you need automation, scripting, or very large batch jobs.
| Scenario | Best Tool Type |
|---|---|
| One-off logo export for a client | Browser-based (fast, private, no install) |
| Batch export of 50+ icon sizes | Inkscape CLI or Figma bulk export |
| Retina 1x/2x/3x for an app | Figma or Sketch export presets |
| Proprietary logo (confidentiality matters) | Browser-based (files stay local) |
| 300 DPI print-ready PNG | Browser-based with DPI setting, or Illustrator |
| Enterprise API pipeline | CloudConvert API or Inkscape CLI |
Browser-based tools that process files locally are the privacy-first choice for agency work and client files. Since all processing happens in the browser, there’s no server upload, no account required, and no risk of file retention.
For context on why local processing matters for sensitive files, see this comparison of browser-based file conversion vs. cloud upload tools.
What to Do With Your PNG After Converting
Converting is just the first step. A freshly exported PNG from an SVG is often larger than necessary for web or email use.
Reduce file size without visible loss of quality using a dedicated image compressor. This is especially important for:
- Email signature logos (keep under 50KB for reliable rendering across clients)
- Website assets (large PNGs slow page load and affect Core Web Vitals)
- Social media uploads (platforms re-compress images; starting smaller reduces double-compression artifacts)
After downloading your PNG, run it through CoreToolsHub’s image compressor to reduce file size without affecting visual quality. For a deeper look at compression techniques, see the guide on compressing image file size without losing quality.
If you later need to resize the PNG to a different dimension, the image resizer tool handles that in the same browser-based, no-upload workflow.
Frequently Asked Questions
Q: Can I convert SVG to PNG without losing quality?
Yes, if you export at a large enough pixel size. SVG is infinitely scalable, so set the output dimensions to the largest size you’ll need. Exporting at a higher resolution than required and scaling down in CSS or your app preserves sharpness.
Q: Does SVG to PNG conversion preserve transparency?
Yes, PNG supports alpha channel transparency. Make sure the “transparent background” option is selected in the converter before exporting. If the preview shows a checkerboard, transparency is active.
Q: What resolution should I use for an SVG to PNG export for print? Use 300 DPI at the physical print size. For a logo printed at 3 inches wide, that means at least 900px wide. For large-format print (banners, posters), confirm the DPI requirement with your print vendor.
Q: Is it safe to convert proprietary logo SVG files online?
It depends on the tool. Browser-based converters that process files locally (all processing in the browser, no server upload) are safe for confidential files. Always check the tool’s privacy policy before uploading client work.
Q: Can I batch convert multiple SVG files to PNG at once?
Some online tools support batch conversion. For larger batches, Inkscape’s CLI is a reliable free option. FreeConvert also supports batch SVG-to-PNG with SSL-secured processing.
Q: Why does my PNG have a white background instead of transparency?
Either the transparent background option wasn’t selected, or the SVG file contains a white rectangle element as a background layer. Check both the converter settings and the SVG source file.
Q: What’s the best PNG size for a LinkedIn profile picture? Export at 400×400px. LinkedIn displays profile pictures at 200×200px, so 400×400px gives you 2x retina-quality without an unnecessarily large file size.
Q: Can I convert SVG to PNG on mobile? Yes. Browser-based tools work on desktop and mobile. Open the converter in your phone’s browser, upload the SVG from your files app, set dimensions, and download the PNG directly to your device.
Q: Why is my exported PNG blurry? The output dimensions were set too small, or the SVG’s viewBox was very small and the converter defaulted to that size. Re-convert with explicit, larger pixel dimensions.
Q: Does PNG support the same colors as SVG?
PNG-24 supports millions of colors and full alpha transparency, making it the right choice for logos and icons with gradients or complex color. PNG-8 is limited to 256 colors and is generally not suitable for logos.
Q: What’s the difference between SVG to PNG and SVG to JPG?
PNG preserves transparency and is lossless. JPG is lossy and does not support transparency. Use PNG for logos, icons, and any graphic with a transparent background. Use JPG for photographs where file size matters more than transparency. For JPG conversions, see the PNG to JPG converter.
Q: Is there a file size limit for SVG files in online converters?
Limits vary by tool. FreeConvert accepts files up to 1GB. Ezgif supports custom dimensions up to 10,000px. Most browser-based local tools are limited by your device’s available memory rather than a server-side cap.
Conclusion
Converting SVG to PNG comes down to one decision made before you click export: the output resolution. Get that right, and everything else — transparency, color accuracy, platform compatibility — follows cleanly.
Actionable next steps:
- Identify the platform where the PNG will be used and look up its exact dimension requirements in the table above.
- Open a browser-based SVG to PNG converter free tool — no signup, no install, all processing in your browser.
- Set explicit pixel dimensions (never rely on auto-sizing for platform-specific exports).
- Enable transparent background if the PNG will appear on varied backgrounds.
- Preview before downloading. Check edges, colors, and background.
- After downloading, compress the PNG with CoreToolsHub’s image compressor to reduce file size for web or email use.
- If you need the PNG in a different format later — WebP for web performance, for example — the PNG to WebP converter handles that in the same private, browser-based workflow.
Your SVG is the master. Every PNG export is just a delivery format. Keep the SVG, export at the right size, and you’ll never need to redo the work.