Last updated: June 17, 2026
Quick Answer: To convert WebP to JPG online without losing quality, upload your file to a browser-based converter like Core Tools Hub’s WebP to JPG tool, set the quality slider to 80–85%, and download your file — no signup, no uploads to third-party servers. For images with transparent backgrounds, convert to PNG instead using the WebP to PNG converter. The whole process takes under 30 seconds.
Key Takeaways
- WebP files are 25–34% smaller than equivalent JPEGs, which is great for websites but breaks compatibility with many apps, email clients, and print workflows.
- Convert to JPG for maximum compatibility (email attachments, job applications, social media uploads, printing). Convert to PNG when the image has a transparent background or is a UI asset.
- A quality setting of 80–85% gives you the best balance of file size and visual sharpness for JPG output. Going below 70% introduces visible compression artifacts.
- Browser-based tools process your files locally — your images never leave your device, which matters for sensitive photos or client work.
- After converting, run the file through an image compressor if you need to hit a specific file size for a CMS, form portal, or email attachment.
- Batch conversion is possible with browser tools; for large volumes (50+ files), a CLI tool like Sharp or ImageMagick may be faster.
- Never convert WebP back to JPG repeatedly — each lossy re-encode degrades quality. Always keep the original WebP as your source file.
WebP vs JPG vs PNG: Quality, Size, and Compatibility Basics
WebP is a modern image format developed by Google that produces smaller file sizes than JPG or PNG at comparable visual quality — but it’s still not universally supported outside web browsers. Understanding the tradeoffs takes about two minutes and saves a lot of frustration later.
Here’s a plain-English breakdown:
| Format | Best For | Transparency | Typical Use |
|---|---|---|---|
| WebP | Web delivery, fast-loading pages | Yes (lossless) | Website images, blog thumbnails |
| JPG | Photos, print, email, social media | No | Everywhere outside the browser |
| PNG | Logos, UI assets, screenshots | Yes | Designs with transparent backgrounds |
Choose JPG when: You’re attaching an image to an email, uploading to a job application portal, posting to a platform that rejects WebP, or sending to a printer.
Choose PNG when: The image has a transparent or semi-transparent background — a logo, icon, or product cutout — and you need to preserve that transparency after conversion.
Keep WebP when: The image stays on a website and you control the server. There’s no reason to convert if the file is already optimized for web use. For a deeper look at format tradeoffs, see this guide on AVIF vs WebP vs JPEG.
Common mistake: Converting a WebP with a transparent background to JPG. JPG doesn’t support transparency, so the transparent areas fill with white (or black, depending on the tool). Always convert transparent WebP files to PNG.
When You Should (and Shouldn’t) Convert WebP Images
Convert WebP to JPG or PNG when the destination app, platform, or person can’t open or accept WebP files. That’s the simple rule. Here’s when it comes up most often:
Convert when:
- Uploading a photo to a government form, job portal, or university application that only accepts JPG or PNG
- Sending images by email to someone using Outlook or an older mail client
- Submitting product photos to a marketplace that rejects WebP
- Preparing images for print (most print workflows expect JPG or TIFF)
- Sharing images with clients who use Windows Photo Viewer or older design software
Don’t convert when:
- The image is staying on your website — WebP is already the better choice for page speed
- You’re working in a modern browser-based design tool that handles WebP natively
- You plan to re-edit and re-export the image — keep the original format until the final export step
Re-encoding a JPG as a JPG (or WebP as JPG, then JPG again) stacks compression losses. Every round-trip through a lossy encoder costs you a little quality. Keep originals intact.
Step-by-Step: Convert WebP to JPG Online with Core Tools Hub
The fastest way to convert WebP to JPG online is a browser-based tool that processes files locally — no account, no waiting for server uploads, no privacy risk. Here’s exactly how to do it.

Converting a single file to JPG
- Go to the WebP to JPG converter at Core Tools Hub.
- Click Upload or drag your
.webpfile into the drop zone. - Set the quality slider to 80–85% for photos. Use 90–95% for product images or anything that will be printed.
- Click Convert.
- Click Download to save your JPG. Done.
The tool runs entirely in your browser. Your file is never sent to a server, which means no tracking, no storage, and no risk of your images ending up somewhere unexpected.
Converting to PNG (for transparent images)
- Go to the WebP to PNG converter.
- Upload your
.webpfile. - Click Convert — no quality slider needed, since PNG is lossless.
- Download your PNG.
Best quality settings at a glance
| Use Case | Recommended JPG Quality |
|---|---|
| Social media post | 80% |
| Email attachment | 75–80% |
| Print or press-ready | 90–95% |
| CMS / blog upload | 82–85% |
| Product photo (e-commerce) | 85–90% |
After converting, if the file is still too large for a form or portal, run it through the image compressor to fine-tune the size without another full re-encode. For more on hitting specific file size targets, see this guide on reducing image size in KB for forms and portals.
Batch-Convert WebP Images from Your Browser Downloads Folder
If you’ve downloaded a folder full of .webp images from a website and need them all as JPGs, batch conversion saves significant time. Most browser-based tools handle small batches (5–20 files) well. For larger jobs, a CLI tool is faster.
For small batches (under 20 files):
- Use a browser-based batch converter. Core Tools Hub’s tools accept multiple files in one session.
- Select all your
.webpfiles at once in the upload dialog. - Set your quality preference once, convert, and download a ZIP of the results.
For large batches (50+ files):
- Consider a CLI tool like Sharp (Node.js) or ImageMagick, both of which handle bulk WebP-to-JPG conversion with precise quality control .
- These run locally on your machine, so privacy is maintained and there are no file size limits.
Common batch mistake: Mixing WebP files that have transparency with ones that don’t, then batch-converting everything to JPG. The transparent ones will come out with white or black fills. Sort your files first — transparent WebP files go to PNG, everything else to JPG.
For tips on managing image files at scale, the guide on best image compressor tools for faster websites covers batch workflows in more detail.
Preserve Quality and Metadata When Converting WebP for Clients and Uploads
Converting WebP to JPG can strip EXIF metadata — camera settings, GPS location, copyright info — unless the tool explicitly preserves it. For personal photos this rarely matters, but for client deliverables or stock photography, it’s worth checking.
What to watch for:
- EXIF data: Date taken, camera model, GPS coordinates. Most browser tools strip this by default. If you need to keep it, check the tool’s settings or use a desktop converter.
- Color profile: Some tools don’t carry the ICC color profile through conversion, which can cause colors to look slightly different in print vs screen. For print work, verify the output in your target application.
- Resolution (DPI): WebP files saved from websites are typically 72 DPI (screen resolution). If you need 300 DPI for print, resizing and resampling in a dedicated tool is necessary after conversion. See the guide on resizing images online without losing quality for that step.
If you need to remove metadata before sharing (for privacy), the Image EXIF Remover handles that cleanly in-browser.
Privacy-First WebP Conversion: Avoid Tracking and Unsafe Upload Tools
The safest way to convert WebP images online is with a tool that processes files entirely in your browser — meaning your images never leave your device. This matters more than most people realize.
Many popular online converters upload your file to a remote server, process it there, and return the result. That means:
- Your image sits on someone else’s server, even briefly
- Some services log filenames, file sizes, or metadata
- Free ad-supported tools may embed tracking pixels or analytics in the workflow
Browser-based tools like Core Tools Hub’s converters use JavaScript running locally in your tab. The file goes from your hard drive to your browser’s memory and back — no network transfer involved. This is especially important for:
- Client photos or sensitive personal images
- Business documents that have been converted to image format
- Any image containing personal information (ID photos, medical scans, etc.)
For a broader look at why this distinction matters, the article on browser-based file conversion vs cloud upload tools covers the security tradeoffs clearly.
Quick check: Before using any online converter, look for language like “runs in your browser,” “no uploads,” or “client-side processing.” If the site doesn’t mention where processing happens, assume it’s server-side.
Troubleshooting Bad WebP Conversions (Blurry Images, Huge Files, Missing Transparency)
Most WebP conversion problems come down to three issues: quality set too low, wrong output format chosen, or a mismatch between the source file and the tool’s capabilities. Here’s how to fix each one.
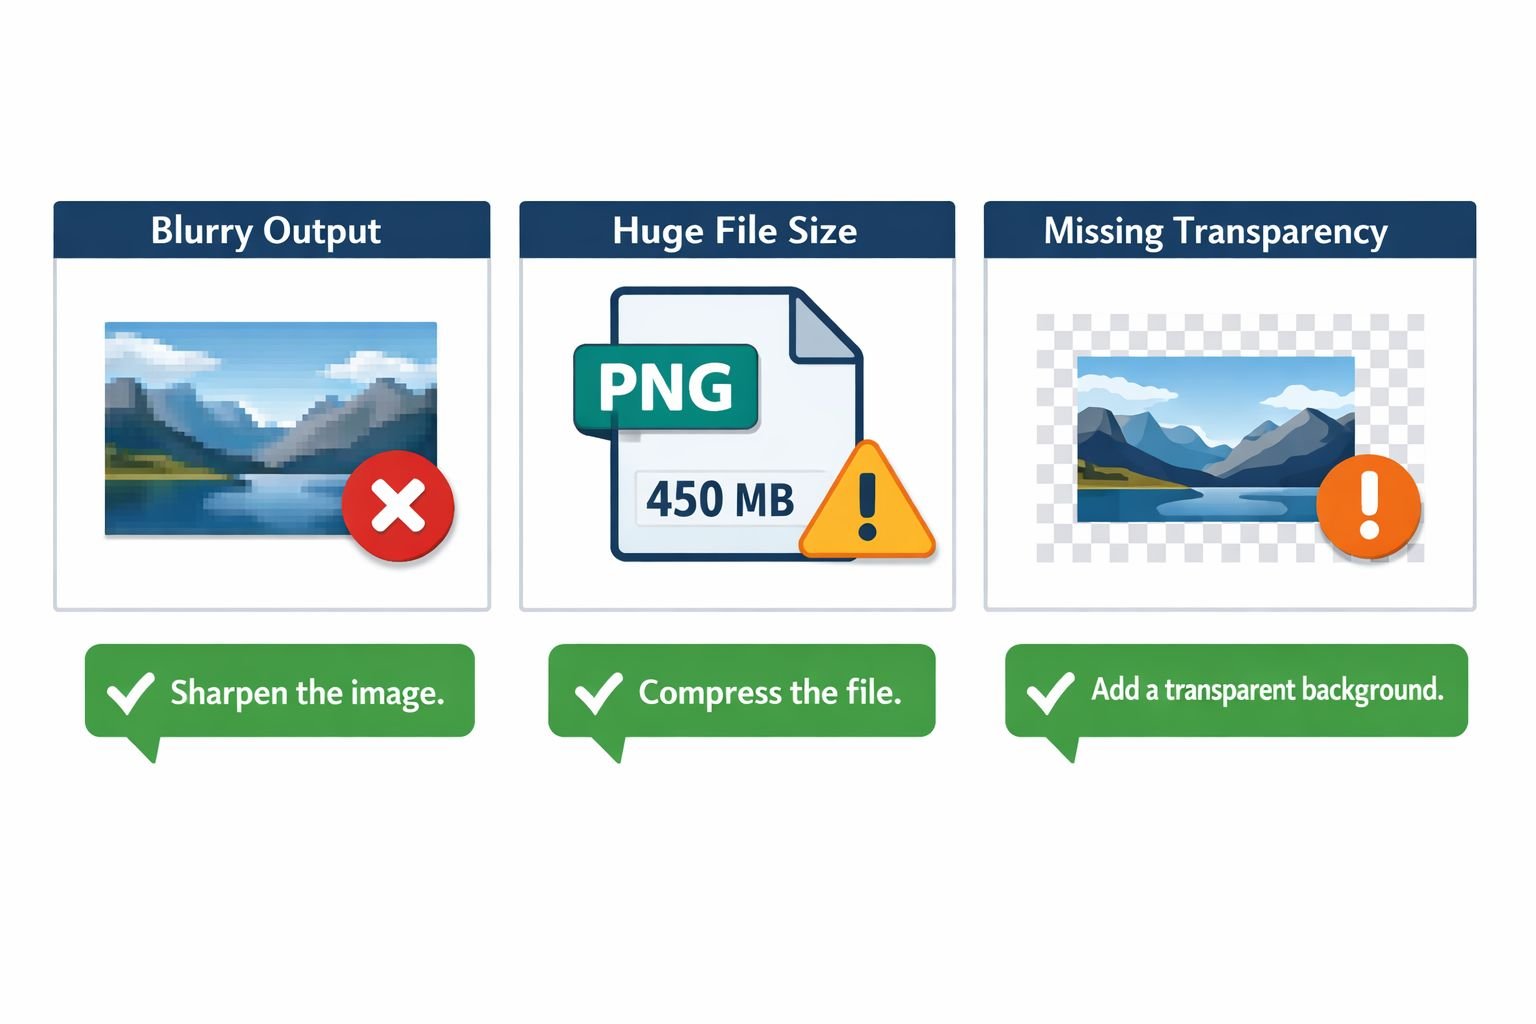
Problem: Output JPG looks blurry or has visible artifacts
- Cause: Quality slider set below 70%
- Fix: Re-convert from the original WebP at 80–85%. Never re-encode an already-compressed JPG — always go back to the source WebP.
Problem: Output file is much larger than expected
- Cause: Converting a lossy WebP to a lossless PNG inflates the file size significantly. PNG stores every pixel without compression loss, so a 200 KB WebP can become a 1.5 MB PNG.
- Fix: If file size matters more than transparency, convert to JPG instead. If you need PNG, run it through the image compressor afterward to reduce size without visible quality loss. Also see the guide on compressing image file size without losing quality.
Problem: Transparent background shows as white or black
- Cause: Converting a WebP with transparency to JPG — JPG has no alpha channel
- Fix: Use the WebP to PNG converter instead. PNG preserves transparency correctly.
Problem: Colors look washed out or shifted after conversion
- Cause: Color profile (ICC) was stripped during conversion
- Fix: Use a tool that preserves color profiles, or reapply the sRGB profile in your image editor after conversion.
Problem: Tool won’t accept the file
- Cause: Some files saved with a
.webpextension are actually AVIF or JPEG XL in disguise — browsers sometimes save next-gen formats with the wrong extension - Fix: Try renaming the file or opening it in a browser first to confirm it’s actually WebP. If it’s AVIF, use an AVIF to JPG converter instead.
Conclusion
Converting WebP to JPG online doesn’t have to mean blurry outputs, bloated files, or uploading sensitive images to unknown servers. The workflow is straightforward: pick the right output format (JPG for compatibility, PNG for transparency), set your quality to 80–85% for JPG, and use a browser-based tool that keeps your files local.
Your next steps:
- Convert now: Use the WebP to JPG converter or WebP to PNG converter at Core Tools Hub — no signup, no uploads, fast clean results.
- Too large after converting? Run the output through the image compressor to hit your target file size.
- Need to resize too? The image resizer handles exact dimensions in the same browser-based, privacy-first way.
- Working with lots of formats? Browse all online image tools in one place.
Keep your original WebP files. Convert only when the destination requires it. And always go back to the source file if you need to re-convert — never re-encode an already-converted JPG.
Frequently Asked Questions
Q: Does converting WebP to JPG reduce image quality? A: It can, but only if the quality setting is too low. At 80–85% quality, the difference is invisible to the naked eye for most photos. The key rule: always convert from the original WebP, never from a previously converted JPG.
Q: Is it safe to use an online WebP to JPG converter? A: It depends on the tool. Browser-based converters that process files locally (like Core Tools Hub) are safe because your images never leave your device. Server-based tools upload your file to a remote server, which carries more risk for sensitive images.
Q: Why is my converted PNG so much larger than the original WebP? A: PNG is a lossless format — it stores every pixel without compression loss. A lossy WebP that’s 200 KB can easily become a 1–2 MB PNG. If file size matters, convert to JPG instead, or compress the PNG afterward.
Q: Can I convert multiple WebP files at once? A: Yes. Most browser-based tools accept multiple files in one session. For very large batches (50+ files), a CLI tool like Sharp or ImageMagick is more efficient.
Q: Will converting WebP to JPG remove the transparent background? A: Yes. JPG doesn’t support transparency, so any transparent areas become solid white or black. Always convert transparent WebP files to PNG to preserve the alpha channel.
Q: What quality setting should I use for WebP to JPG conversion? A: 80–85% for most uses. Use 90–95% for print or high-resolution product photos. Avoid going below 70% — compression artifacts become clearly visible at that point.
Q: Does the converter keep my EXIF metadata (camera info, GPS data)? A: Most browser-based tools strip EXIF data by default. If you need to preserve metadata for client deliverables, check the tool’s settings or use a desktop converter. If you want to remove metadata for privacy, use an EXIF remover tool.
Q: Why do websites save images as WebP in the first place? A: WebP files are 25–34% smaller than equivalent JPEGs, which speeds up page load times and reduces bandwidth costs. It’s a deliberate performance choice — the tradeoff is reduced compatibility outside the browser.
Q: Can I convert WebP to JPG on my phone? A: Yes. Browser-based tools like Core Tools Hub work on mobile browsers (Chrome, Safari, Firefox for Android). The process is the same: upload, set quality, download.
Q: What’s the difference between lossy and lossless WebP conversion? A: Lossy WebP (used for photos) compresses by discarding some pixel data — similar to JPG. Lossless WebP (used for graphics) keeps all pixel data — similar to PNG. When converting, lossy WebP to JPG is a natural match; lossless WebP to PNG preserves the original quality perfectly. For more on this, see the guide on lossless vs lossy formats.