Last updated: May 18, 2026
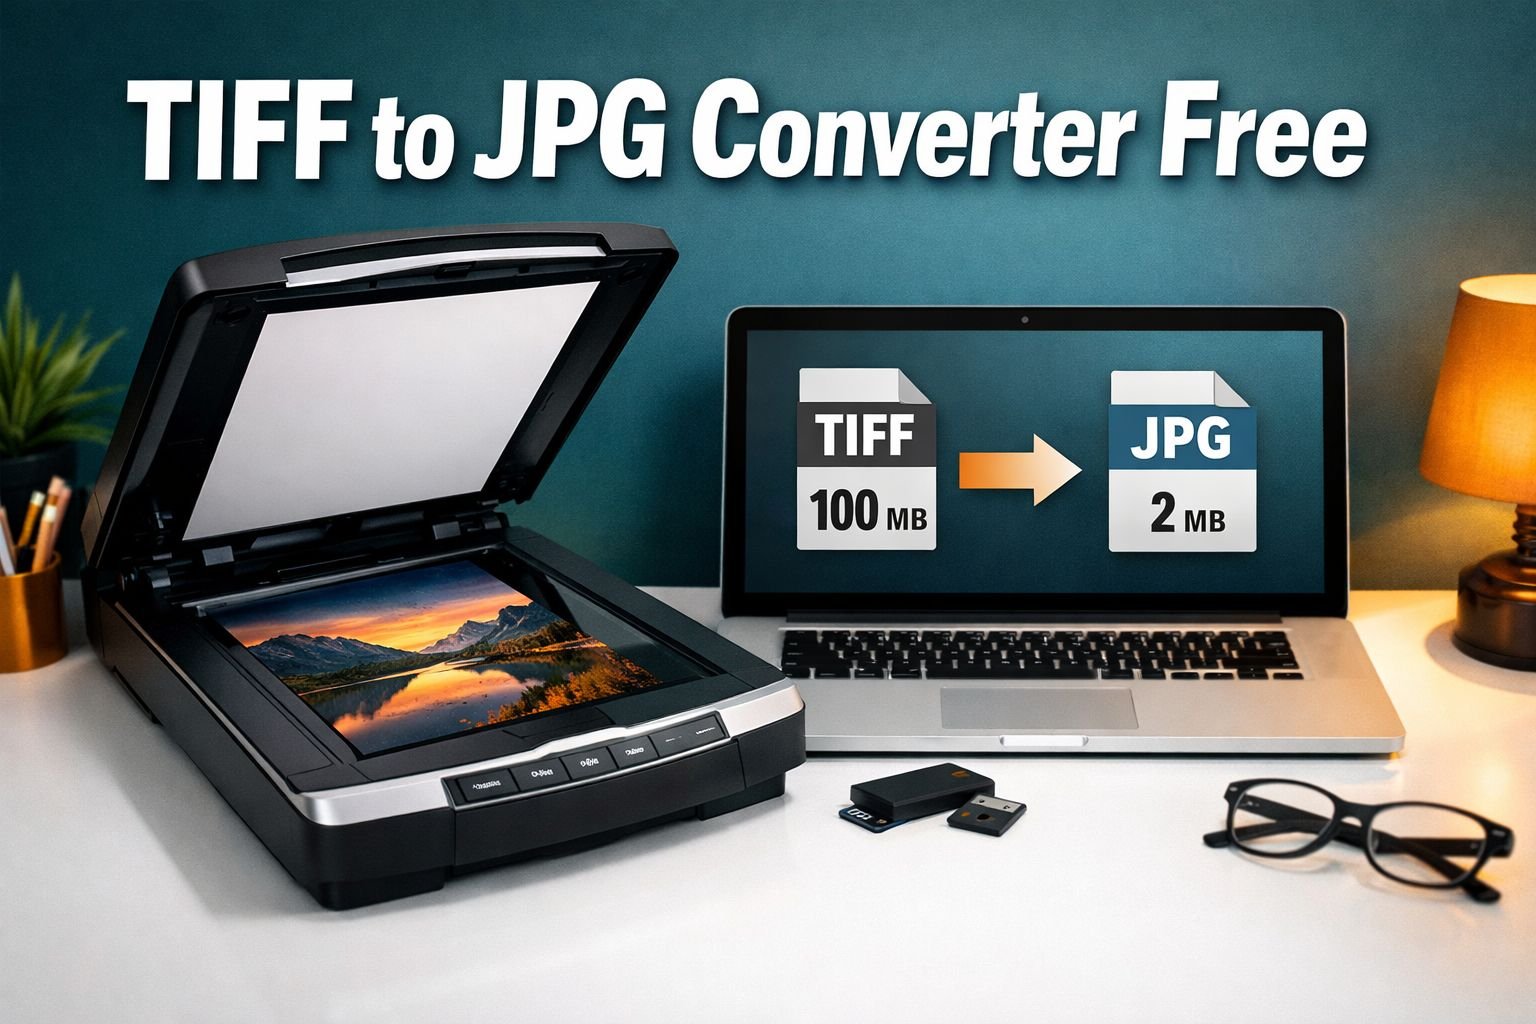
Quick Answer: A free TIFF to JPG converter online lets you shrink a 30–100MB scanned image down to 1–3MB in seconds — no software to install, no account needed. Upload your TIFF file, choose your quality setting (90% is the sweet spot for most uses), and download a JPG that works on any device, in any email, and on any website.
Key Takeaways
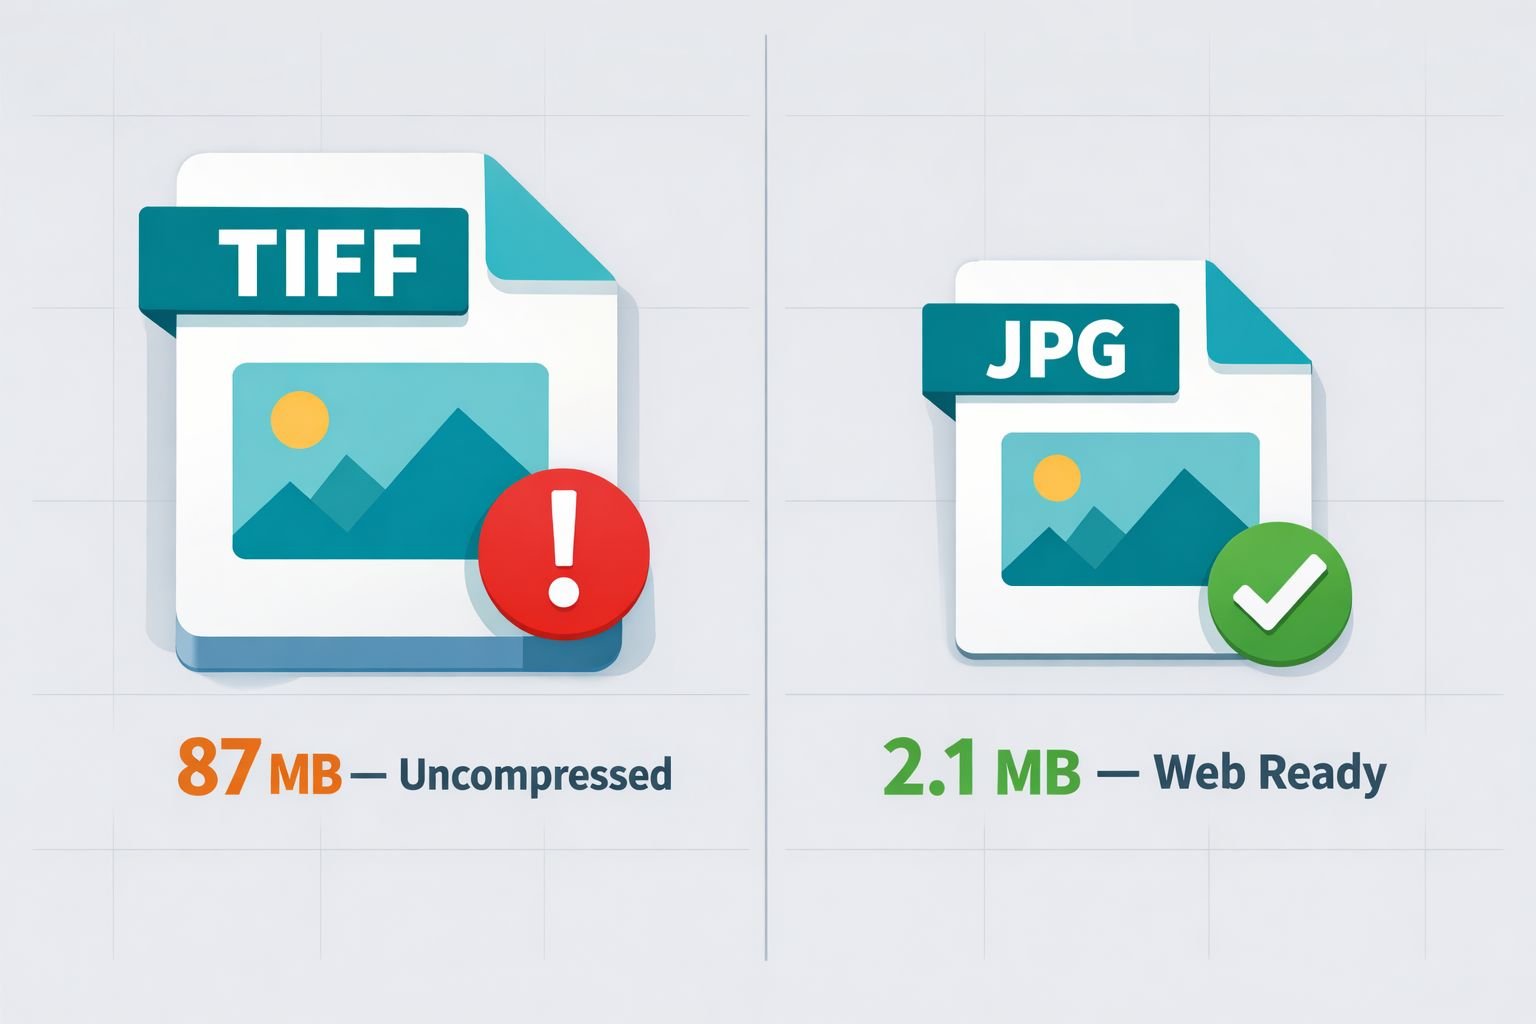
- A single high-resolution TIFF file can be 30–100MB because it stores uncompressed or losslessly compressed pixel data — up to 50x larger than an equivalent JPG.
- Converting TIFF to JPG reduces file size by 90%+ while keeping enough quality for email, web, and everyday sharing.
- Use a free TIFF to JPG converter online when you need to share, email, or display scanned images — no signup required.
- Keep the original TIFF file for archival, professional printing, or OCR workflows where maximum image data matters.
- A quality setting of 90–92% produces a JPG that looks virtually identical to the source TIFF for most uses.
- Batch conversion tools let you process dozens of TIFF files at once — a major time-saver for medical records, real estate archives, and print shop jobs.
- All processing on CoreToolsHub runs in your browser — your files never leave your device.
- After converting, you can further compress the JPG to meet specific file-size targets for email attachments or web uploads.
What Is TIFF and Why Are These Files So Large?
TIFF (Tagged Image File Format) stores every pixel of an image with no compression or lossless compression, which is why a single scanned page can easily reach 50–100MB. That’s great for quality, but it makes TIFF files nearly impossible to share, email, or open on a phone without first converting them.
TIFF was originally developed by Aldus Corporation in collaboration with Microsoft, and Adobe now owns the format specification. It’s the go-to format for professional scanners, medical imaging devices, and high-end cameras because it preserves full color depth and fine detail — everything a radiologist, print technician, or archival photographer needs.
Here’s the problem most people run into: a colleague sends a scanned contract, a hospital prints discharge records as TIFF files, or a real estate photographer delivers property shots — and the recipient can’t open the file on their phone, can’t attach it to an email, and has no idea why.
Why TIFF files are so large:
- They store raw, uncompressed pixel data (or lossless compression that keeps all original data intact).
- A standard 8.5×11″ page scanned at 300 DPI (dots per inch) in color can produce a 25–50MB TIFF.
- Scan the same page at 600 DPI and that file can hit 100MB or more.
- JPG uses lossy compression that discards imperceptible image data, shrinking the same file to 1–3MB.
💡 DPI defined: DPI stands for dots per inch — it measures how much detail a scanner captures. Higher DPI = more detail = larger file.
For a deeper look at how lossless and lossy compression differ, see this guide on lossless vs. lossy formats and when size vs. quality matters.
TIFF vs. JPG — When to Convert and When to Keep the Original
Convert to JPG when you need to share, email, or display the image. Keep the TIFF when you need to archive, reprint at large scale, or run OCR (optical character recognition) software on the file.
This is the decision most guides skip — and it matters. Converting a TIFF to JPG is a one-way trip for quality. JPG uses lossy compression, meaning some image data is permanently discarded. For most everyday uses, you’ll never notice the difference. But for professional print production or long-term archiving, you want to keep the TIFF.
| Situation | Best Format | Why |
|---|---|---|
| Emailing a scanned document | JPG | Small file size, opens everywhere |
| Sharing photos on social media | JPG | Universal compatibility, fast upload |
| Archiving original scan files | TIFF | No quality loss, full data preserved |
| Professional large-format printing | TIFF | Maximum resolution and color depth |
| OCR / document digitization workflow | TIFF | Software reads more detail |
| Viewing on a phone or tablet | JPG | TIFF not supported by most mobile apps |
| Uploading to a website or CMS | JPG | Faster load times, browser-compatible |
| Medical imaging records (sharing) | JPG | Shareable; keep TIFF as the master file |
Choose JPG if: you’re sending the file to someone else, posting it online, or attaching it to a form or email.
Keep TIFF if: this is your master copy, you’ll be printing it larger than 8×10″, or your workflow requires the original uncompressed data.
⚠️ Common mistake: Deleting the original TIFF after converting. Always keep the TIFF as your archive copy and convert a duplicate to JPG for sharing.
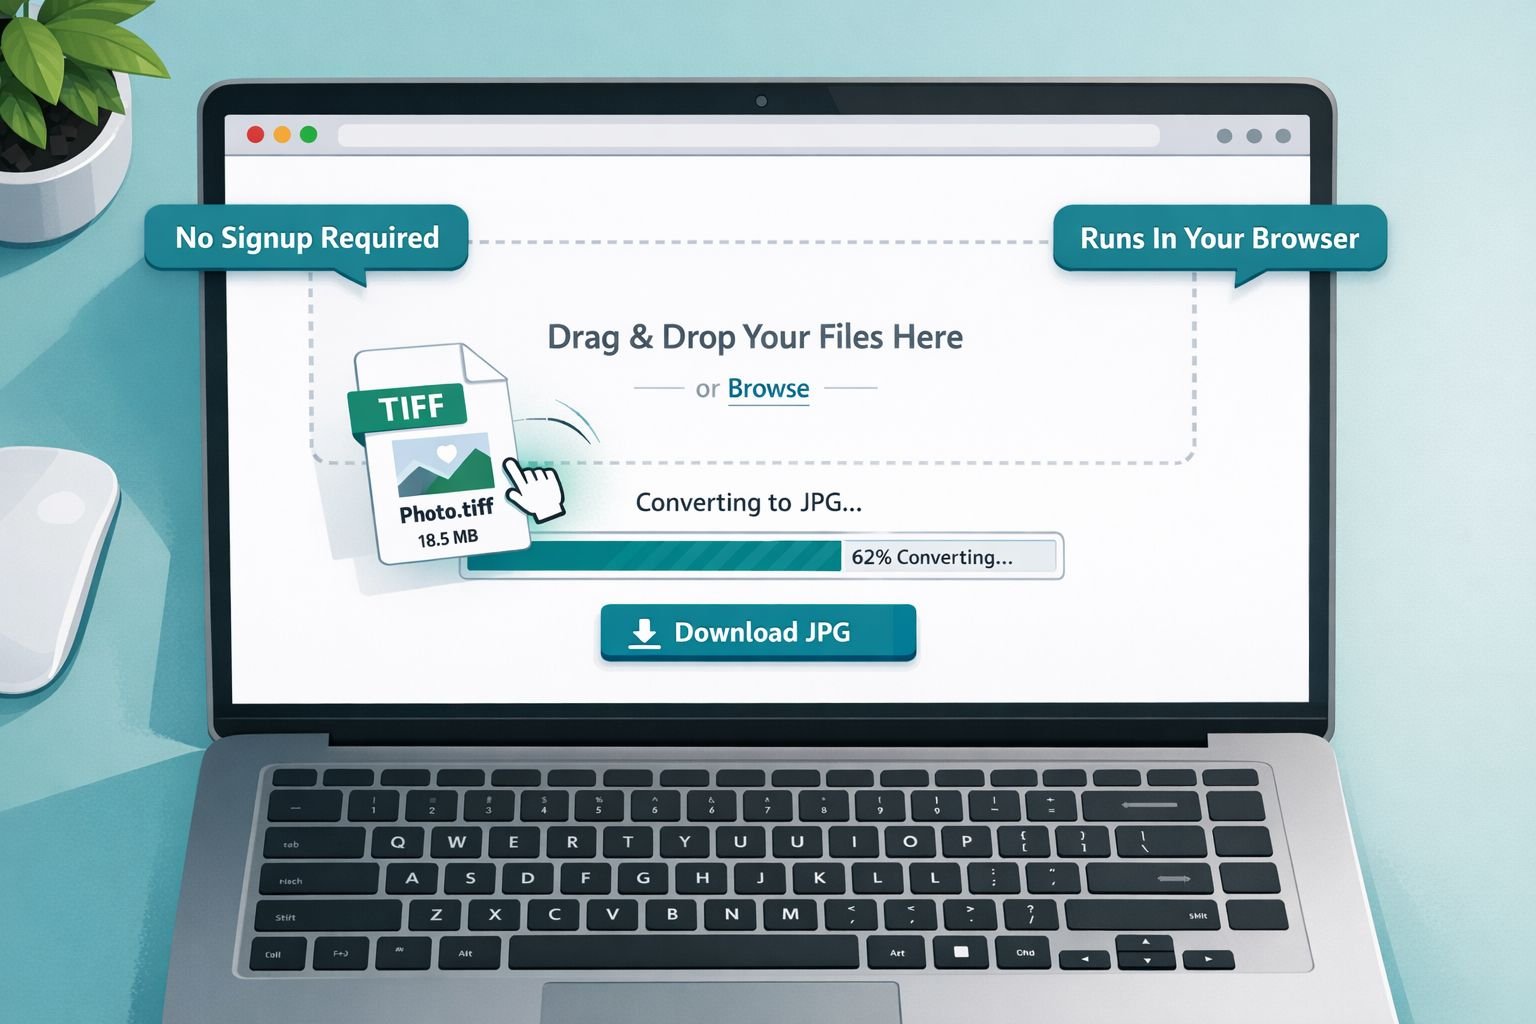
How to Use a Free TIFF to JPG Converter Online — Step-by-Step
You can convert a TIFF to JPG in under a minute using a free browser-based tool — no installs, no signup required. Here’s exactly how to do it using CoreToolsHub’s online image converter.
Step-by-Step Conversion
- Open the tool — Go to CoreToolsHub’s Image Tools page on any browser (desktop or mobile).
- Upload your TIFF file — Click the upload area or drag and drop your .tif or .tiff file directly onto the page.
- Select JPG as the output format — Choose JPG/JPEG from the format dropdown.
- Set your quality level — 90% quality is the recommended starting point for most uses. Use 80–85% if you need a smaller file for email.
- Convert — Click the convert button. Processing runs in your browser, so your file stays on your device.
- Download your JPG — Click the download button. Your converted file is ready to share, email, or upload.
That’s it. The whole process takes about 30 seconds for a typical scanned image.
Best Quality Settings for TIFF to JPG Conversion
| Use Case | Recommended JPG Quality | Expected File Size |
|---|---|---|
| Email attachment | 80–85% | 200–600 KB |
| Web / social media | 85–90% | 400 KB – 1.5 MB |
| Print-quality sharing | 90–95% | 1–4 MB |
| Near-lossless archival copy | 95–100% | 3–8 MB |
Setting quality to 90–92% produces a JPG that looks virtually identical to the source TIFF for most viewing conditions, while cutting file size by roughly 91%.
Common mistakes to avoid:
- Setting quality too low (below 75%): You’ll see visible compression artifacts — blurry edges, color banding, and blocky shadows.
- Converting a TIFF with transparency: TIFF supports alpha channels; JPG does not. If your TIFF has a transparent background, it will convert to white. Use PNG instead if transparency matters.
- Forgetting to check the output dimensions: Conversion doesn’t change image dimensions, but always confirm the pixel size matches your intended use.
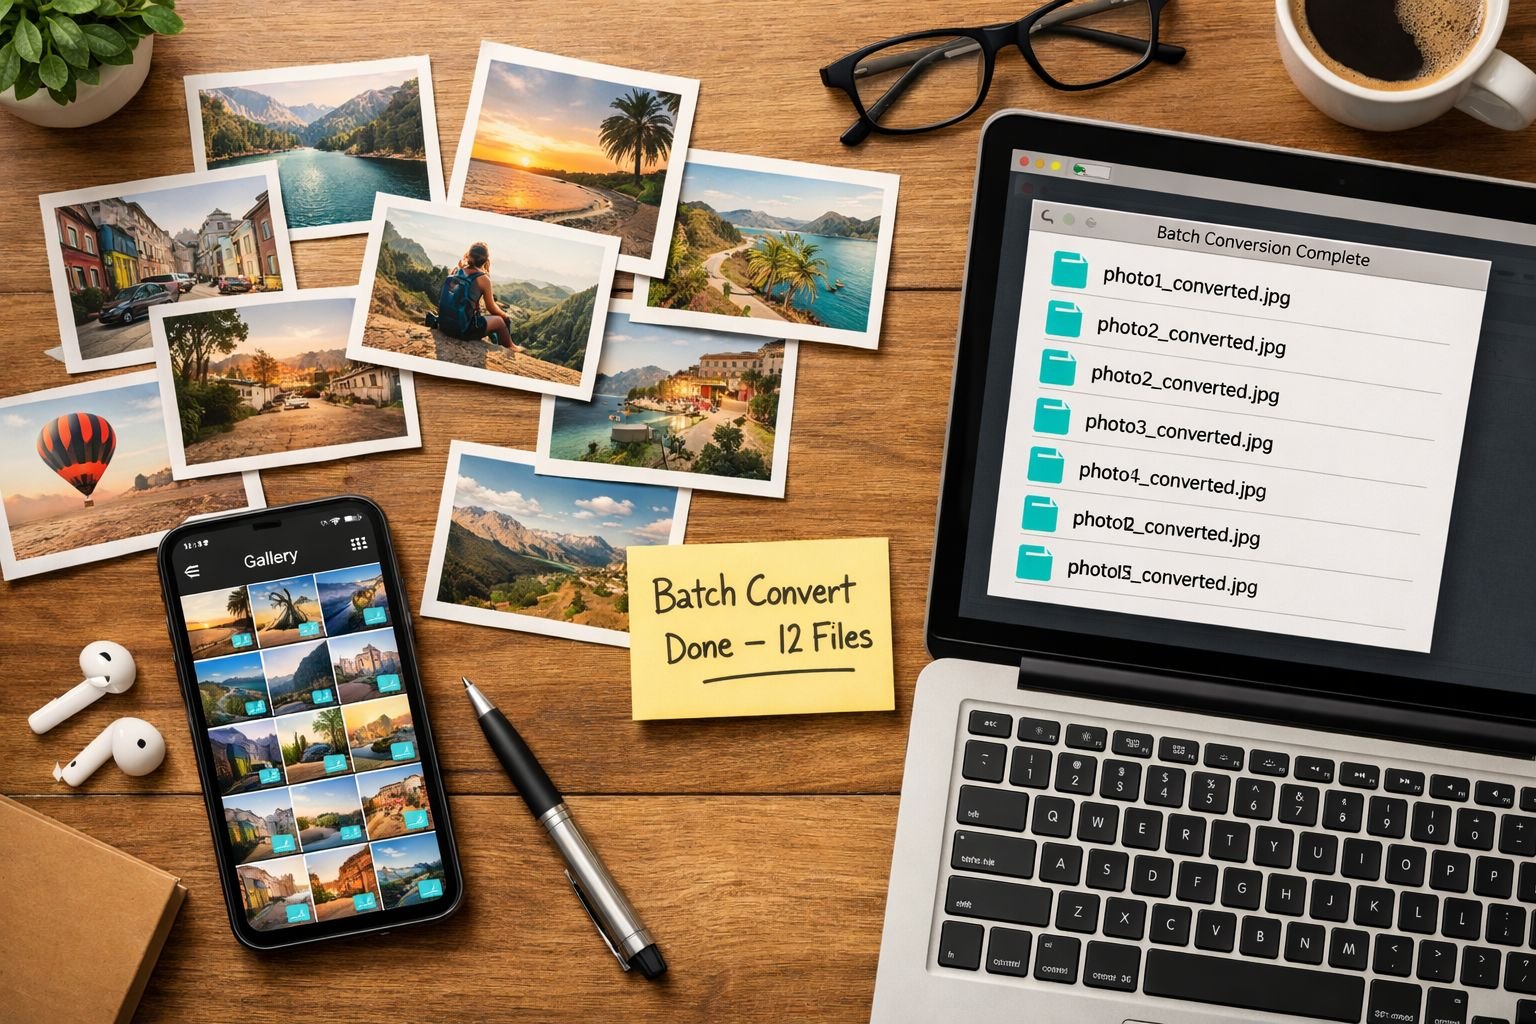
How to Batch Convert Multiple TIFF Files to JPG at Once
Batch conversion lets you convert dozens or hundreds of TIFF files to JPG in one go — instead of uploading and downloading them one by one. This is a common need for medical records teams, real estate photographers, print shops, and anyone digitizing a large archive.
Microsoft Tech Community experts note that dedicated batch tools can process 100 images in about 2 minutes, which is far faster than converting files individually through the Windows Photos app.
Who needs batch TIFF to JPG conversion?
- Medical imaging staff who receive multi-page TIFF exports from radiology systems and need to share images with patients or referring physicians via email.
- Real estate photographers delivering scan archives of floor plans, property documents, or aerial survey images.
- Print shop customers who receive TIFF proofs from designers and need JPG versions for online approval workflows.
- Office administrators digitize paper records with a flatbed scanner that outputs TIFF by default.
How to batch convert TIFF files
- Open the batch image converter on CoreToolsHub.
- Select multiple TIFF files at once using Ctrl+Click (Windows) or Cmd+Click (Mac) in the file picker, or drag a folder of files onto the upload area.
- Set the output format to JPG and choose your quality level (90% recommended).
- Click Convert All.
- Download the converted JPGs individually or as a ZIP file.
All processing runs in your browser — your files are never uploaded to a server, which keeps patient records, legal documents, and proprietary images private.
If you’re working with scanned documents that ended up as PDFs instead of TIFFs, the process is similar — check out this guide on how to convert PDF to JPG online for the same type of workflow.
After Conversion — Reducing JPG File Size for Email and Web
Converting TIFF to JPG already reduces file size dramatically, but if you still need a smaller file — for a strict email attachment limit or a web page load target — you can compress the JPG further without visible loss of quality.
A quality-90% JPG converted from a 50MB TIFF might still be 3–5MB. That’s fine for most uses, but some email systems cap attachments at 2MB, and web images should ideally be under 500KB to load quickly.
Two options after conversion
Option 1: Re-convert at lower quality. Go back to the converter and set the quality to 80–85%. This typically reduces a 3MB JPG to 400–800KB with minimal visible difference on screen.
Option 2: Run the JPG through an image compressor. This is often the better approach because a dedicated compressor applies smarter compression algorithms than a simple quality slider. CoreToolsHub’s image compressor can reduce JPG file sizes significantly without introducing visible artifacts — useful when you want to keep quality at 90%+ but still hit a file size target.
For a full walkthrough on getting the smallest possible file without ruining the image, see the guide on how to compress images without quality loss.
Quick file size targets by use case
| Destination | Target File Size | Approach |
|---|---|---|
| Gmail / Outlook email | Under 2 MB | 85% quality or compress after |
| Website / blog image | Under 500 KB | 80–85% quality + compressor |
| Social media upload | Under 1 MB | 85% quality |
| Printed document (digital proof) | 1–5 MB | 90–95% quality |
| Mobile viewing / messaging | Under 1 MB | 85% quality |
If you’re also dealing with other image formats that won’t open on standard devices — like HEIC files from iPhones — the same browser-based approach works. See the guide on how to open and convert HEIC files for a similar step-by-step process.
Frequently Asked Questions
Q: Will converting TIFF to JPG reduce image quality?
Yes, but for most everyday uses the difference is invisible. JPG at 90% quality looks nearly identical to the source TIFF on screen and in standard print. Quality loss becomes noticeable below 75% quality or when printing at very large sizes.
Q: Can I convert TIFF to JPG without installing any software?
Yes. Browser-based tools like CoreToolsHub’s image converter run entirely in your browser — no download, no install, and no signup required. Your files never leave your device.
Q: Is it safe to convert medical or legal TIFF files online?
With browser-based tools that process files locally (in your browser), yes. Your files are never uploaded to a server. Always check that the tool you’re using confirms local/in-browser processing before converting sensitive documents.
Q: How much does file size decrease when converting TIFF to JPG?
Typically 90% or more. A 50MB TIFF commonly converts to a 1–5MB JPG depending on the quality setting and image content. Text-heavy scans compress more aggressively than detailed photographs.
Q: What’s the best JPG quality setting for converted TIFF files?
90% is the recommended starting point for most uses — it produces a visually identical result at a fraction of the file size. Use 80–85% for email attachments where size is the priority.
Q: Can I convert a multi-page TIFF to JPG?
Multi-page TIFFs (common in fax and document scanning) will typically export as separate JPG files — one per page. Most online converters handle this automatically.
Q: Does converting TIFF to JPG change the image dimensions?
No. The pixel dimensions stay the same. Only the file size and compression method change. If you need to resize the image, do that as a separate step using an online image resizer.
Q: What if my TIFF file has a transparent background?
JPG doesn’t support transparency. The transparent areas will convert to white (or another solid color, depending on the tool). If you need to preserve transparency, convert to PNG instead using CoreToolsHub’s PNG to JPG converter in reverse, or keep the file as PNG.
Q: How long does TIFF to JPG conversion take?
For a single file, typically 5–30 seconds in a browser-based tool, depending on file size and your device. Batch conversions of 10–20 files usually complete in under 2 minutes.
Q: Are there file size limits for free online TIFF converters?
Most free tools cap uploads at 50–200MB per file. Since some high-resolution TIFFs exceed this, check the tool’s limit before uploading. CoreToolsHub’s tool handles typical scanned image sizes without issues.
Conclusion
TIFF files are built for quality — not convenience. When a professional scanner, medical device, or high-end camera produces a TIFF, it’s capturing every possible pixel of detail. That’s exactly what you want for archiving or professional printing. But for everything else — emailing a scanned form, sharing a property photo, or viewing an X-ray on a phone — a JPG is the practical choice.
Here’s what to do right now:
- Identify which TIFF files you need to share or view on standard devices.
- Keep the original TIFFs as your archive copies — don’t delete them.
- Use a free TIFF to JPG converter online (no signup, no install) to create shareable JPG versions.
- Set quality to 90% for the best balance of size and clarity.
- If the resulting JPG is still too large for email or web, run it through an image compressor for a further size reduction.
Ready to convert? Use CoreToolsHub’s free online image tools to convert your TIFF files to JPG right now — fast, private, and entirely in your browser.