










Last Updated: May 22, 2026
Your SVG logo looks perfect in Figma. Then you paste it into an email template, upload it to a social media scheduler, or drop it into a CMS — and nothing shows up. Just a broken image icon. That’s not a design problem. It’s a format problem, and the fix takes about 30 seconds.
Converting SVG to PNG gives you a flat, universally compatible raster image that works everywhere — email clients, social platforms, legacy apps, and print templates — while keeping your transparency and sharp edges intact. The SVG to PNG Converter on CoreToolsHub runs entirely in your browser, so your brand assets and unreleased designs never touch a server.
Key Takeaways
SVG files don’t render in many email clients, social platforms, and older CMSes — PNG is the safe fallback.
The converter runs entirely in your browser using the HTML canvas API; no files are uploaded anywhere.
You can export at exact pixel dimensions or use 1x/2x/3x scale multipliers for retina-ready assets.
Transparency is preserved by default — or swap it for any background color before downloading.
No signup, no watermarks, no install needed. Convert in seconds and download a clean PNG.
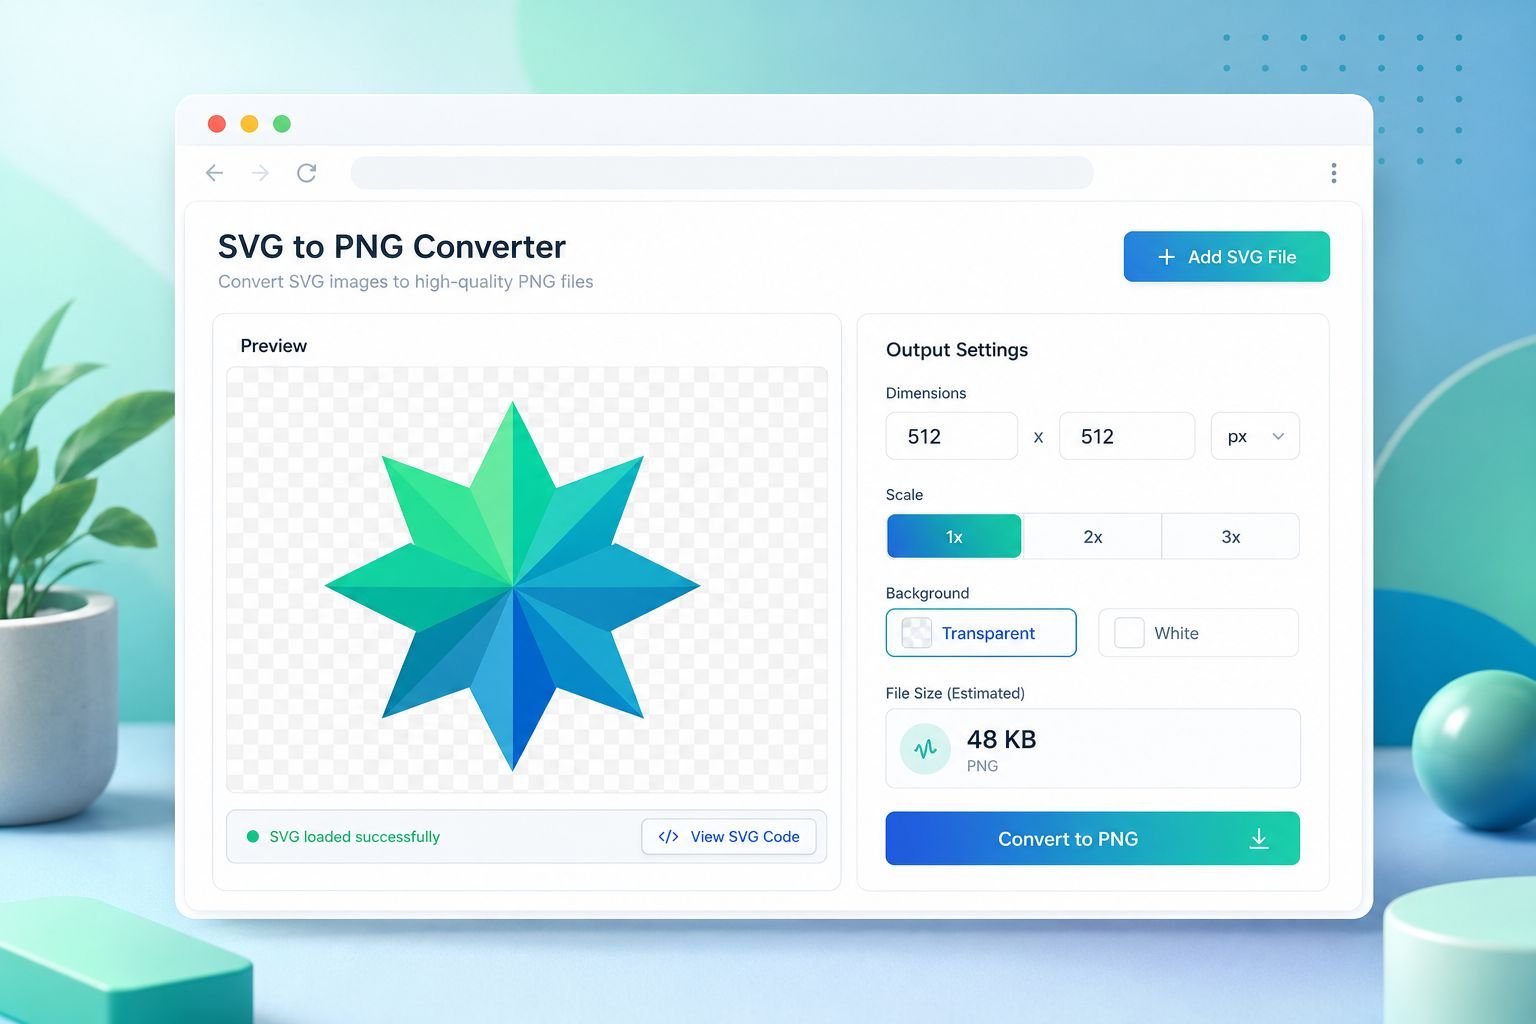
What the SVG to PNG Tool Does — and the Live Preview
SVG (Scalable Vector Graphics) files store images as mathematical paths and shapes. That’s great for scaling, but it’s a problem when a platform expects a raster image — a grid of pixels. PNG (Portable Network Graphics) is a lossless raster format that every browser, app, and device understands.
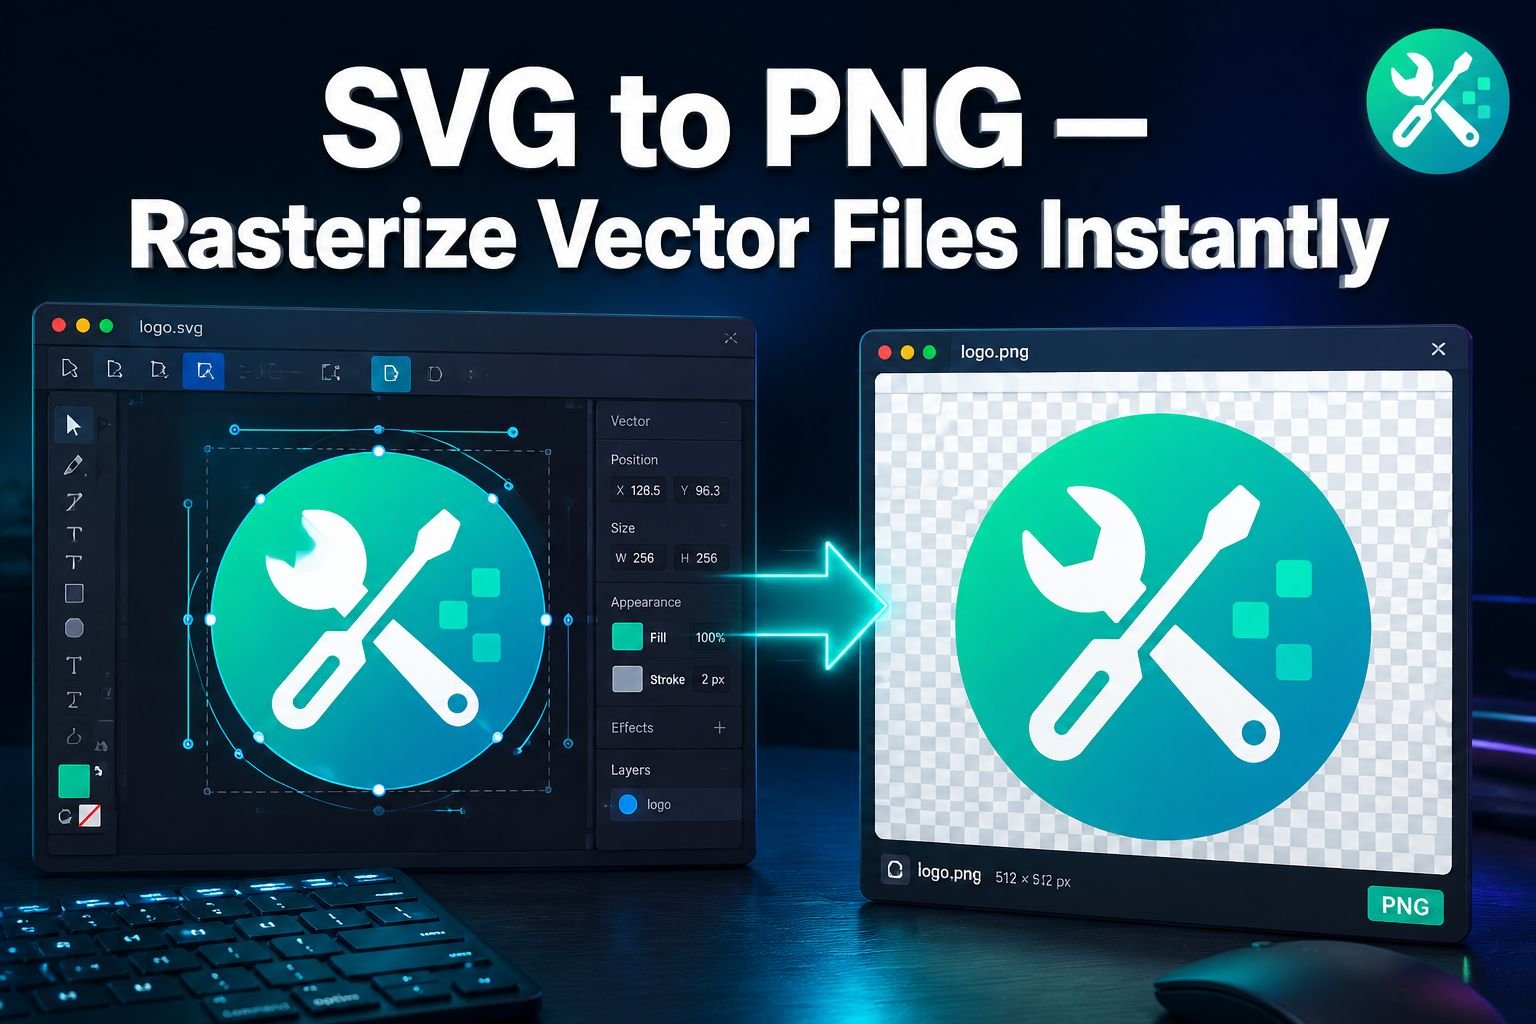
The CoreToolsHub SVG to PNG converter rasterizes your vector file directly in the browser using the HTML canvas API. In plain English: it draws your SVG onto an invisible canvas at the size you choose, then saves that canvas as a PNG file. The whole process stays on your device.
What you see before you download:
A live preview of your SVG rendered at the chosen dimensions
A file size estimate so you know what to expect before clicking Download
A checkerboard background in the preview (that’s the transparency indicator — it won’t appear in the final PNG unless you want it)
Quick presets available: 64px, 128px, 256px, 512px, 1024px, 2048px — plus a custom field for any size you need.
💡 Why this matters: Most online converters cap output at 1024px or add a watermark on free exports. This tool has no such limits and no watermarks.
How to Convert SVG to PNG — Step by Step
This takes under a minute on desktop or mobile.
Open the tool at coretoolshub.com/svg-to-png/
Drop your SVG file onto the upload area, or click to browse
Check the live preview — confirm the artwork looks correct
Set your output dimensions (see the section below for guidance)
Choose a background color if needed (default is transparent)
Click Download — your PNG saves instantly to your device
That’s it. No account, no email address, no waiting for a server to process your file.
How to Choose Output Dimensions and Scale Multipliers
This is where most people get tripped up. Here’s a plain-English breakdown.
Exact Pixel Dimensions
Type a specific width and height into the custom fields. The tool will render your SVG at exactly those dimensions. Use this when a platform gives you a hard pixel requirement — for example, a 1200×630px Open Graph image for social sharing, or a 512×512px app icon.
1x / 2x / 3x Scale Multipliers
These are for retina and high-DPI screens. If your SVG is designed at 48×48px (a typical icon size):
1x exports at 48×48px — standard screens
2x exports at 96×96px — retina displays (most modern phones and MacBooks)
3x exports at 144×144px — high-density Android and iPhone Pro screens
For web use, exporting at 2x and letting CSS scale it down to 1x is the most common approach. It gives you crisp results on retina screens without a massive file size.
Best Settings by Use Case
Use caseRecommended sizeScaleFavicon32×32 or 64×64px1xApp icon (iOS/Android)1024×1024px1xSocial media avatar400×400px1xEmail logo300px wide1x or 2xWebsite hero illustration1200px wide2xPrint-ready asset2048px+1x
⚠️ Common mistake: Exporting at 64×64px for a logo that will display at 200px wide. Always export at the display size or larger — you can scale down in CSS, but you can’t recover lost pixels.
Need to resize the PNG after export? The Image Resizer on CoreToolsHub handles exact pixel dimensions without quality loss.
Transparency Handling and Background Colors
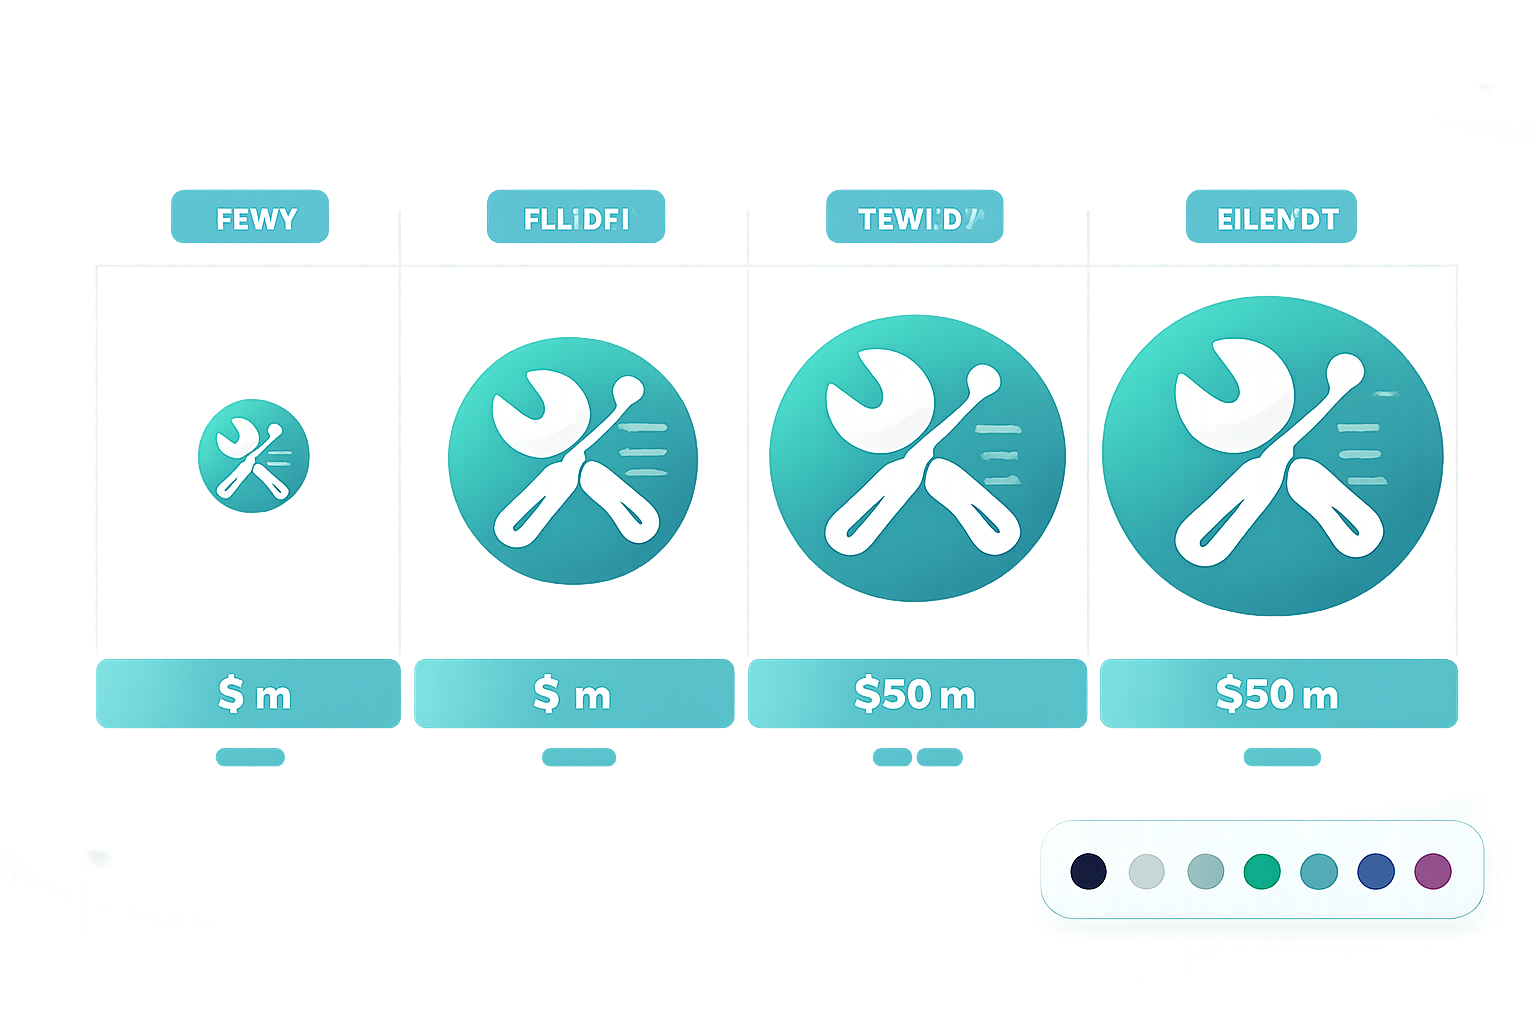
SVG files often have transparent backgrounds — that’s part of what makes them so versatile as logos and icons. The converter preserves transparency by default. Your exported PNG will have a transparent background, ready to layer over any color in an email template, slide deck, or web page.
When to Keep Transparency
Logos that need to sit on different colored backgrounds
Icons used in UI components
Watermarks or overlays
Any asset where the background color isn’t fixed
When to Add a Background Color
Some platforms flatten transparency to black (a common issue with older social media uploaders). If you’re exporting for a specific background, use the color picker in the tool to set a solid fill before downloading. Common choices:
White — for email clients that don’t support transparency
Brand color — for social profile images with a consistent look
Black — for dark-mode previews
Just click the background color swatch, pick your color, and the live preview updates immediately so you can confirm it looks right before downloading.
FAQ: Scripts, Fonts, Large Exports, and Batch Sizes
Q: My SVG uses a custom font. Will it render correctly?
It depends on how the font is handled in the SVG file. If the text is converted to outlines/paths (the recommended approach when exporting from Figma, Illustrator, or Sketch), it will render perfectly. If the font is referenced by name and not embedded, the browser will substitute a fallback font. Before converting, open your SVG in your design tool and use “Create Outlines” or “Expand” on any text layers.
Q: My SVG has JavaScript animations or interactive elements. Will those export?
No. The converter captures a static snapshot of the SVG at its default state. Animations and scripts are not rendered. This is expected behavior — PNG is a static format. If you need to capture a specific animation frame, pause it in your browser and use a screenshot tool instead.
Q: How large can the output PNG be?
Browser canvas has practical limits that vary by device and browser — typically up to around 16,384×16,384px on modern desktop browsers. For most use cases (icons, logos, social images), you’ll never hit this ceiling. If you need very large print-ready exports above 4000px, a desktop tool like Inkscape (free, open source) with the CLI command inkscape input.svg --export-type=png --export-width=6000 gives you more headroom.
Q: Can I convert multiple SVGs at once?
The current browser-based tool processes one file at a time for simplicity and speed. For batch conversion of a full icon set or asset library, Inkscape’s command-line interface handles folders of SVGs efficiently. Developers using VS Code can also use the SVG to PNG extension for right-click batch conversion with custom dimensions and quality settings (0.1–1.0).
Q: The exported PNG looks blurry. What’s wrong?
Almost always a dimension issue. Check that your export size is at least as large as the display size. If you’re displaying the PNG at 300px wide, export at 300px minimum — ideally 600px (2x) for retina screens. Also check that the original SVG has explicit width and height attributes or a viewBox — SVGs without these can render at unexpected sizes.
Q: Is this tool safe for confidential brand assets?
Yes. Rasterization runs entirely on the browser canvas using your device’s processing power. No file data is sent to CoreToolsHub’s servers. This makes it a genuinely privacy-first option for unreleased logos, client work, and proprietary design assets. For more detail on how the tools handle your files, see the how it works page.
Related CoreToolsHub Tools
Once you have your PNG, here’s what to do next depending on your workflow:
PNG to JPG Converter — Need a smaller file for email or web? Convert your transparent-background PNG to a flat JPG to cut file size significantly. Useful for social banners and hero images where transparency isn’t needed.
PNG to WebP Converter — WebP files are typically 25–35% smaller than PNG at the same quality. If you’re uploading assets to a website, WebP is the better format for page speed. Learn more in our guide to PNG to WebP conversion.
Image Resizer — Resize your exported PNG to exact dimensions for social media profiles, email headers, or app submissions. Works on desktop and mobile, no install needed.
Remove Image Background — If your SVG had a background you want to remove after rasterizing, this tool handles it cleanly with AI-based edge detection.
Image Compressor — Large PNGs can slow down email sends and web pages. Compress without obvious quality loss before uploading.
Conclusion
SVG files are the right choice for design work — they scale perfectly and stay crisp at any size. But for anything that leaves your design tool — email, social, CMS uploads, app stores — PNG is the format that actually works everywhere.
The CoreToolsHub SVG to PNG converter gives you pixel-sharp exports at any dimension, transparency preserved by default, and zero file uploads to any server. Pick your size, check the live preview, and download. That’s the whole workflow.
Your next step: Drop your SVG into the tool now and export your first PNG in under 30 seconds — coretoolshub.com/svg-to-png/.