









Last Updated: August 1, 2026
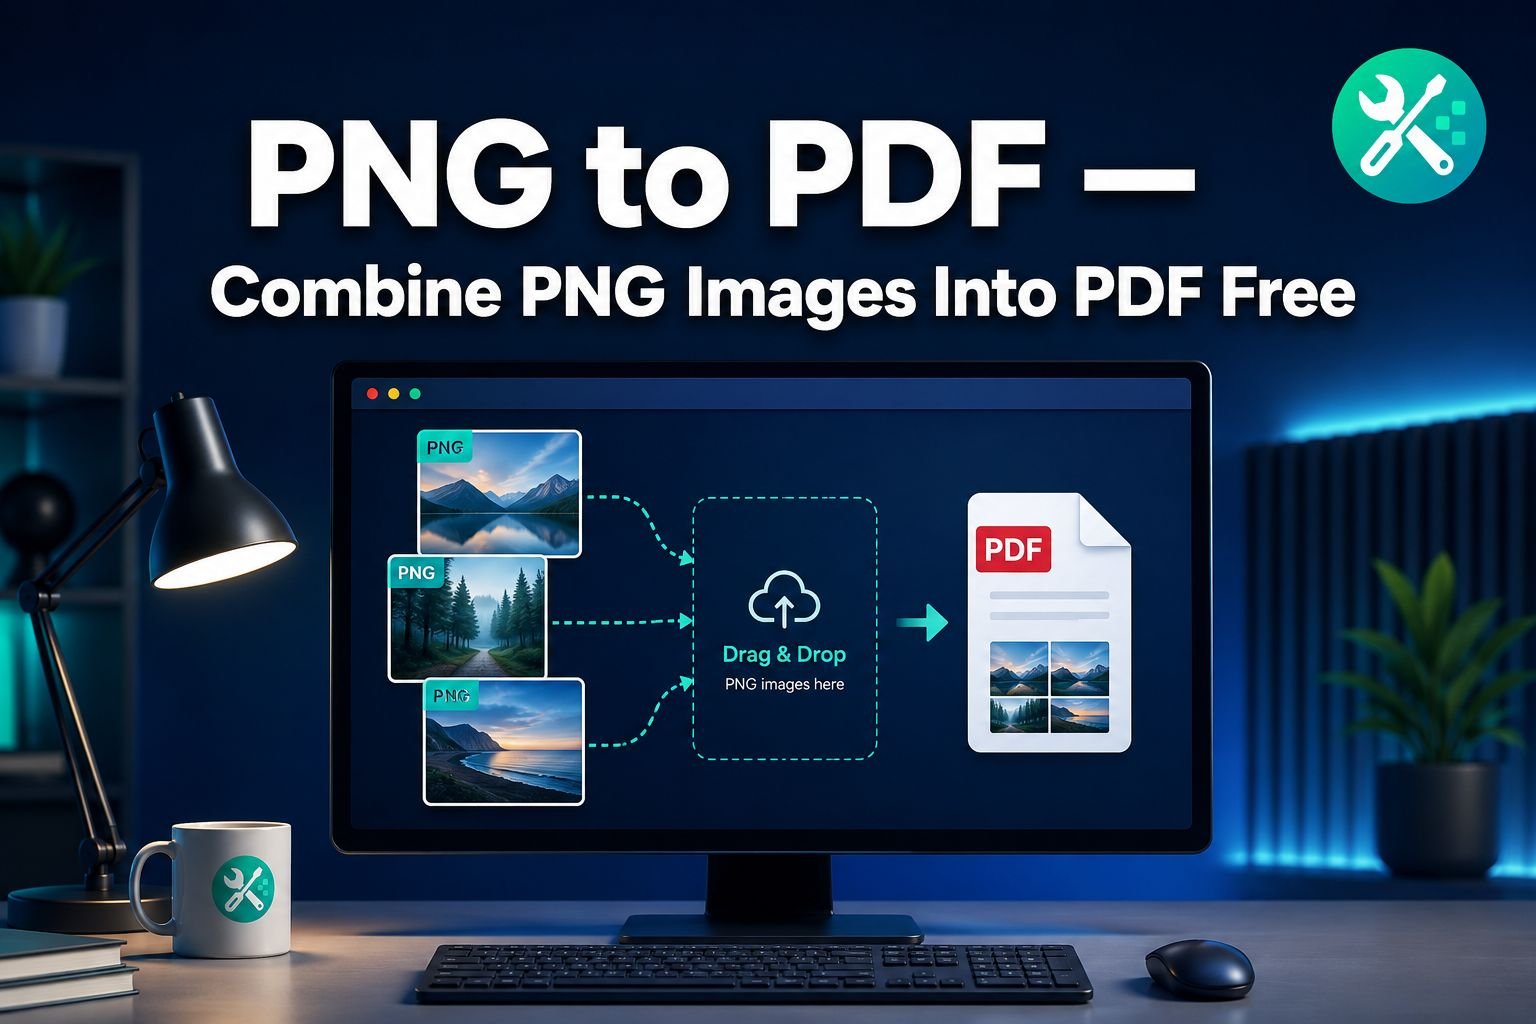
A form portal rejects your file because it only accepts PDFs. Your PNG screenshots are ready, but the submission button stays greyed out. Sound familiar? Converting PNG to PDF takes under a minute — and the CoreToolsHub PNG to PDF Converter does it entirely in your browser, with no account, no install, and no files leaving your device.
Drop in one PNG or twenty. Reorder the thumbnails. Pick your page size. Download a clean, print-ready PDF. That is the whole process.
Key Takeaways
- Converting PNG to PDF online takes seconds — no software installation or signup required.
- Multiple PNG files can be combined into one PDF, with drag-and-drop thumbnail reordering before you generate the file.
- PNG transparency is handled automatically; the default background is white, but a custom color picker is available.
- Page size (A4, US Letter, or original image dimensions) and orientation are selectable before conversion.
- The entire process runs in your browser — your images and the output PDF never leave your device.
How to Convert PNG Images to a Single PDF
The fastest path from PNG to PDF is a browser-based tool that requires nothing but the files themselves. Here is the exact workflow using the CoreToolsHub converter.
Step 1 — Open the Tool and Drop Your Files
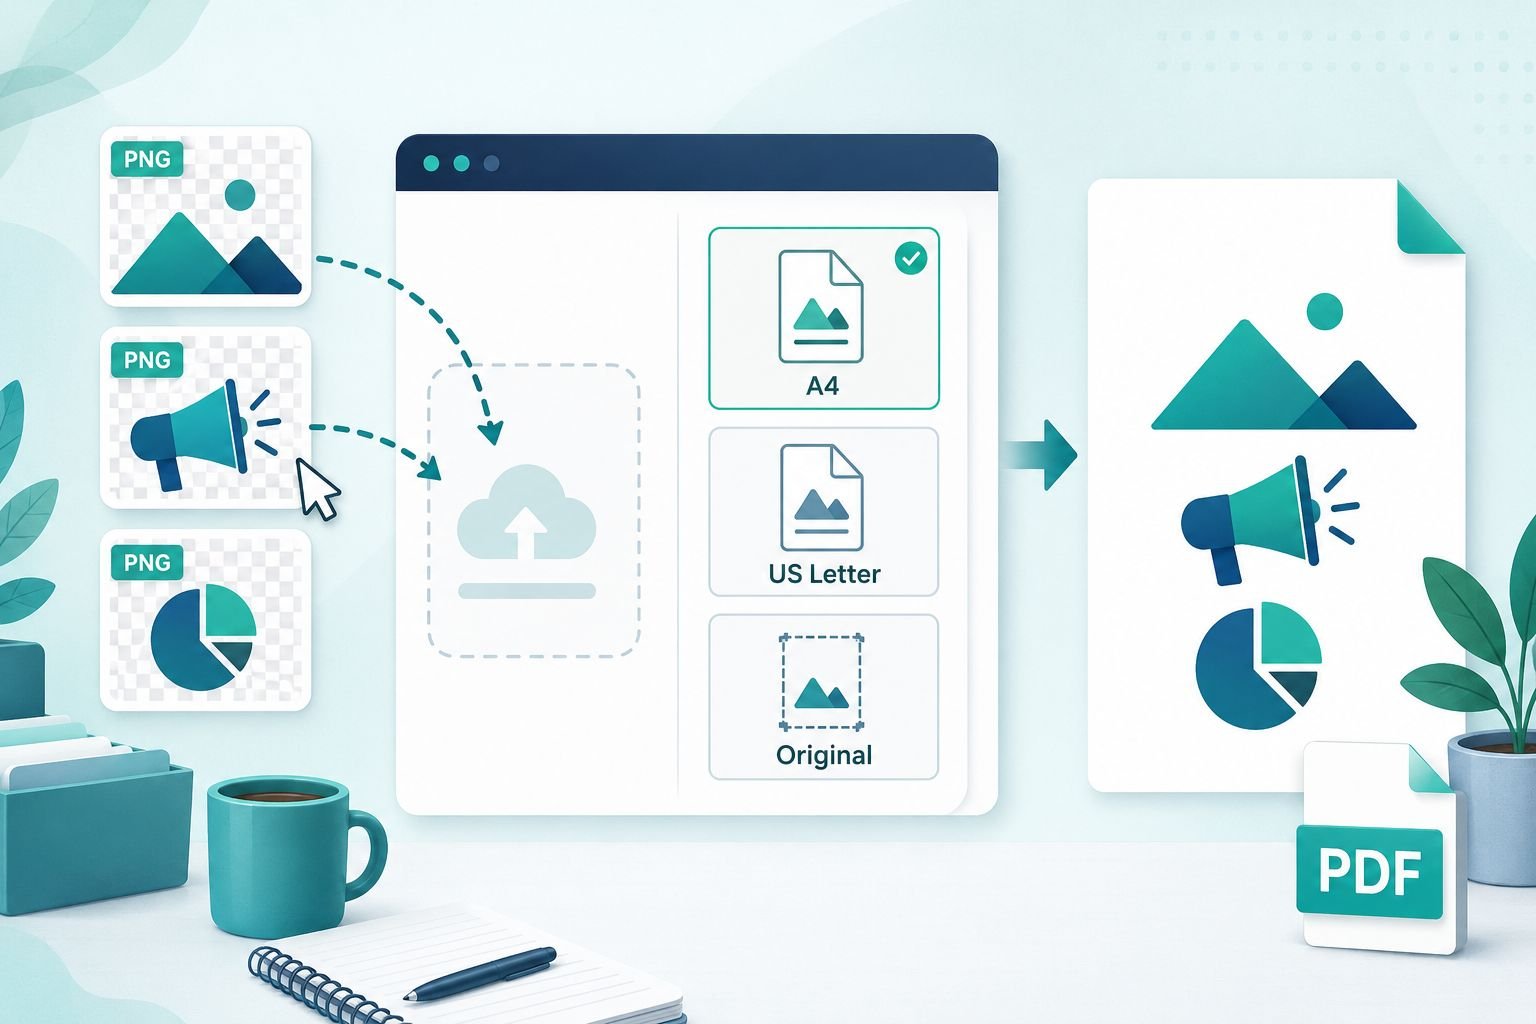
Go to the PNG to PDF Converter. Drag your PNG files directly onto the upload area, or click to browse your device. The tool accepts multiple files at once, so there is no need to convert one image at a time.
Each uploaded PNG appears as a thumbnail in a strip below the controls.
Step 2 — Reorder the Thumbnails
Drag thumbnails left or right to set the page order before generating the PDF. This matters most when combining screenshots for a step-by-step guide or stacking scanned receipts in date order. What you see in the strip is what you get in the output.
Step 3 — Set Page Size and Orientation
Above the thumbnail strip, choose your page size:
| Option | Best For |
|---|---|
| A4 (210 x 297 mm) | International documents, forms, reports |
| US Letter (8.5 x 11 in) | North American submissions, print jobs |
| Original image size | Mockups, designs, exact-pixel output |
Toggle between portrait and landscape orientation with one click. If your screenshots are wide, landscape often gives a cleaner result.
Step 4 — Convert and Download
Click Convert to PDF. The tool assembles the PDF in your browser in seconds. Click Download to save the file. The output is a clean, single PDF with one image per page — ready to email, upload to a form, or print.
Best settings quick reference:
- Job application or form upload: A4 or US Letter, portrait, white background
- Design mockup handoff: Original image size, landscape if wider than tall
- Scanned receipts for expense reports: A4, portrait, white background
Handling PNG Transparency in a PDF Document
PNG is a lossless format (meaning no image data is thrown away during compression) that supports full transparency. A logo on a transparent background, a UI element with a see-through layer, or a watermark PNG — all of these carry an alpha channel, which is the technical term for the transparency information stored in the file.
PDF pages, however, have a background. When a transparent PNG is placed on a PDF page, something has to fill that space. If nothing does, many PDF viewers default to black, which can make a white logo disappear or turn a clean design into a dark mess.
How the Transparency Picker Works
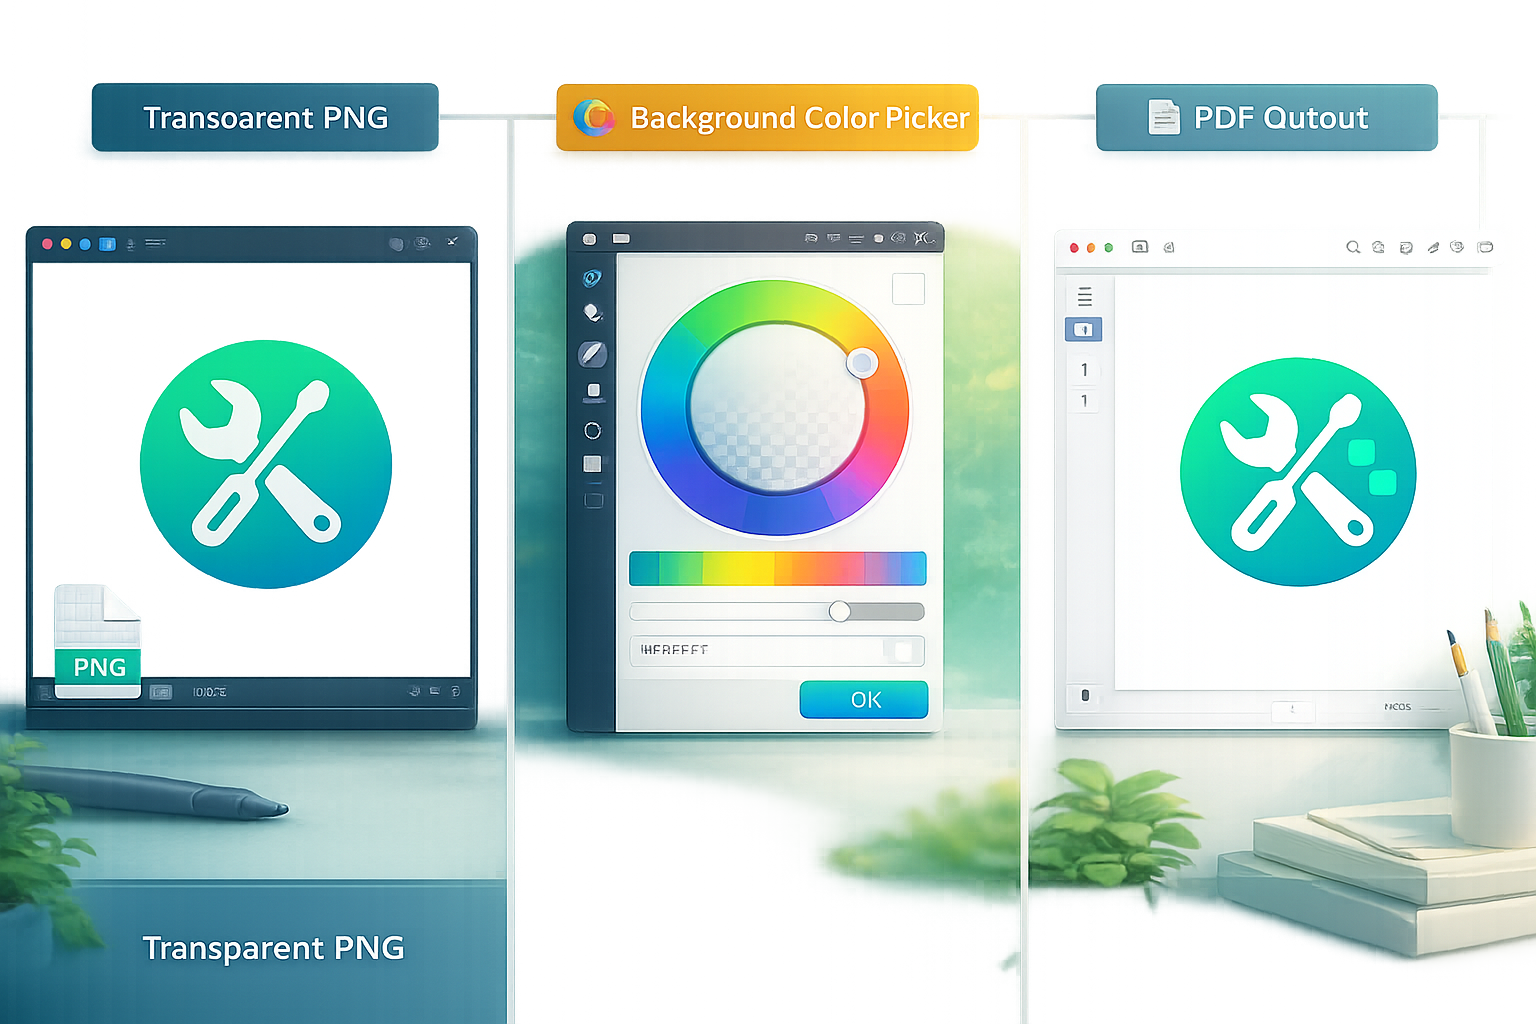
The CoreToolsHub converter defaults to a white background for transparency — the right choice for most documents. The picker is displayed prominently above the thumbnail strip so it is easy to change before converting.
Three practical options:
- White (default) — Best for documents, forms, and anything that will be printed. Clean and universally readable.
- Transparent-as-white — Renders the transparent areas as white without blending. Useful when the PNG has semi-transparent edges and a pure white fill is needed.
- Custom hex color — Type in any hex value (for example,
#F5F5F5for off-white or#1A1A2Efor a dark background) to match a brand color or design spec.
Common mistake: Skipping the transparency setting when converting a logo PNG. The result is often a black blob where the transparent area should be white. Always check the background picker before hitting Convert.
Choosing the Right Page Size, Orientation, and Margins
Getting these three settings right means the PDF looks intentional rather than accidental.
Page Size
A4 and US Letter are the two standard document sizes used in most offices, schools, and government forms worldwide. If the PNG is smaller than the chosen page size, the converter centers it on the page with margins. If the PNG is larger, it scales down to fit within the page boundary without cropping.
Choosing Original image size creates a PDF page that matches the exact pixel dimensions of each PNG. This is the best option for designers sharing mockups, because the output preserves every pixel without scaling.
Orientation
- Portrait (taller than wide): Standard for documents, letters, and most forms.
- Landscape (wider than tall): Better for wide screenshots, spreadsheet exports, and horizontal designs.
The orientation toggle applies to all pages in the batch. If one PNG is portrait and another is landscape, use the “Original image size” option instead — each page will match its source image dimensions automatically.
Margins
Margins add breathing room between the image and the page edge. A small margin (around 10–15 mm) is usually enough for printed documents. For full-bleed designs where the image should extend to the page edge, set margins to zero.
When to use zero margins: Printing a poster, a product label, or any design where white borders would look wrong.
PNG to PDF for Screenshots, Designs, and Scanned Receipts
Different use cases call for slightly different settings. Here are three common workflows.
Screenshots for Assignments or Reports
Students bundling screenshots for a class submission often have a mix of browser captures, app screenshots, and annotated images. The recommended approach:
- Rename files in order before uploading (01-intro.png, 02-step.png, etc.) so the thumbnail order is correct from the start.
- Use A4 or US Letter, portrait.
- White background, default margins.
The result is a tidy, single-file submission that any PDF viewer can open. If the final PDF is too large to email, run it through the Compress PDF tool to reduce file size without obvious quality loss.
Design Mockups for Client Handoff
Designers sharing PNG mockups as a PDF need pixel-accurate output. Use Original image size and zero margins so the client sees exactly what was designed, not a scaled-down version centered on an A4 page.
If the mockups include transparent layers (common with UI components and logo variations), set the background to the project’s canvas color using the hex picker.
For designs that started as JPGs rather than PNGs, the JPG to PDF Converter follows the same workflow. If images need resizing before conversion, the Image Resizer handles exact pixel dimensions without uploads.
Scanned Receipts and Documents
Remote workers stitching PNG scans into a single expense report attachment should use A4 or US Letter, portrait, white background. Reorder thumbnails by date before converting.
Note: PNG-to-PDF conversion does not add OCR (Optical Character Recognition) to scanned images. OCR is the process of extracting readable text from an image — the resulting PDF will contain the image of the receipt, not selectable text. For searchable PDFs from scans, a dedicated OCR tool is needed after conversion.
If the final PDF needs to be merged with other existing PDF files — for example, attaching a cover sheet — use the Merge PDF tool after downloading the converted file. Need to combine many image types at once? The Images to PDF converter handles JPG, PNG, and other formats in a single batch.
Privacy: Why CoreToolsHub Does Not Upload Your Images
Most online converters send files to a remote server for processing. That means your PNG images — which might contain confidential designs, personal documents, or sensitive receipts — travel over the internet to a third-party machine before the PDF comes back.
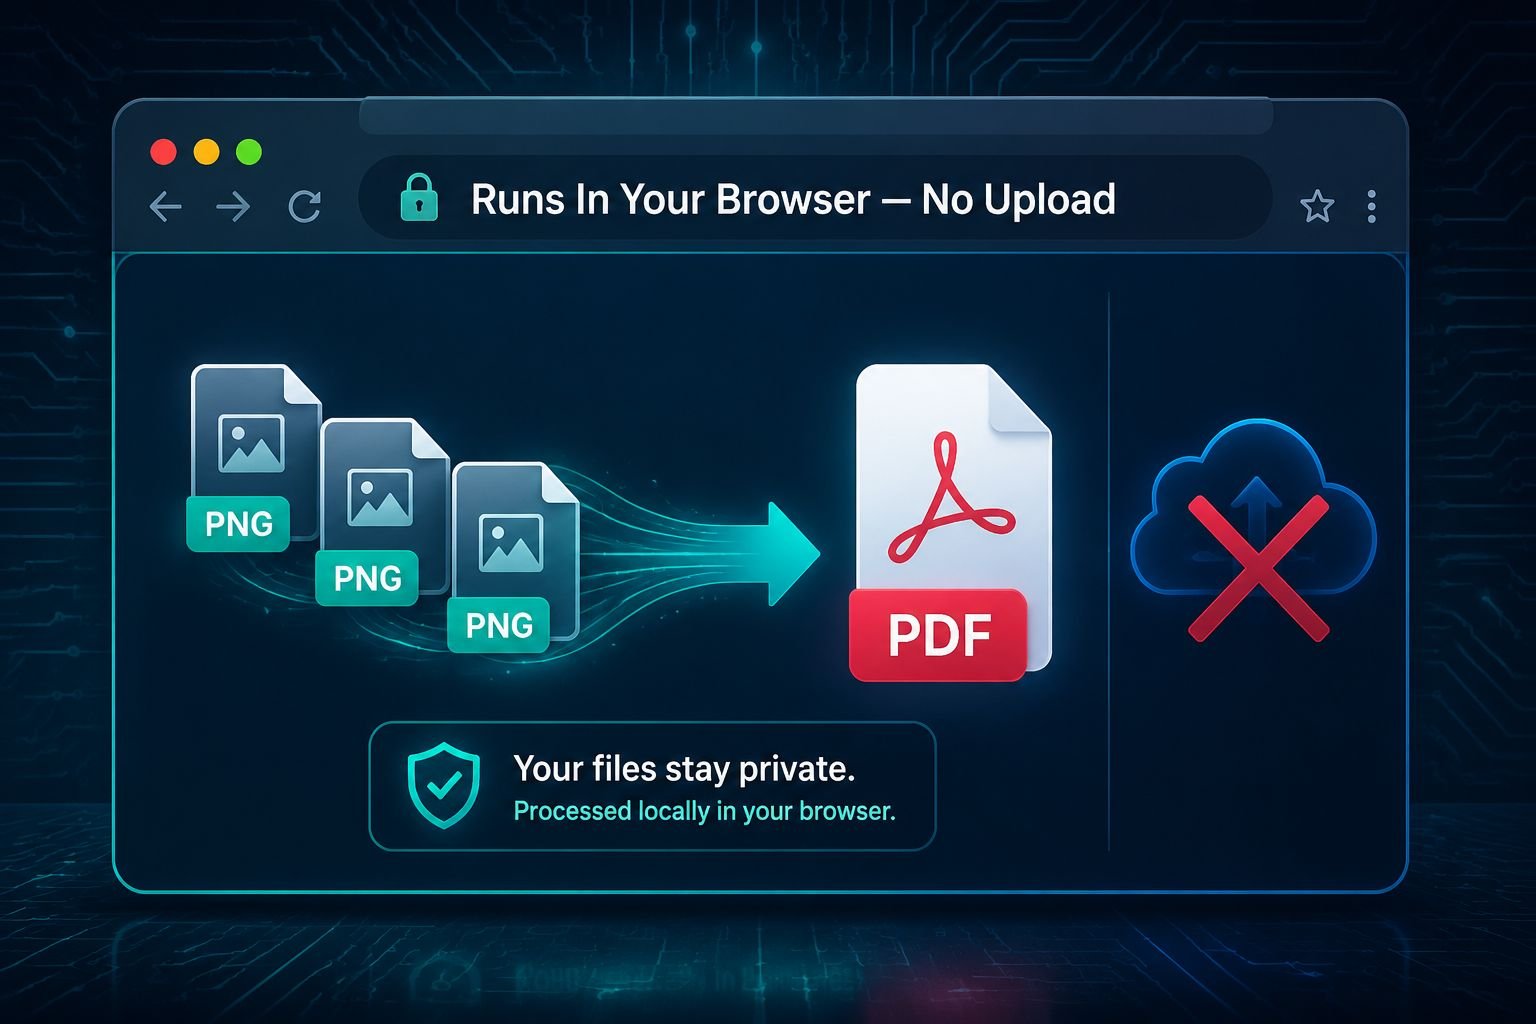
The CoreToolsHub PNG to PDF converter is a browser-based tool. The entire conversion runs inside your browser using JavaScript. Your images are never sent to a server. The output PDF is assembled locally and downloaded directly to your device.
This matters in several real situations:
- A designer converting client mockups under an NDA
- A student submitting personal identification documents with a form
- A remote worker converting expense receipts that include card numbers or vendor details
What “runs in your browser” actually means: The tool’s code is loaded once from the server (like any webpage), but after that, all file processing happens on your own device. No image data is transmitted. No files are stored remotely. No account is needed to prove that.
This approach also means the tool works offline once the page has loaded — useful on unreliable connections.
For a deeper look at why browser-side processing is safer than cloud-upload tools, see this comparison of browser-based file conversion vs cloud upload tools.
FAQ: File Size Limits, Color Profiles, and Batch Downloads
How many PNG files can be combined into one PDF?
The CoreToolsHub converter supports multi-PNG batches with no hard cap on file count for typical use. Performance depends on the browser and device. Very large batches (50+ high-resolution PNGs) may be slower on older hardware. For best results with large batches, use a desktop browser such as Chrome or Firefox.
Is there a file size limit per PNG?
Because processing runs in the browser, the practical limit is your device’s available memory rather than a server-side restriction. Most PNG files used for documents, screenshots, and designs are well within comfortable range. Very large raw design exports (above 20–30 MB per image) may slow down the browser on low-memory devices.
Will the PNG-to-PDF conversion change image colors?
PNG files typically use the sRGB color profile, which is the standard for screens and most printers. The converter preserves the image data as-is, so colors in the PDF should match the original PNG. If a PNG was created in a wide-gamut or CMYK color space for professional print, some color shift is possible when viewed on a standard monitor — this is a display issue, not a conversion error.
Can the output PDF be edited after downloading?
The PDF contains the PNG images embedded as raster graphics (pixel-based images, not editable vector shapes or text). The pages can be reordered, rotated, or merged with other PDFs using standard PDF tools. To reorder pages in the output PDF, use the Reorder PDF Pages tool. Text in the images is not selectable or searchable unless OCR is applied separately.
Does the tool work on mobile?
Yes. The converter is mobile-friendly and works on iOS and Android browsers. Thumbnail reordering via drag-and-drop is supported on touch screens. Page size and orientation toggles are accessible above the thumbnail strip on smaller screens.
What if the PDF file is too large to email or upload?
Email providers typically cap attachments at 10–25 MB. If the converted PDF exceeds that limit, run it through the Compress PDF tool to reduce file size. For tips on getting files under common upload limits, see the guide on fixing file too large errors for email.
Conclusion
Converting PNG to PDF does not need to be complicated. Drop the files, set the page size and orientation, handle transparency, and download — the whole process takes under a minute with the right browser-based tool.
The key decisions are simple:
- Page size: A4 or US Letter for documents; Original for designs.
- Orientation: Portrait for most documents; Landscape for wide screenshots or mockups.
- Transparency background: White for almost everything; custom hex for branded designs.
- Privacy: Everything runs in the browser — nothing is uploaded.
Ready to convert? Use the PNG to PDF Converter on CoreToolsHub — no signup required, no install needed, fast clean results every time.