












Last Updated: August 14, 2026
A job application portal rejects your file. The expense system only accepts PDFs. Your professor’s submission form won’t take images. In every case, the fix is the same: convert your JPG to PDF, fast, without installing anything or handing your files to an unknown server.
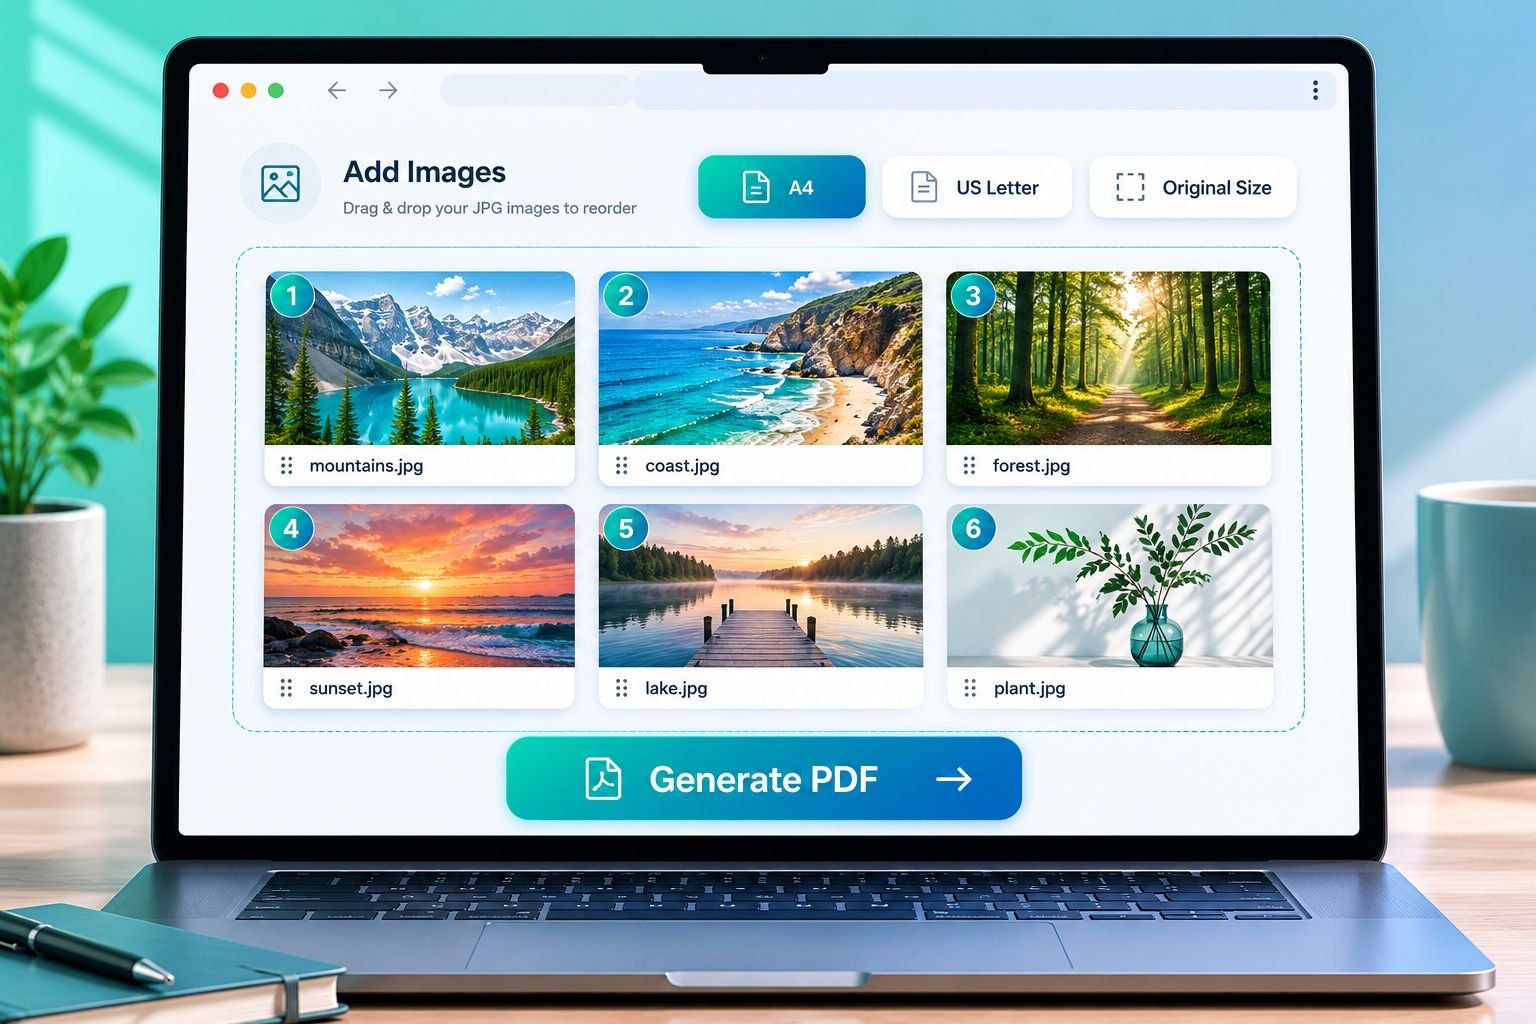
The JPG to PDF converter at CoreToolsHub runs entirely in your browser. Drop in up to 100 JPEG images, set your page size and margins, reorder the pages, and hit one button. The finished PDF downloads straight to your device — no signup required, no watermark, no cloud upload.
Key Takeaways
- Combine up to 100 JPEG images into a single PDF directly in your browser — no account or installation needed.
- Choose A4, US Letter, or original image size as your page layout, with a margins slider and live preview before generating.
- Drag to reorder images before generating, so pages appear in the right sequence.
- Your photos never leave your device — the entire JPG-to-PDF process runs locally in the browser.
- Free converter sites that require a download or show vague privacy policies can carry real malware risk; browser-based tools sidestep that entirely.
How to Combine JPG Images into One PDF
The process takes under a minute for most batches. Here is the step-by-step:
- Open the tool. Go to the Images to PDF converter on CoreToolsHub.
- Add your JPEGs. Click the upload zone or drag and drop your images directly onto the page. You can add up to 100 files in one go.
- Set page size and orientation. Use the toggles above the thumbnail strip to pick A4, US Letter, or Original Image Size. Choose portrait or landscape orientation. These settings apply globally to the whole PDF.
- Adjust margins. Move the margins slider to add breathing room around each image. A live preview updates so you can see exactly how each page will look before committing.
- Reorder if needed. Drag thumbnails left or right to change page sequence.
- Generate. Click the single Generate PDF button. The file builds in your browser and downloads automatically.
No per-image confirmations. No waiting for a server. Fast, clean results.
Best Settings at a Glance
| Use Case | Page Size | Orientation | Margins |
|---|---|---|---|
| Job application documents | A4 or US Letter | Portrait | Small (5–10 px) |
| Printed photo book | US Letter | Landscape | Medium (15–20 px) |
| Scanned receipts | A4 | Portrait | None or minimal |
| ID card copies | Original Image Size | Portrait | None |
| Handwritten notes | A4 | Portrait | Small |
Choosing the Right Page Size for Your JPG to PDF Batch
Page size affects how your images sit on each PDF page. Getting it wrong means cropped edges, tiny images surrounded by white space, or a document that prints on the wrong paper size.
A4 (210 x 297 mm) is the international standard. Use it for anything going to a European employer, a university portal, or a government form. Most printers worldwide handle A4 without any scaling adjustments.
US Letter (8.5 x 11 inches) is the default in North America. If you are submitting to a US company, filing an expense report, or printing at a US office, Letter is the safer choice. Mixing A4 and Letter in the same PDF can cause misaligned prints.
Original Image Size preserves the exact pixel dimensions of each JPEG as its own page. This is useful when image quality is the priority — for example, archiving high-resolution photos or creating a visual portfolio — and you do not need a standard paper size.
Orientation: Portrait vs. Landscape
- Use portrait for documents, receipts, notes, and ID scans.
- Use landscape for wide photos, panoramic shots, or spreadsheet screenshots.
The orientation toggle in the tool applies to all pages at once. If you have a mixed batch, portrait usually works best as the default since most documents read vertically.
A Quick Note on Margins
Margins add white space between the image edge and the PDF page border. For clean printing, a small margin (around 5–10 px in the tool’s slider) prevents content from sitting flush against the paper edge. For pure image display — like a photo PDF — set margins to zero.
Reordering and Rotating Images Before PDF Generation
The order of your thumbnails is the order of your PDF pages. This matters more than it sounds. A batch of twelve receipt photos submitted out of sequence can confuse an accountant or get an expense claim rejected.
To reorder: Simply drag any thumbnail to a new position in the strip. The numbering updates live. Check the sequence before clicking Generate PDF.
Rotation: If a photo was taken sideways on a phone, it may appear rotated in the PDF. Fix this before uploading using the free online image crop and rotate tool — or use the Image Resizer to correct orientation. Getting rotation right before the JPG-to-PDF step saves you from generating the PDF twice.
Common Mistakes to Avoid
- Uploading images out of order and not checking the thumbnail strip before generating.
- Mixing portrait and landscape photos without a plan — the tool applies one orientation globally, so rotate outliers before uploading.
- Using very large JPEGs (above 10 MB each) when the PDF is destined for email. The resulting PDF can exceed typical 10–25 MB email attachment limits. Consider using the Image Compressor to reduce individual file sizes before conversion.
- Forgetting to set page size — the default may not match the recipient’s expected format.
JPG to PDF for Scanned Receipts, IDs, and Expense Reports
This is where the JPG-to-PDF workflow earns its keep in everyday life.
Expense Reports
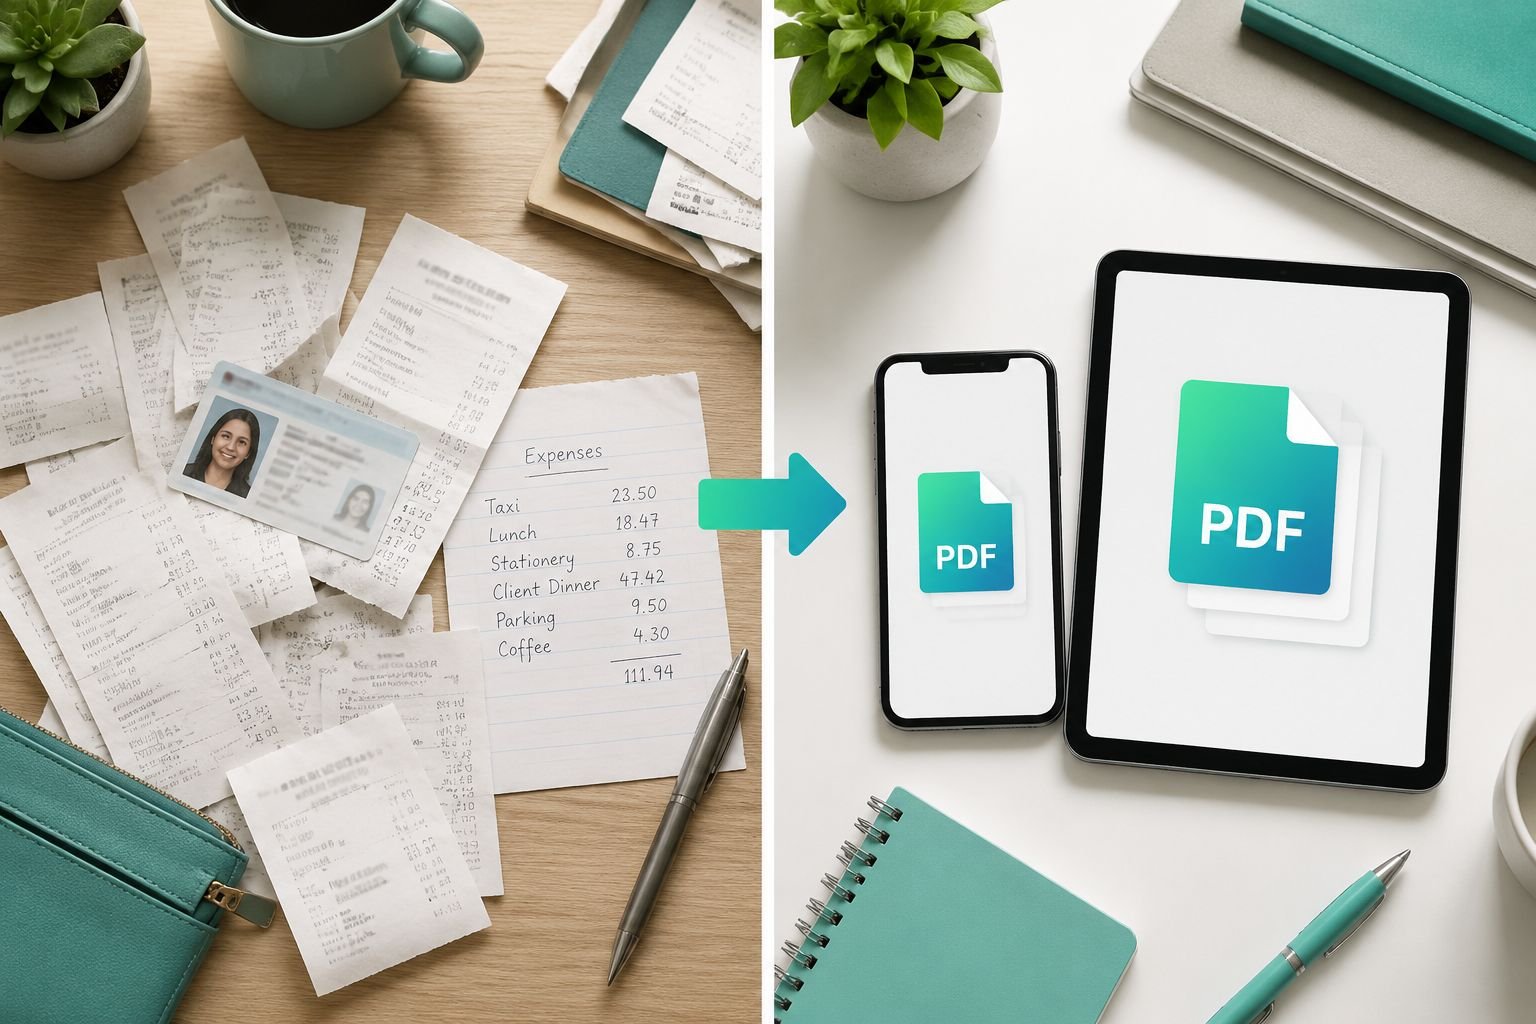
Most accounting software and corporate expense portals accept PDFs, not loose JPEGs. A typical month of receipts might mean 15–20 photos taken on a phone. The workflow is:
- Take photos of receipts as you go (standard JPEG from any phone camera works fine).
- At month end, open the converter, drop all receipt photos in, and arrange them in date order.
- Set page size to A4 or Letter (match your company’s format), portrait orientation, minimal margins.
- Generate the PDF and attach it to your expense claim in one file.
One PDF is easier for finance teams to review, archive, and print than a folder of image files.
ID Documents and Application Packs
Many visa applications, job portals, and rental platforms ask for a single PDF containing your ID, proof of address, and supporting documents. Scanning each item as a JPEG and then combining them into one PDF using the converter gives you a clean, professional submission. Use Original Image Size if the portal specifies that documents must be readable at full resolution.
Handwritten Notes and Student Submissions
Students submitting handwritten work to a learning management system often need a single PDF. Photograph each page of notes in good light, upload the JPEGs in order, and generate the PDF. A4 portrait with a small margin produces a clean result on screen and prints well.
When the PDF Is Too Large for Email
If the resulting PDF exceeds your email provider’s attachment limit, run it through the Compress PDF tool after generating. That tool also runs in the browser and can significantly reduce file size without obvious quality loss for most document-style PDFs. For more on this, see the guide on fixing file-too-large email errors.
Privacy: Why CoreToolsHub Does Not Upload Your Photos
This is worth understanding clearly, especially given the real risks in this space.
In 2026, security researchers and cybersecurity firms have flagged a specific pattern: fake “free JPG to PDF” websites that appear legitimate but deliver malware, adware, or information-stealing software when users download the “converted” file. The FBI has issued warnings about fraudulent converter sites that advertise common tasks — like merging images into a PDF — as a lure. Even opening the resulting file from an untrusted converter can trigger an infection.
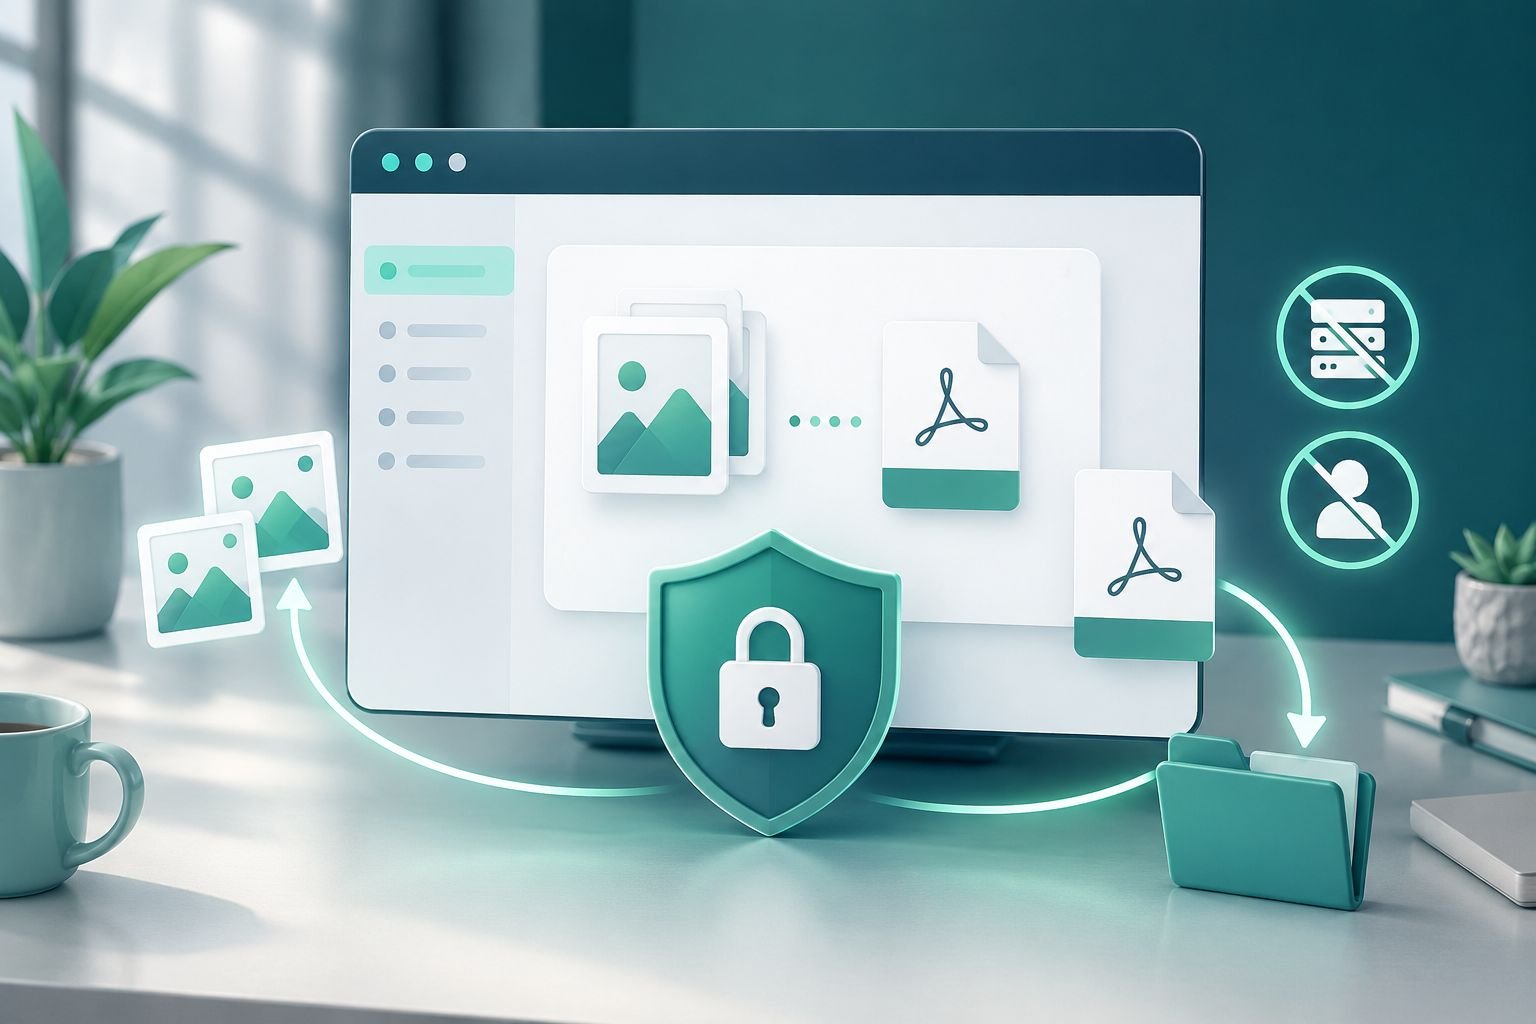
The CoreToolsHub JPG-to-PDF converter avoids this risk entirely through its architecture: all processing runs in your browser using JavaScript. Your JPEG files are never sent to a server. The PDF is assembled locally on your device and downloaded directly. No file ever leaves your machine.
This also means:
- No account or signup required — there is nothing to log in to.
- No file retention — once you close the tab, nothing persists.
- No watermarks added to your output.
- Works offline once the page has loaded (no ongoing connection needed for processing).
For users handling sensitive documents — ID photos, medical receipts, financial records — this architecture is not a minor detail. It is the core reason to use a browser-based tool over a cloud converter that stores uploads on a remote server.
For a deeper look at how browser-based tools compare to cloud upload converters on safety and privacy, see this breakdown: browser-based file conversion vs. cloud upload tools.
If you also need to combine existing PDFs rather than images, the Merge PDF tool follows the same privacy-first, no-upload approach.
FAQ: File Size Limits, EXIF, Color Profiles, and Batch Downloads
How many images can the tool handle in one batch? The tool supports up to 100 JPEG images per conversion. For very large batches, performance depends on your device’s available memory. On most modern laptops and phones, 50–100 standard phone photos (2–5 MB each) process without issue. If the browser slows down, try splitting into two smaller batches and then merging the resulting PDFs using the Merge PDF tool.
Is there a file size limit per image? There is no hard per-file cap enforced by the tool, but very large RAW-quality JPEGs (above 15–20 MB each) can slow browser processing. If you are working with high-resolution camera files, consider resizing them first. The guide on how to resize images online free walks through this quickly.
Does the tool strip EXIF data from my images? EXIF data is the hidden metadata embedded in JPEG files — it can include GPS coordinates, camera model, date and time, and device information. When images are embedded into a PDF using the browser-based converter, most EXIF metadata is not carried into the PDF output. However, if you want to be certain that location data and device details are removed before conversion, use the Image EXIF Remover as a first step.
What happens to color profiles? Will my PDF look different from my original JPEGs? JPEG files can embed ICC color profiles (sRGB, Adobe RGB, etc.) that tell displays and printers how to render colors accurately. Browser-based PDF generation typically renders images using the sRGB color space. For standard documents, receipts, and notes, this makes no visible difference. For color-critical photography or print work where exact color matching matters, a professional desktop application with full ICC profile support is a better choice.
Can the tool handle JPEGs from an iPhone (HEIC converted to JPEG)? Yes. As long as the file is a standard JPEG (.jpg or .jpeg), it works regardless of the original source. If your iPhone photos are still in HEIC format, convert them first using the HEIC to JPG converter, then run the JPG-to-PDF conversion.
Can the resulting PDF be downloaded as separate pages instead of one combined file? The tool generates a single combined PDF. If you need to split it afterward — for example, to extract specific pages — use the Split PDF tool after downloading.
Conclusion
Converting JPG to PDF does not need to be complicated, expensive, or risky. The CoreToolsHub browser-based converter handles the full workflow — drag, reorder, set page size, adjust margins, and generate — in one place, with no uploads, no account, and no watermark.
For most everyday needs — expense reports, job applications, student submissions, ID document packs — the steps above will get you a clean, print-ready PDF in under two minutes.
Practical next steps:
- Go straight to the JPG to PDF converter and start your conversion now.
- If your images need resizing before conversion, use the Image Resizer first.
- If the resulting PDF is too large for email, run it through the Compress PDF tool.
- If you are working with PNG images instead of JPEGs, the PNG to PDF converter follows the same process.
Fast, clean results — and your files stay on your device the whole time.