











Last updated: July 17, 2026
Quick Answer
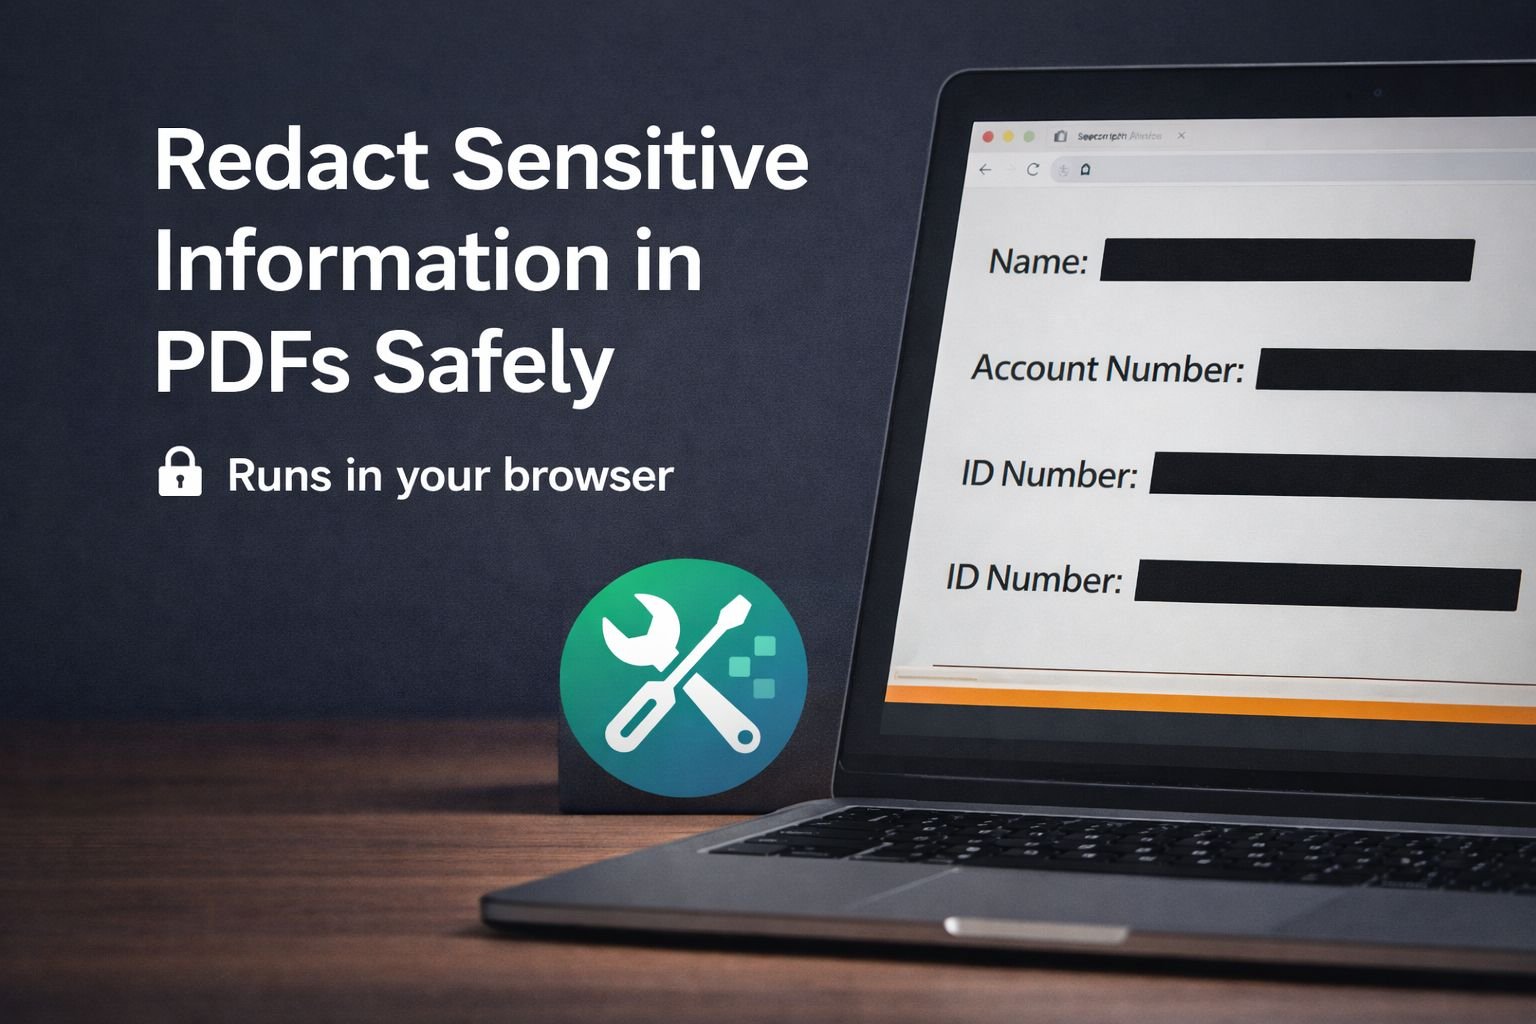
To redact sensitive information in PDF online safely, use a browser-based PDF editor that processes files locally on your device — never one that uploads to a server. True redaction permanently removes the underlying text and images from the file structure, not just covers them with a black rectangle. Always verify the redaction worked by trying to select, copy, or search for the hidden text in the exported PDF before sharing it.
Key Takeaways
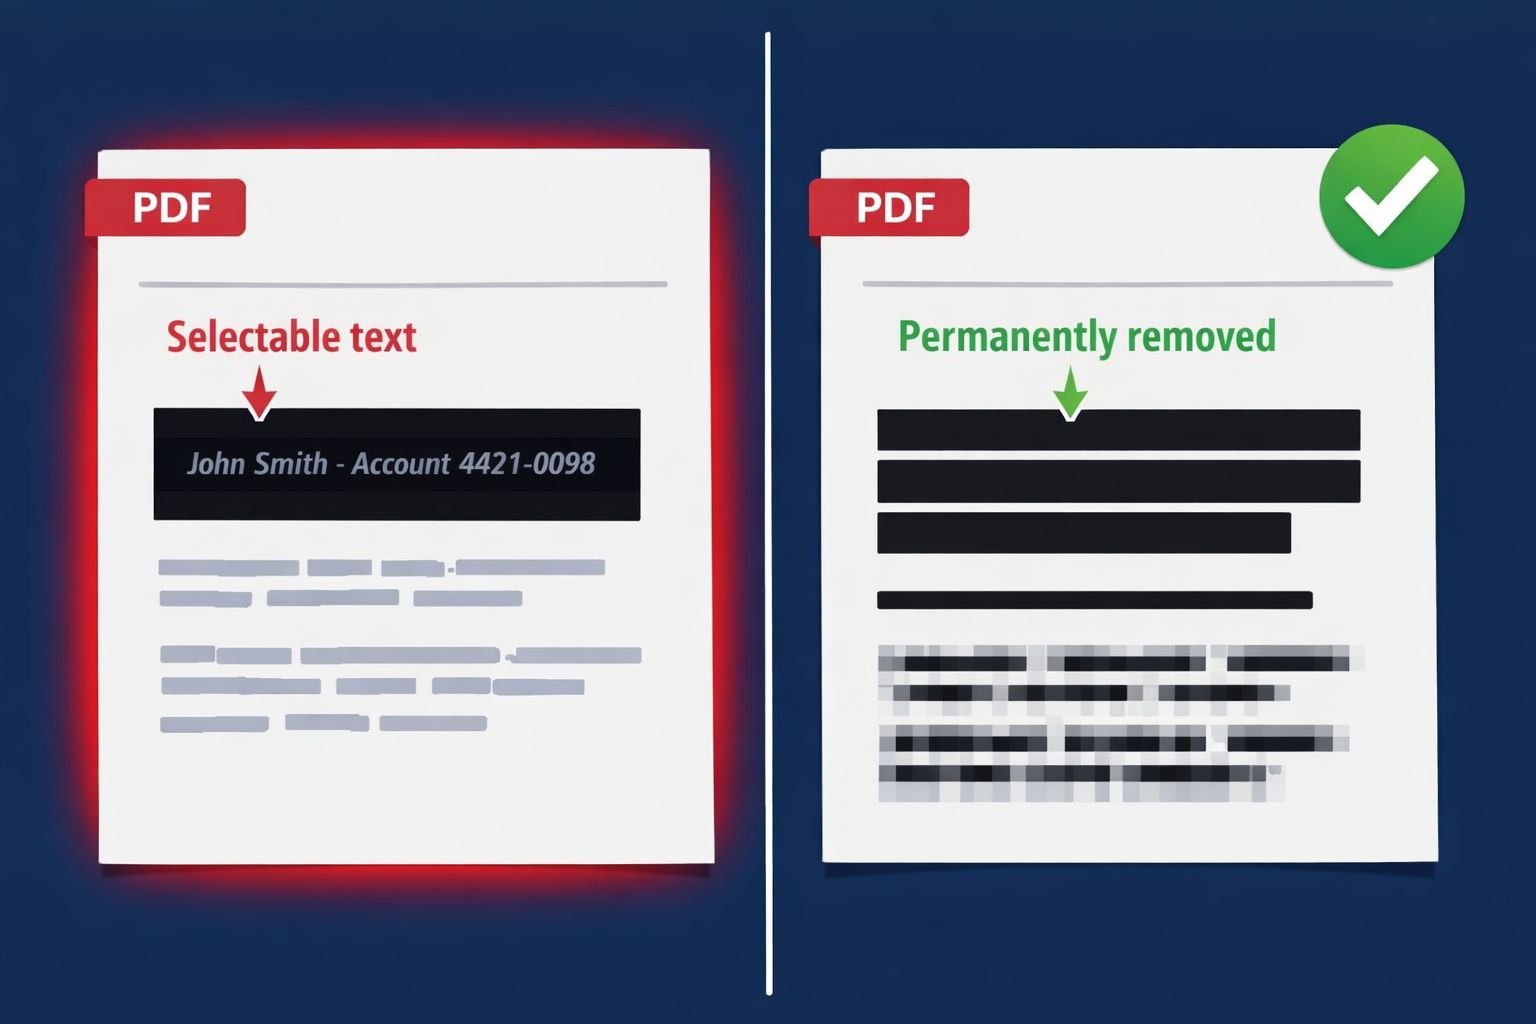
A black rectangle drawn on top of text is not redaction — the underlying data is still selectable, copyable, and searchable.
True redaction removes content from the PDF structure entirely, often by rasterizing the page so only pixels remain.
Client-side, browser-based tools never upload your file, which is the safest option for contracts, IDs, medical records, and financial data.
Always test your redacted PDF: try Ctrl+F to search, click and drag to select text, and copy/paste into a plain text editor.
Strip metadata after redacting, since author names, edit history, and timestamps can leak sensitive context.
Avoid uploading sensitive PDFs to unknown cloud services, even ones that claim “files deleted after one hour.”
For legal, HR, and compliance work, prefer tools that run 100% in your browser with no signup or server log.
Why Most DIY PDF “Redactions” Are Not Actually Safe
The most common redaction mistake is purely cosmetic: drawing a black box over sensitive text using a generic PDF annotator or a Word export. The text underneath the box still exists in the file. Anyone who opens that PDF can select the area, copy the contents, and paste a perfectly legible Social Security number, bank account, or contract clause into a text editor.
This isn’t a hypothetical. Court filings, government records, and corporate disclosures have all leaked redacted information through this exact mistake. Highlighting text in black, changing font color to match the background, or placing a shape annotation over the words — none of these actually delete the data. They just hide it visually.
A redaction you can copy-paste isn’t a redaction. It’s a sticker.
The same problem applies to screenshots pasted over text, scribbled black marker effects in image editors, and most “free PDF redaction” sites that simply add an overlay shape. If the original text layer survives, your data survives with it.
What True PDF Redaction Means (And Why It Matters)
True redaction permanently removes sensitive content from the PDF’s underlying structure. There are two reliable methods:
Content removal: The redaction tool deletes the actual text objects, image regions, and form fields from the PDF, then replaces them with solid blocks. The file no longer contains the original characters.
Page rasterization: The page is converted to an image (essentially a flattened picture), and the redacted areas are painted over before the image is saved back into the PDF. Because the text layer is destroyed, there’s nothing left to recover.
Rasterization is the more bulletproof approach because it eliminates the entire text layer in one step. The tradeoff: the PDF becomes non-searchable and slightly larger. For sensitive documents shared externally, that’s usually a fair price.
Why it matters for your work:
Lawyers filing redacted exhibits face professional consequences if the original text leaks.
HR teams sharing offer letters, performance reviews, or termination paperwork can violate privacy laws by exposing names and salaries.
Founders sending investor decks or contracts often need to remove pricing, partner names, or customer data.
Privacy-conscious individuals sharing IDs for verification want bank details and full document numbers gone, not hidden.
For more on safe in-browser document workflows, see this guide to browser-based file conversion versus cloud upload tools.
How to Redact Sensitive Information in PDF Online: Step by Step
The safest workflow uses a privacy-first, browser-based tool that never uploads your file. Here’s the simple step-by-step:
Open the PDF in a client-side editor. Use a browser-based tool like the Core Tools Hub PDF editor — it runs locally, with no install needed and no signup required.
Make a working copy first. Always redact a duplicate, never your only original. Save the original somewhere offline.
Identify every piece of sensitive data. Skim every page for names, addresses, phone numbers, account numbers, ID numbers, dates of birth, signatures, and any context that could re-identify someone.
Apply the redaction tool to each item. Drag a selection box over the text. The tool should remove or rasterize the content, not just overlay a shape.
Check headers, footers, and metadata. Sensitive info often hides in page headers, file names embedded in footers, or document properties.
Export/flatten the PDF. Save a new file. Many client-side tools automatically flatten the output so redactions can’t be peeled back.
Verify before sharing. Open the exported file, search for the redacted text, and try to copy text from the redacted regions (covered in detail below).
Optionally compress the file using a private in-browser PDF compressor before emailing it.
Verifying That Your Redaction Worked Before Sharing
Verification is the step most people skip — and it’s the one that catches mistakes. Run these four tests on every redacted PDF before sending it.
The search test. Open the file in a PDF viewer and press Ctrl+F (Cmd+F on Mac). Search for any redacted name, number, or keyword. If results appear, the text is still there.
The copy-paste test. Click and drag your cursor across the redacted areas. Copy the selection, then paste into a plain text editor like Notepad or TextEdit. If anything readable appears, the redaction failed.
The “select all” test. Press Ctrl+A inside the PDF to select all text on a page, then copy it into a text editor. This catches text that’s hidden behind shapes but still in the document.
The metadata check. Right-click the file → Properties (Windows) or Get Info (Mac), and check the document’s title, author, subject, and keywords fields. Use a PDF tool to view the document properties dialog if needed.
If any test reveals leaked content, redo the redaction with a tool that rasterizes or fully removes the text layer.
Rule of thumb: if you wouldn’t want a journalist to publish what your verification tests reveal, don’t send the file.
Secure Workflows for Contracts, IDs, and Financial Documents
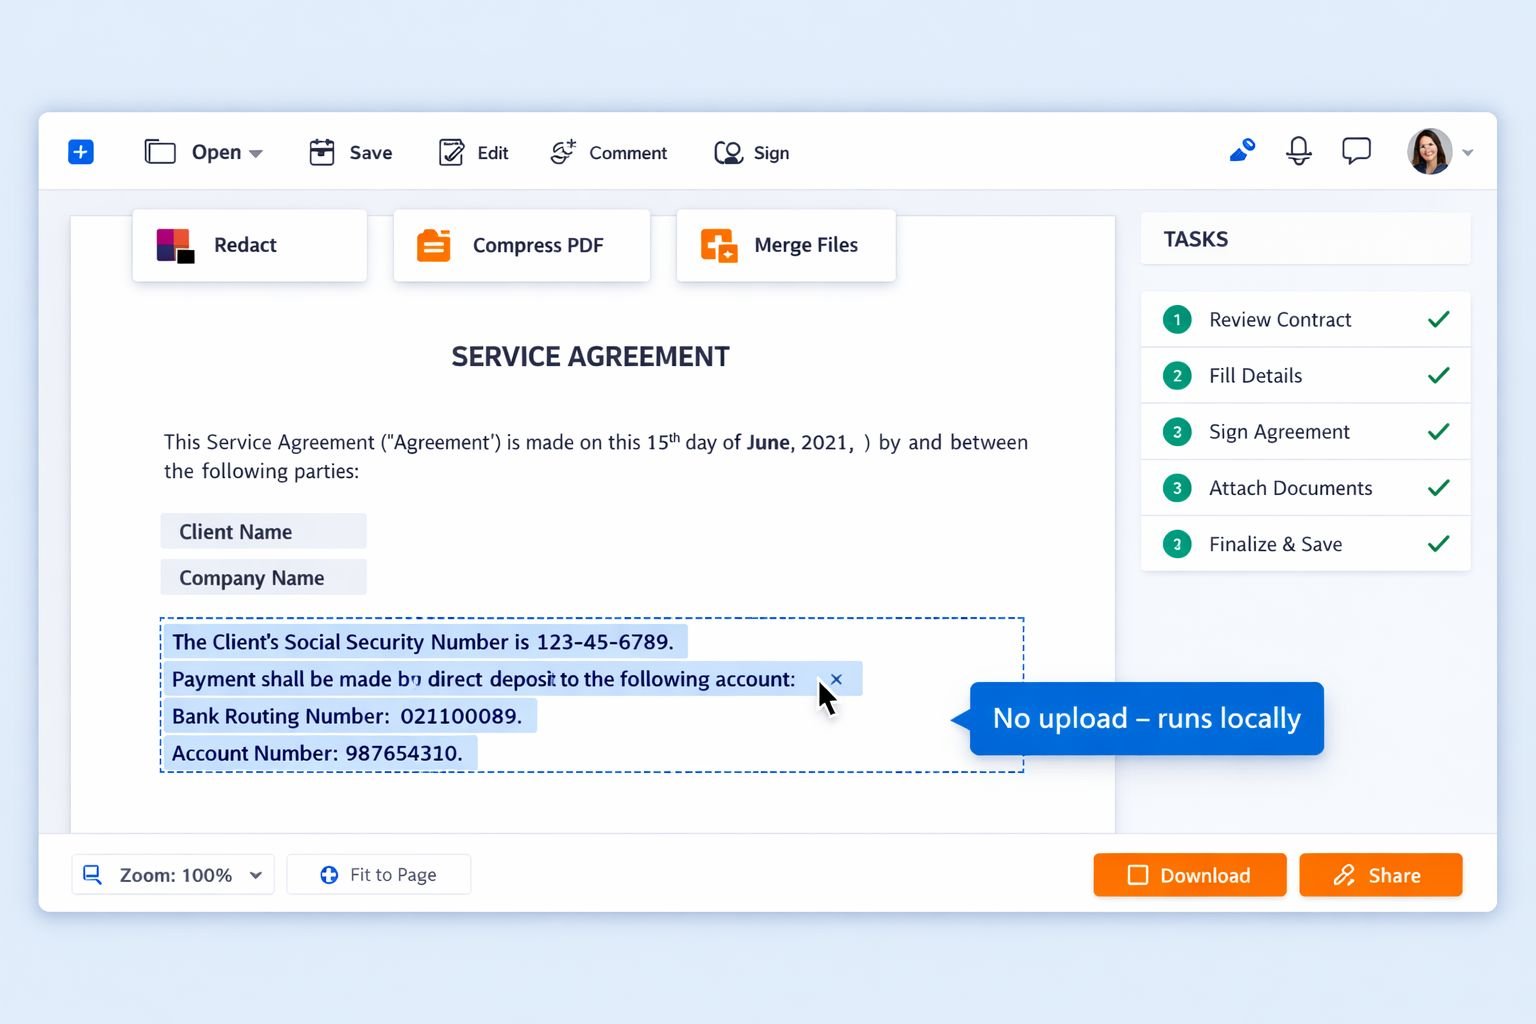
Different document types call for slightly different workflows. Here are the practical patterns that work.
Redacting Contracts Before Sharing With a Third Party
Common targets: counterparty names, pricing terms, payment schedules, exclusivity clauses, and signatures.
Open the contract in a client-side PDF editor.
Redact each clause and signature block individually.
Rasterize the redacted pages so the legal text underneath is unrecoverable.
Use extract pages from PDF if you only need to share specific sections — fewer pages, less risk.
Re-merge with merge PDF files if you need to combine redacted sections from multiple sources.
Removing Bank Details and Financial Data
Common targets: account numbers, routing numbers, SWIFT codes, transaction IDs, balances.
Redact the full number, not just the last four digits — partial numbers combined with other context can still identify accounts.
Check transaction descriptions for merchant names and locations that reveal patterns.
Rasterize the page; financial PDFs often have hidden metadata from the issuing bank’s export tool.
Redacting National IDs, Passports, and Driver’s Licenses
Common targets: full ID numbers, dates of birth, addresses, document numbers, MRZ codes (the machine-readable lines at the bottom).
Always rasterize. Scanned IDs frequently contain an invisible OCR text layer.
Strip metadata afterward — phone cameras and scanners embed GPS, timestamps, and device info.
Consider using an image EXIF remover if you’re sharing a JPG of an ID instead of a PDF.
Sanitizing HR and Student Records
Common targets: names, employee/student IDs, salaries, grades, disciplinary notes.
Use content removal so the document remains searchable for non-sensitive fields like job titles or course codes.
Double-check any spreadsheet exports — pivot tables and hidden columns often survive PDF conversion.
Common Redaction Mistakes That Leak Data (And How to Avoid Them)
These are the failure modes that show up over and over in real-world data leaks.
Black highlighter as redaction. The highlight tool changes text color or background — it doesn’t delete anything. Always use a dedicated redaction function.
Skipping the metadata. A PDF’s author, edit history, and original file path can reveal who drafted the document and when. Strip metadata after redacting.
Forgetting embedded objects. PDFs can contain attached files, embedded spreadsheets, and form data that survive visual redaction.
Redacting only the visible page. Multi-page contracts often repeat sensitive info in headers, footers, signature blocks, and exhibit pages.
Sharing the working file instead of the export. Always save a new flattened PDF and verify that file — never share the editor’s working copy.
Trusting “files deleted after one hour” claims. If a tool uploads your file at all, you have to trust their logging, backups, and incident response. Client-side tools eliminate that trust requirement entirely.
Re-OCR’ing a redacted scan. Running OCR on a redacted scanned PDF can sometimes reconstruct partially obscured characters. Rasterize first, then don’t OCR.
For related cleanup workflows, see how to convert scanned PDFs to searchable PDFs safely and how to compress PDFs for email without losing quality.
Building a Privacy-First Toolbox for PDFs and Images
A safe redaction workflow rarely lives in isolation. Most users also need to compress, merge, split, or convert documents — and every one of those steps is another chance for sensitive data to leak through a sketchy upload-based tool.
The privacy-first approach: build a small kit of browser-based tools that all run locally, so your files never leave your device.
Recommended browser-based kit:
Redaction & editing: A client-side PDF editor for the actual redaction work.
Compression: An in-browser PDF compressor to shrink the file for email after redacting.
Page management: Split PDF, extract pages, and merge PDF to share only what’s necessary.
Image cleanup: An EXIF remover for stripping metadata from photos of IDs or signatures.
Mobile workflows: A guide to editing PDFs on mobile for free for when you need to redact on the go.
The shared principle across all of these: works on desktop and mobile, no install needed, no signup required, no upload to a server. That’s the foundation of safe file handling for sensitive documents.
FAQ
Is it safe to redact sensitive information in PDF online?
Yes — but only if the tool processes your file entirely in your browser. Avoid any service that uploads your PDF to a server, even one that claims to delete files afterward. Look for tools that explicitly state “no upload” or “client-side.”
What’s the difference between redaction and just covering text with a black box?
A black box overlay leaves the original text intact in the PDF — anyone can select, copy, or search for it. True redaction removes the underlying text from the file structure entirely, so there’s nothing left to recover.
Can redacted PDFs be un-redacted?
Properly redacted PDFs (using content removal or rasterization) cannot be reversed. Improperly redacted PDFs (black boxes over live text, fake highlighting) can be “un-redacted” in seconds with copy-paste.
Do I need Adobe Acrobat to redact a PDF properly?
No. Free, browser-based tools can perform true redactions without Acrobat. The key requirement is that the tool removes or rasterizes the underlying text, not just overlays a shape.
How do I redact a scanned PDF that’s just an image?
Scanned PDFs often have an invisible OCR text layer. Use a tool that lets you redact and rasterize the page, which destroys both the visible image area and any hidden text layer underneath.
Will redaction remove document metadata?
Not always. Many redaction tools focus on visible content. After redacting, check the PDF’s properties (author, title, edit history) and use a metadata-stripping option if available.
Is it okay to email a redacted PDF?
Yes, once you’ve verified the redaction worked. Compress the file with a privacy-first tool first if it’s large, and consider adding a password if your email provider supports it.
What’s the best free PDF redaction tool in 2026?
The best one for sensitive documents is whichever one runs entirely in your browser, requires no signup, and rasterizes or fully removes redacted content. Test the output with the search and copy-paste verification steps above.
Can I redact multiple PDFs at once?
Some client-side tools support batch processing. For sensitive material, redacting one file at a time and verifying each is safer than batch processing without inspection.
Does redaction reduce PDF quality?
Rasterization can slightly increase file size and remove searchability. Visual quality is preserved. For most sharing workflows, the tradeoff is worth it for true data sanitization.
Conclusion: Your Safe Redaction Checklist
True redaction is simple in principle and easy to get wrong in practice. The fix is a clear workflow:
Use a browser-based tool that never uploads your file.
Redact a copy, never the original.
Remove or rasterize the content, not just cover it.
Strip metadata.
Verify with search and copy-paste tests.
Compress and share only after verification passes.
Privacy-first habits beat any single tool. The fewer servers your sensitive PDFs touch, the smaller your attack surface — and the easier it is to sleep at night after sending that contract, ID, or HR letter.
Ready to redact safely? Start with the Core Tools Hub PDF editor for client-side redaction, then compress your final file for email — all in your browser, with no upload and no signup.